
 Pin it
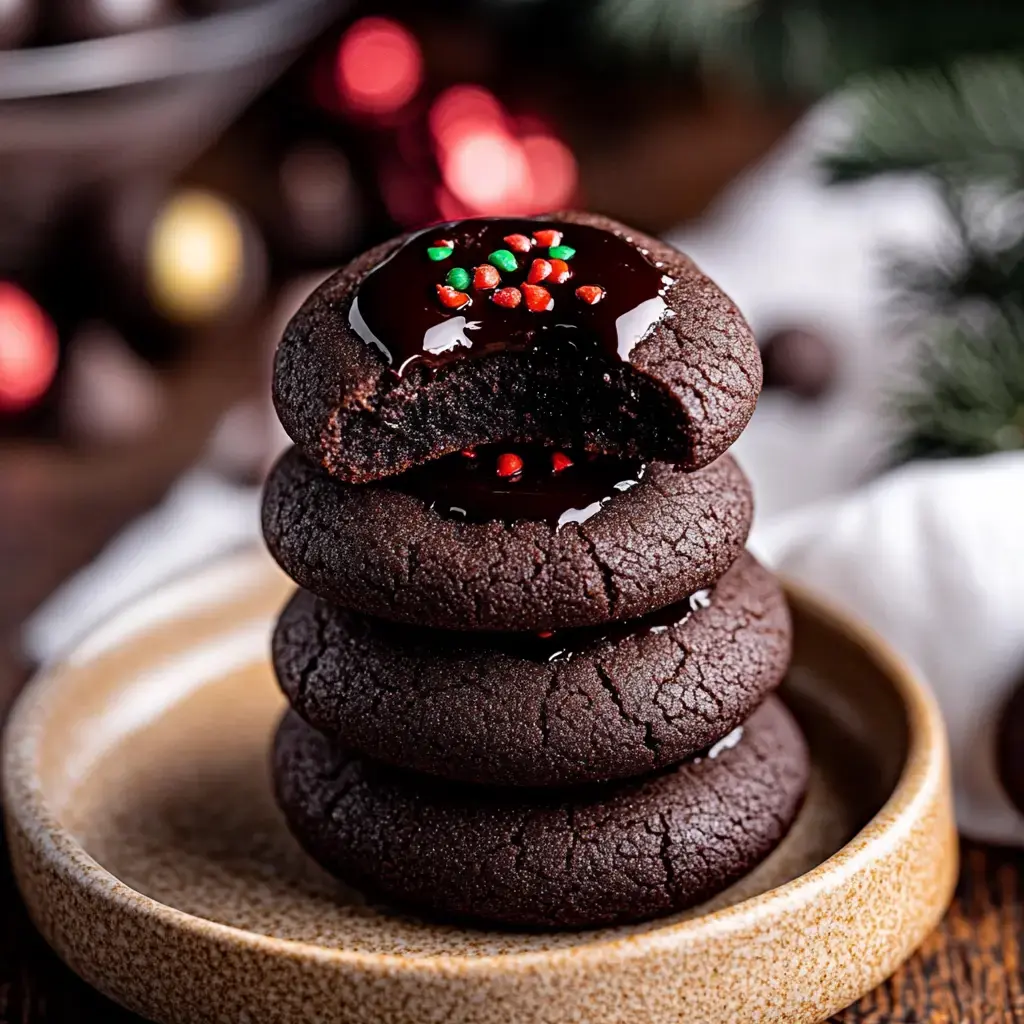
I started whipping up double chocolate thumbprint cookies after I snagged a killer deal on awesome cocoa powder. The first run was chaos—chocolate in my hair, on the counter, honestly everywhere. Still, the amazing chocolate smell lured the whole crew to the kitchen. Now it’s what we reach for when we all want to bake something fun. The kids can’t get enough of making the thumb dents—sometimes they team up on one cookie, so we get extra prints!
Irresistible Reasons To Try These Cookies
- They make the house smell absolutely amazing
- Soft and fudgy even days later—if they last
- Look impressive but are actually super simple
- Perfect pick for anyone who’s wild about chocolate
- Great for gift boxes or swapping with friends
- Kids have a blast helping out
- Every bite is double-chocolate all the way through
Stuff To Have On Hand
- Kitchen Stuff:
- Pan for melting chocolate
- Cookie trays
- Measuring spoons plus cups
- Big bowl for mixing everything
- For The Cookies:
- Egg yolks (room temperature is best)
- Brown and white sugar—they both matter
- Softened real butter (don’t skip this!)
- Basic all-purpose flour works perfectly
- Good dark chocolate (melts super smooth for filling)
- A little heavy cream for velvety filling
- Cocoa powder—spring for the rich stuff if you can
Tasty Double Chocolate Cookies
- Final Touch
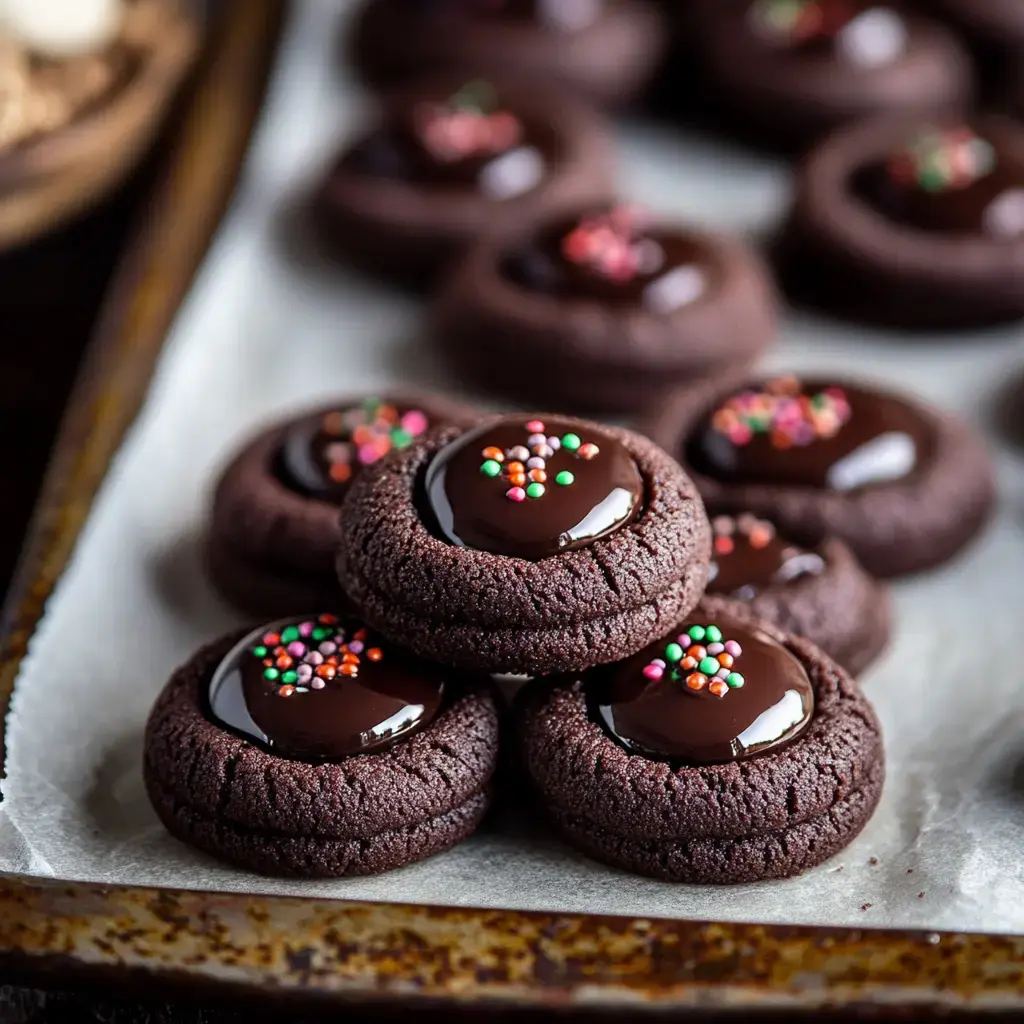
- Spoon chocolate mix into the dents in each cookie. Waiting for the chocolate to set is honestly the toughest part. If you find those sprinkles before the kids, it’s your chance to make the tops look fun!
- Making The Filling
- While cookies cool off, gently heat some cream till it just bubbles. Pour it on the chocolate and let it hang out a couple minutes, then stir and stir until nice and glossy. If it looks chunky, don’t worry—just keep going, it'll turn smooth.
- Baking Time
- Pop your trays in the oven for about 10–12 minutes. If you’re wondering when they’re done, let the smell be your guide. Better to pull them out a tad early so they stay soft.
- The Fun Part
- Roll out dough balls roughly the size of golf balls. Watch out—some dough will definitely disappear during this step. Press a thumb in the center of each, littler thumbs make cuter dents!
- Making Cookie Dough
- Grab your softened butter and beat it with both sugars until fluffy—be patient, it takes a while. Toss in your yolks, one at a time. Now gently fold in your flour and cocoa blend unless you want a powdery mess everywhere.
- Getting Started
- Pull your butter out early to let it get soft—don’t zap it in the microwave unless you like chocolate puddles. While it softens, whisk together your cocoa powder and flour. Less mess that way!
 Pin it
Notes From My Cookie Bakes
After dozens of batches, I’ve picked up a few things. Using eggs right from the fridge makes mixing a pain—let them warm up. Don’t skip chilling your dough or you’ll get cookies spread all over the sheet. If your thumbprints puff up while baking, just press in again while they’re still hot. Want leftovers? Better hide the stash—even top shelves won’t stop my family from sneaking them!
Switch Things Up
It’s fun changing the filling now and then. Swapping in white chocolate inside makes a cool look. Tried a peanut butter middle—huge hit with the kids. Drop a dash of mint extract in your chocolate for something fancy. Caramel’s messy but totally worth it and no one will complain about sticky fingers!
How To Keep Them Tasting Awesome
If you seal these up, they’re good for about a week though we never make it that far. Stack them with wax paper so they won’t stick. You can freeze baked cookies with no filling for a month or two; just thaw and fill later. It’s a lifesaver when you want to prep for parties—or just expect a dessert craving to hit any time, which is us, honestly!
Frequently Asked Questions
- → Why measure flour properly?
If you scoop your flour straight out of the bag, you'll likely pack in too much, and the cookies get tough. Use a spoon to fill your cup or weigh it so your cookies stay soft and light.
- → Why chill the dough?
Chilling keeps your cookies from going flat in the oven, and those thumbprint spots stay right where you want them. Don't rush this, or you'll lose the fun shape.
- → Why reshape while hot?
It's easiest to fix the cookie shape right out of the oven because the cookies are still bendy. Use a cutter to get perfect rounds or to press back those thumbprints.
- → Can I make ganache ahead?
Go for it, just know it'll get firmer as it sits. You can warm it up a bit for easy spooning. Just heat gently, or it might split.
- → Why use Dutch process cocoa?
This cocoa makes your cookies dark and smooth-tasting. You can swap it out for natural cocoa, but your treats will look and taste a bit different.