
 Pin it
Started whipping up this treat for a school bake sale when I wanted something cool for the kids. My first batch? It was a total Christmas color explosion, my hands looked like holiday confetti for a week! These days it turns out with awesome swirly stripes that look just like Santa’s candy. Even my picky mom sneaks extra pieces when she thinks nobody’s watching!
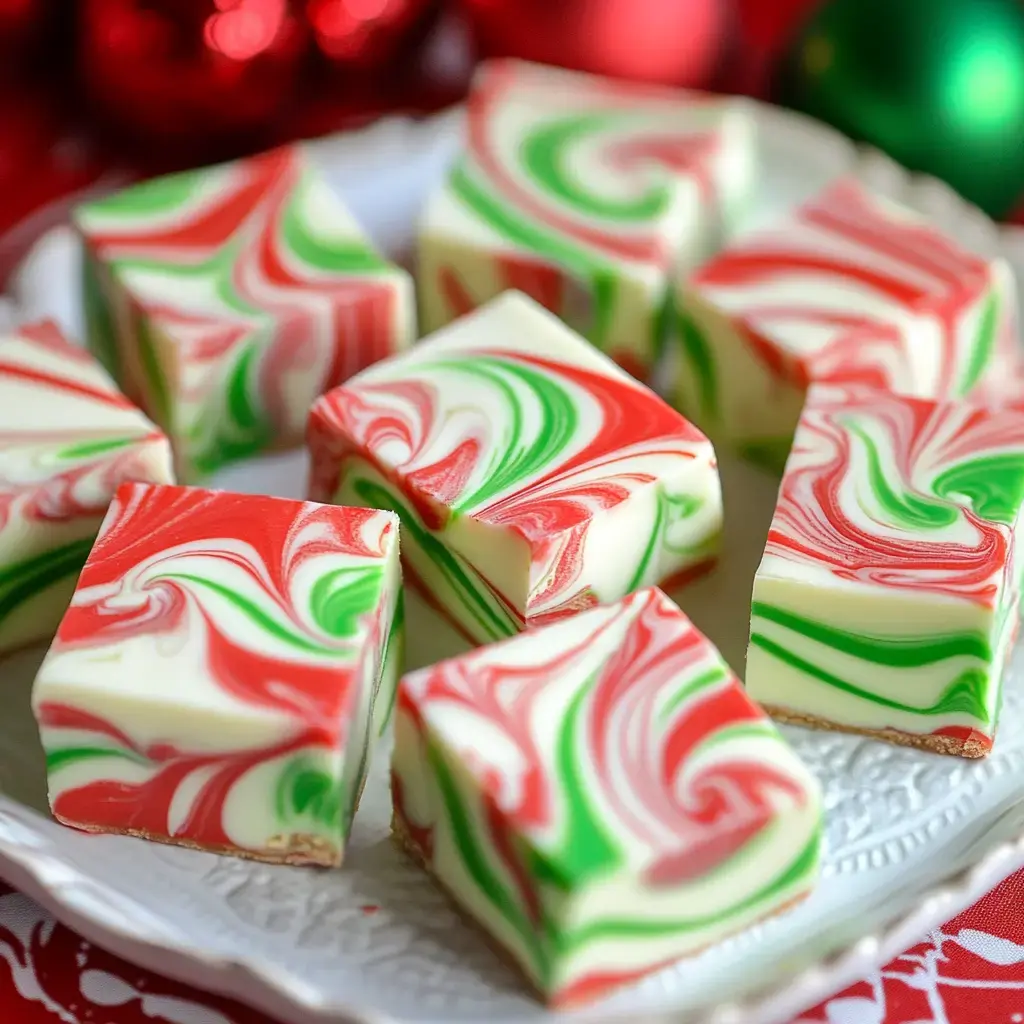
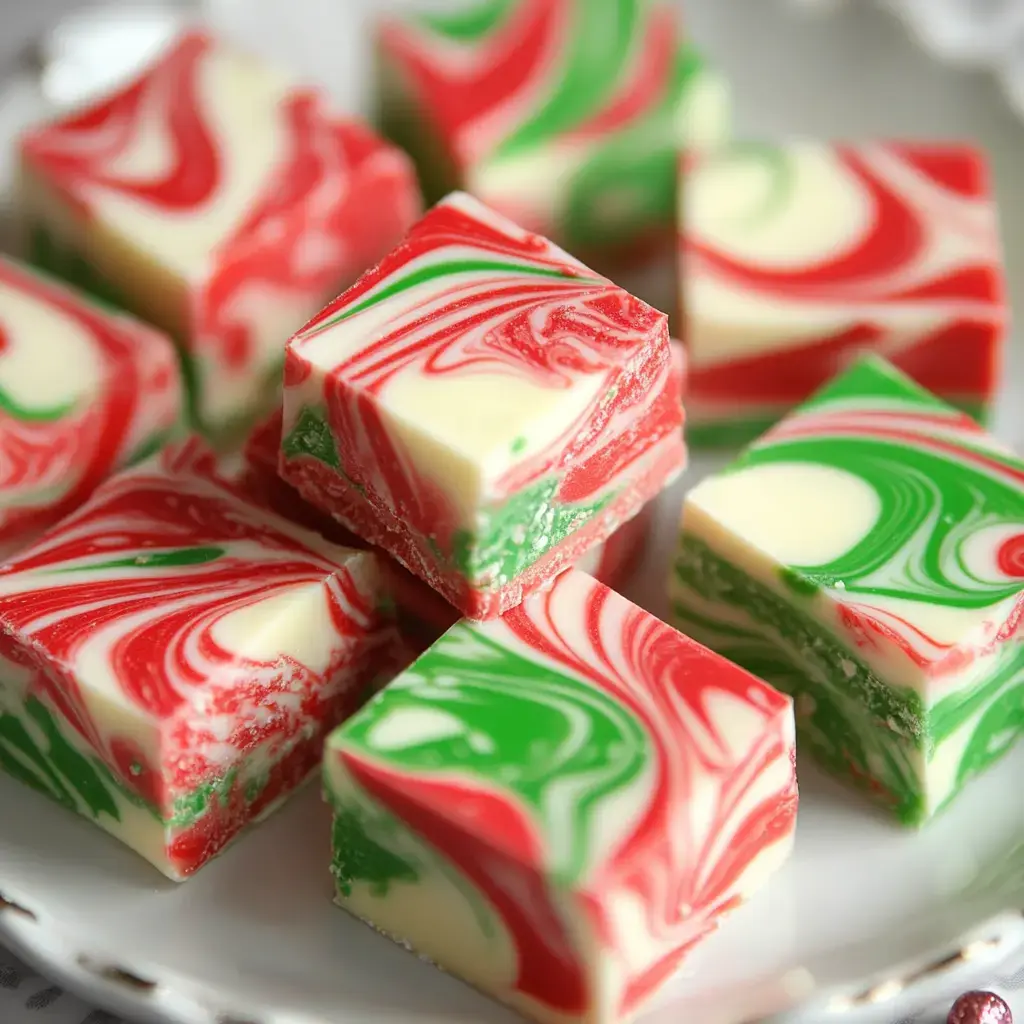
Irresistible Festive Fudge
- Takes almost no effort or special gadgets
- Seriously pretty—everyone swears you worked all night
- Fresh take on holiday sweets, not just another cookie
- Kiddos will beg to swirl the colors with you
- Packs up real cute for gifts—pop it in a box and you’re set
- No sugar thermometer needed and you can’t burn it
- Lasts ages (unless everyone eats it quick)
Shopping Guide
- Kitchen Stuff:
- Sharp knife for those clean cuts
- Pan about 8 inches square
- Parchment or foil works for lining
- Microwave-safe bowl—nice and big
- The Basics:
- White chocolate that melts well (skip the bargain stuff)
- Sweetened condensed milk—just one can
- Gel food coloring in red and green makes the best swirls
Time To Make Magic
- Prep First
- Cover your baking pan with parchment so you’ve got enough overhang to lift out the fudge later. Chop the chocolate into bits—don’t skip this or you’ll have lumpy fudge like I did once!
- Heat Things Up
- Tip in your chocolate and condensed milk. Zap in the microwave for half a minute then stir. Keep repeating this till it’s silky—don’t crank up the time or you could scorch it.
- Play With Color
- Split the fudge mix into three bowls: one stays plain, the other two get red and green dye. Best part for the kids, but be careful—those colors stick to everything, speaking from experience.
- Swirl It Up
- Spoon blobs of each color all over the pan, sort of polka dot style. Drag a skewer or knife through to swirl—you want marbled, not muddy, so less is more. I had to learn the hard way!
- Chill And Wait
- Refrigerate a few hours till it’s set. Good luck keeping sneaky fingers out—mine included!
 Pin it
Real-Life Tricks
Let everything sit out till it’s not cold—that’ll help the chocolate melt super easy. Make sure your bowl and spoon are totally dry or you’ll end up with a hard, ruined mess. Add a tiny bit more coloring if you want extra pop, but not too much—one time mine looked like Valentine’s by accident!
Switch It Up
I’ve done loads of wild combos! Try blue and white for snowy vibes, orange and black for Halloween fun. Toss some sprinkles on right before it hardens—my kids lose their minds over that. Crushed candy canes are wild too, though that batch was a little chaotic but tasted awesome!
Share And Store
Cut when cold for best squares—run your knife under hot water if you want edges super smooth. Seems extra special on Christmas trays. Keeps for a couple weeks if hidden well! For gifting, wrap in wax paper, tie with ribbon, and watch everyone’s face light up when they open the box.
Frequently Asked Questions
- → Why go with gel food coloring?
Gel coloring gives bolder color and won’t make the fudge runny. Liquids can mess with how thick it is and colors aren’t as bright.
- → What’s the trick for awesome swirls?
If you barely mix, you'll keep the colors popping. Just drag a knife back and forth a few times. Mixing too much makes the colors muddy.
- → How come my chocolate clumps up?
Too much heat or wet stuff causes clumping. Heat in little bursts, stir every time, and always use super dry bowls and spoons.
- → Is it okay to try other colors?
Totally, pick any gel color combo to fit the occasion. Just keep each batch the same size so everything sets right.
- → Why chill it in the fridge?
Chilling sets your fudge firm and keeps the swirls sharp. On the counter, it’ll take longer and turn out softer.