
 Pin it
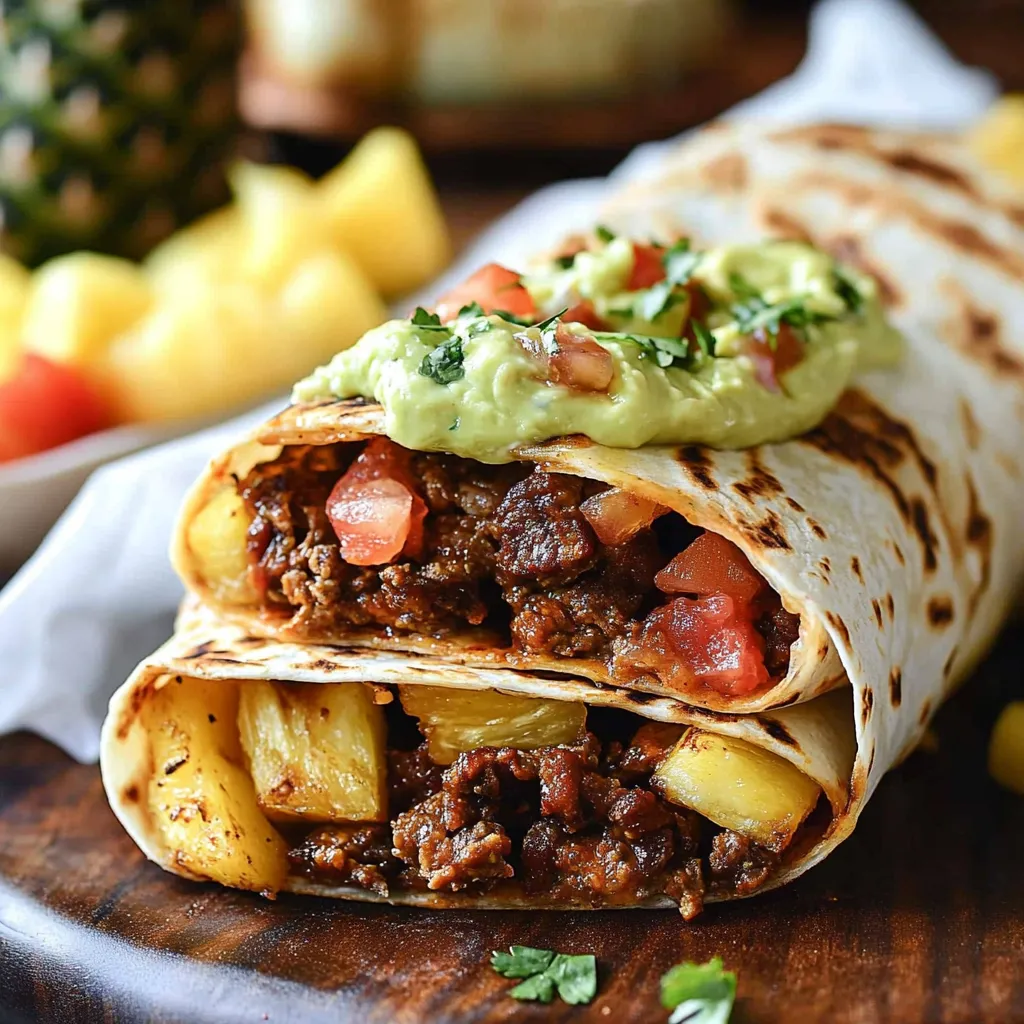
The California Burrito captures everything I adore about West Coast Mexican-American food - intense tastes, surprising mixtures, and sheer delight tucked inside a soft tortilla. This isn't your regular burrito; it's a San Diego staple that pairs wonderfully seasoned carne asada with crunchy fries, making something truly special. I've finally nailed the ideal mix of crunch and flavor after many tries at making this street food classic at home.
I made these for a family get-together last week, and my sister's husband, who spent several years living in San Diego, said they were better than what he got at his favorite taco place. The trick is getting the meat soak time right and making those fries super crispy.
Key Ingredients and Smart Selection Advice
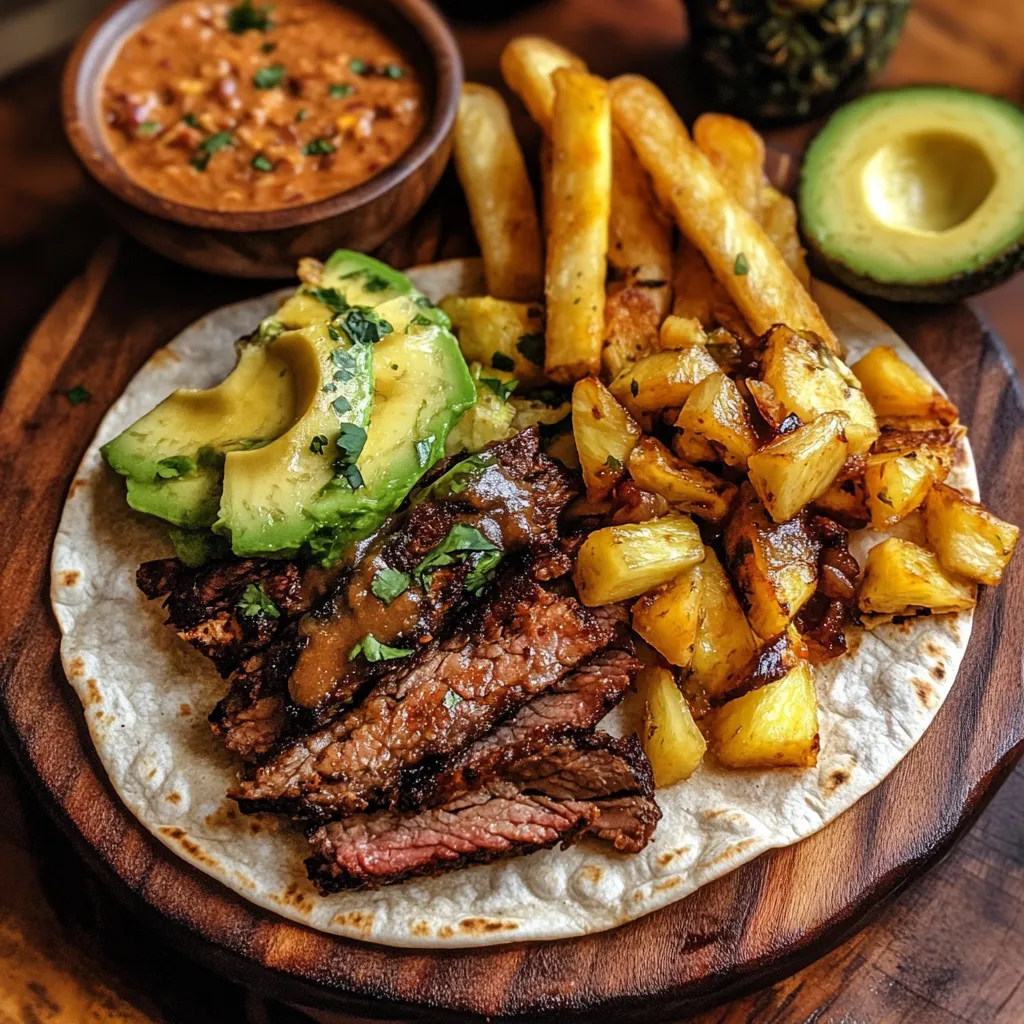
- Skirt or Flank Steak: Go for meat with good fat marbling and even thickness. I like skirt steak best because it's extra beefy and soaks up flavors really well.
- Potatoes: Go with Russets for your fries - they get crispy outside while staying soft inside. Cut them the same size so they cook evenly.
- Tortillas: You'll need fresh, uncooked flour ones. Make sure they're at least 12 inches across to fit everything nicely.
- Cheese: Grate your own for better melting. I mix sharp cheddar with pepper jack for the right balance of taste and meltiness.
Simple Cooking Directions
- Step 1:
- Start by mixing your marinade ingredients in a container, stirring well so the brown sugar fully melts. Put your steak in a big ziplock bag, pour the mixture over it, and rub it around to cover every part.
- Step 2:
- For your fries, slice potatoes into even 1/4-inch sticks. Let them sit in cold water for 30 minutes to wash away extra starch, then dry them completely with kitchen towels. This helps them get super crispy.
- Step 3:
- First coat the dried potato sticks with cornstarch, then mix with oil and spices. Lay them on a hot baking sheet - this makes the bottoms crisp up right away.
- Step 4:
- When cooking the carne asada, your grill should be super hot. Good charring creates those tasty burnt bits that make California Burritos so good. Let your meat cool for 10 minutes before cutting across the grain.
- Step 5:
- While the meat cools, whip up your avocado sauce. Pick avocados that feel slightly soft when gently squeezed. Blend until completely smooth, adding lime juice bit by bit to taste.
As someone who grew up in Southern California, I learned that the top California Burritos come from letting each part taste great on its own before putting them together. The mix of hot meat, crunchy fries, and cool sauce makes for an amazing meal.
 Pin it
Smart Assembly Tricks
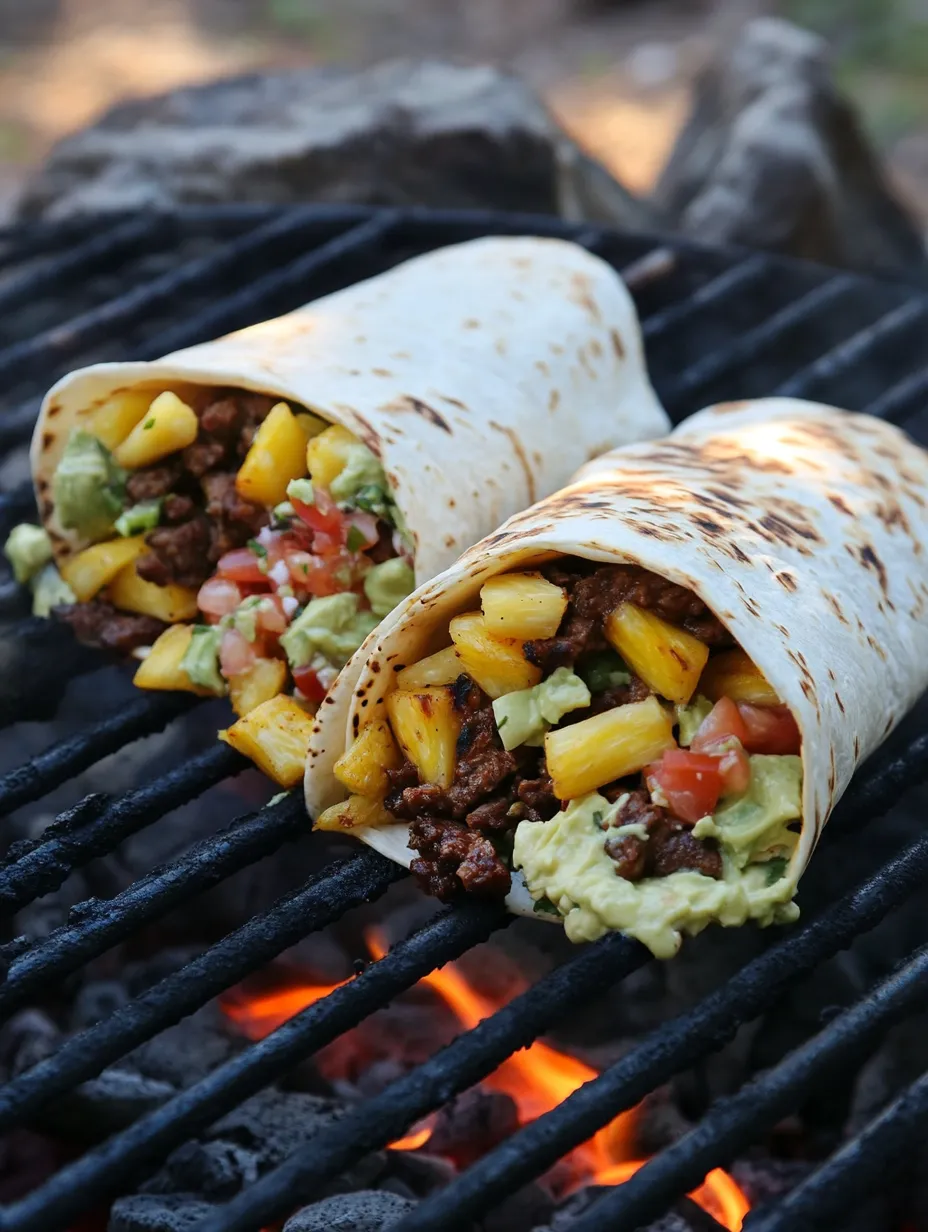
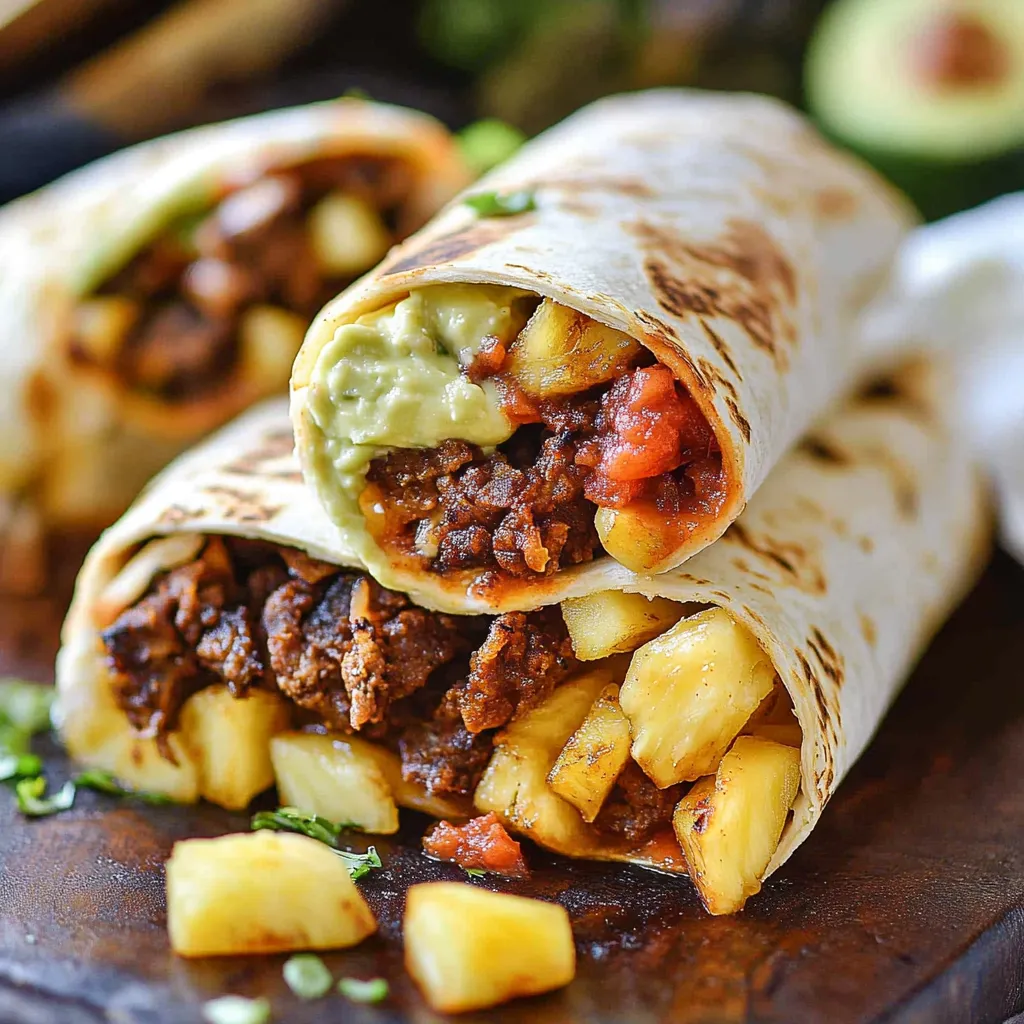
Putting together the perfect California Burrito is like making a work of art. I begin with a warm tortilla and put down cheese first - it melts from the warmth of other stuff and helps everything stick together. Then comes the sliced meat, followed by the crispy fries, and finally the avocado sauce. This exact order, which I figured out after lots of practice, makes sure every bite has the right mix of hot and cool, soft and crunchy.
Handling Heat Levels
One thing people often miss is managing how hot each part should be. The meat should be warm but not too hot, the fries fresh and crunchy, and the sauce cool. These different temps create an exciting mix that makes the whole thing taste better.
Getting Perfect Fries
The French fries are what set a California Burrito apart. After years of trying different ways, I've found that baking them at high heat (425°F) on a pre-warmed pan works best. They need to stay crunchy even when wrapped in the burrito.
Ways to Mix It Up
While I like the classic recipe, I also try different versions. Sometimes I'll throw in some tangy pickled red onions, or spicy chipotle mayo. The trick is keeping what makes it a California Burrito while adding small touches to make it your own.
 Pin it
Prep-Ahead Tips
For parties or weekly meal prep, I often make parts ahead of time. You can make the avocado sauce a day early (just add extra lime juice so it doesn't turn brown), and the meat can soak overnight. Just make sure to cook the fries fresh for the best crunch.
Keeping Leftovers
If you're making these for later, wrap each finished burrito (without the sauce) in parchment paper, then foil. Keep in the fridge for up to 3 days. For freezing, I suggest leaving out the avocado sauce and adding it fresh when you eat them.
Warming Them Up
The best way to warm these up is in a dry pan over medium heat, turning every few minutes until hot all the way through. This keeps the tortilla nice while making it a bit crispy. For frozen burritos, let them thaw in the fridge overnight before warming.
What to Serve With Them
While these burritos make a full meal by themselves, I love having them with elote (Mexican grilled corn), tangy pickled veggies, or a simple cabbage slaw. The fresh, crunchy sides go great with the rich burrito.
 Pin it
Budget-Friendly Meal Choice
Making California Burritos at home isn't just tastier - it saves money. I've worked out that homemade ones cost about a third of what you'd pay at a restaurant, plus you can control the quality and how much goes in each one.
Food Heritage Story
The California Burrito shows the wonderful growth of Mexican-American cooking. Created in San Diego taco shops, it shows how traditional Mexican cooking methods can welcome new ingredients to create something uniquely American.
Pro Kitchen Secrets
- Always let your meat sit at room temperature before grilling so it cooks evenly
- Check your tortilla warmth - they should be warm enough to fold but not so hot they crack
- Keep your rolled burritos with the seam down for at least 30 seconds to help seal the edge
Closing Thoughts
Making an amazing California Burrito takes both skill and passion. Through years of cooking these for family and friends, I've found that small details make big differences. From picking the right cut of meat to getting those fries just crispy enough, every step matters for the end result. This recipe has become more than just food in my home - it's a celebration of mixed food cultures and the fun of cooking. Whether you're making them for a simple dinner or special gathering, these burritos bring people together and create great memories. The mix of juicy carne asada, crunchy fries, melty cheese, and smooth avocado sauce makes this one of my most asked-for dishes, showing that sometimes the best foods are ones that break old rules while still honoring authentic flavors.
Frequently Asked Questions
- → Why is it called a California burrito?
- The key difference is the french fries inside, paired with carne asada, cheese, and a creamy avocado sauce.
- → Can you freeze these for later?
- Absolutely! Let them cool first, wrap in foil, and freeze for up to three months. Heat in your oven at 400°F for around 30 to 40 minutes.
- → Do I have to use pineapple?
- Not at all! It’s optional but gives a nice sweet balance when grilled.
- → What can I use instead of avocado crema?
- You could swap it out for guacamole or plain sour cream if you prefer.
- → How do I warm them up again?
- Your best choice is the oven at 400°F or microwave first, then finish on a skillet to crisp the tortilla.