
 Pin it
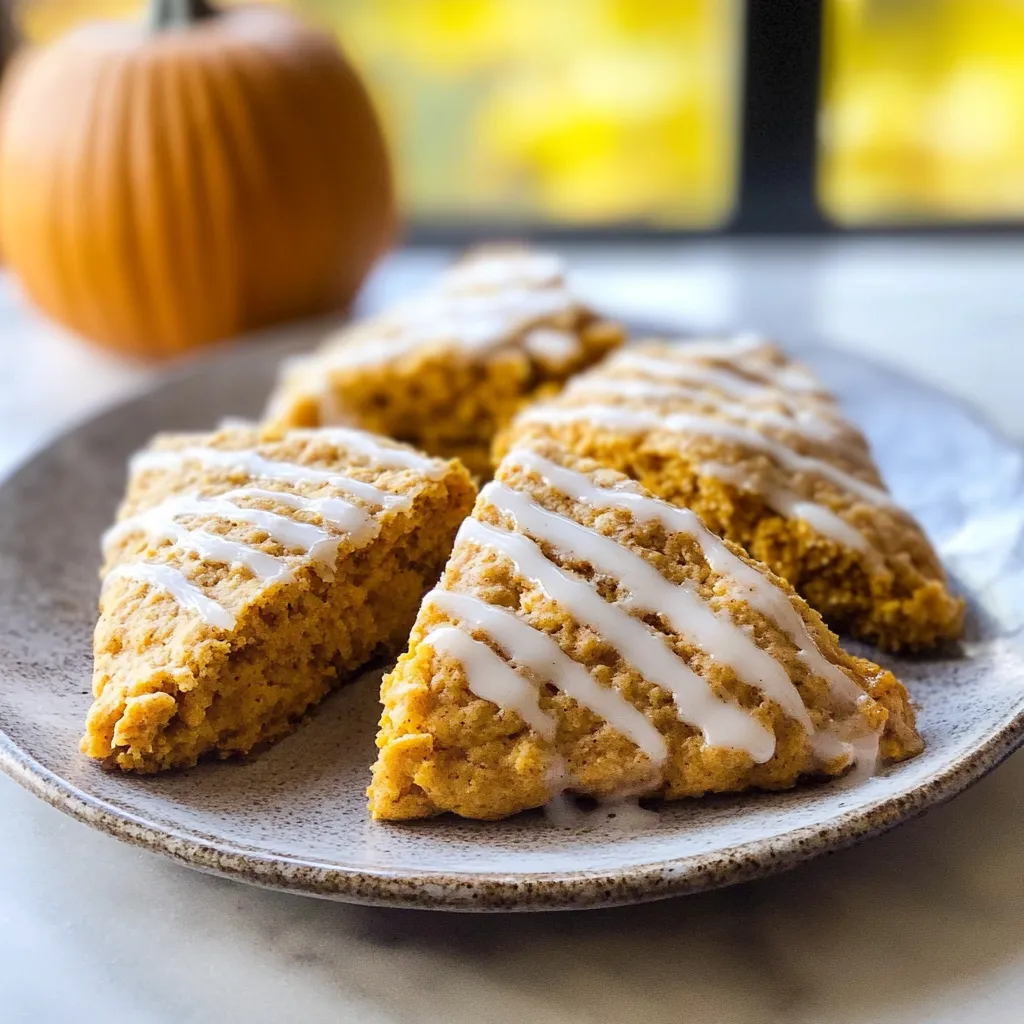
When the smell of pumpkin spice fills your kitchen from the oven, it turns any regular morning into something magical. After years of tweaking scone recipes, I've found that making truly great pumpkin scones comes down to getting the right balance between how cold your ingredients are and your mixing technique. These aren't just regular scones - they're soft, layered bites of fall comfort, topped with a maple glaze that takes them from tasty to unforgettable.
I made these for a fall get-together last weekend, and everyone went quiet when they took their first bite. What's my secret? It's all about keeping things cold and handling the dough gently for the perfect texture.
Key Ingredients and Shopping Advice:
Go for high-quality butter - grab European style if you can find it since it's got more fat. Make sure you're using plain pumpkin puree, not the pre-spiced pie filling, and let it sit out until it reaches room temp for better mixing. Your spices need to be fresh - toss out that pumpkin pie spice if it's been open longer than six months. Even your eggs matter - keep them in the fridge until you're ready to use them.
 Pin it
Making Magic Step by Step
Start by cutting your butter into small half-inch chunks and stick them in the freezer while you get everything else ready. This freezing step isn't just fussy - those cold butter bits create steam pockets when baking, giving you amazing flaky layers. While that's happening, move your oven rack to the upper-middle spot and crank it up to 425°F.
Grab your biggest bowl and mix the flour, brown sugar, baking powder, spices, and salt together. This isn't just throwing things in a bowl - you're adding air to the flour and making sure the leavening stuff is spread out evenly. Use your fingers to break up any stubborn lumps of brown sugar you find.
 Pin it
Getting the Mix Just Right
Here comes the important part - adding those ice-cold butter chunks to your dry stuff. Whether you use a pastry tool or your fingers, work fast and with purpose. You want a mix that looks like rough sand with some bigger, pea-sized butter pieces still visible. These different sizes create interesting texture in your finished scones. If you're using your hands, don't dawdle - your warm fingers are working against you here.
In another bowl, mix your pumpkin puree and cold eggs until they're totally smooth. The temperature difference here is on purpose - cold eggs help keep your butter from warming up too much. Pour this into your flour-butter mix and fold everything together with a rubber spatula using gentle movements. Stop once the dough starts coming together - those few dry spots will mix in when you shape it.
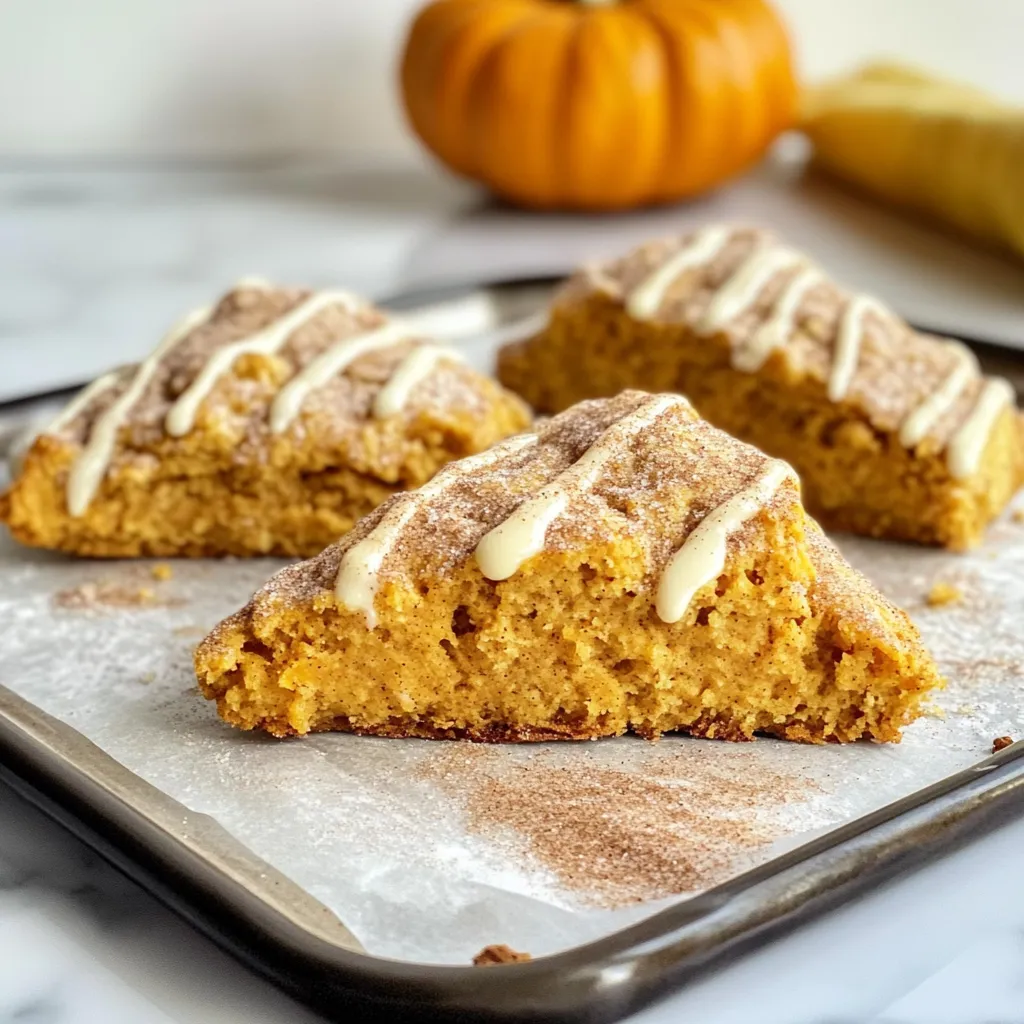
Dump your rough dough onto a lightly floured counter. With floured hands, gently press it together and form an 8-inch circle about 1½ inches thick. Don't grab a rolling pin - your hands give you better control and won't overwork the dough. Cut it into eight wedges with clean, straight-down cuts using a sharp knife. Clean cuts help them rise better.
Move your wedges to a baking sheet lined with parchment paper, leaving at least an inch between them. Now comes the part where patience pays off - stick these shaped scones in the freezer for a full 20 minutes. This rest helps the gluten chill out and gets the butter completely cold again. By now, your oven should be nice and hot.
 Pin it
The Last Touches
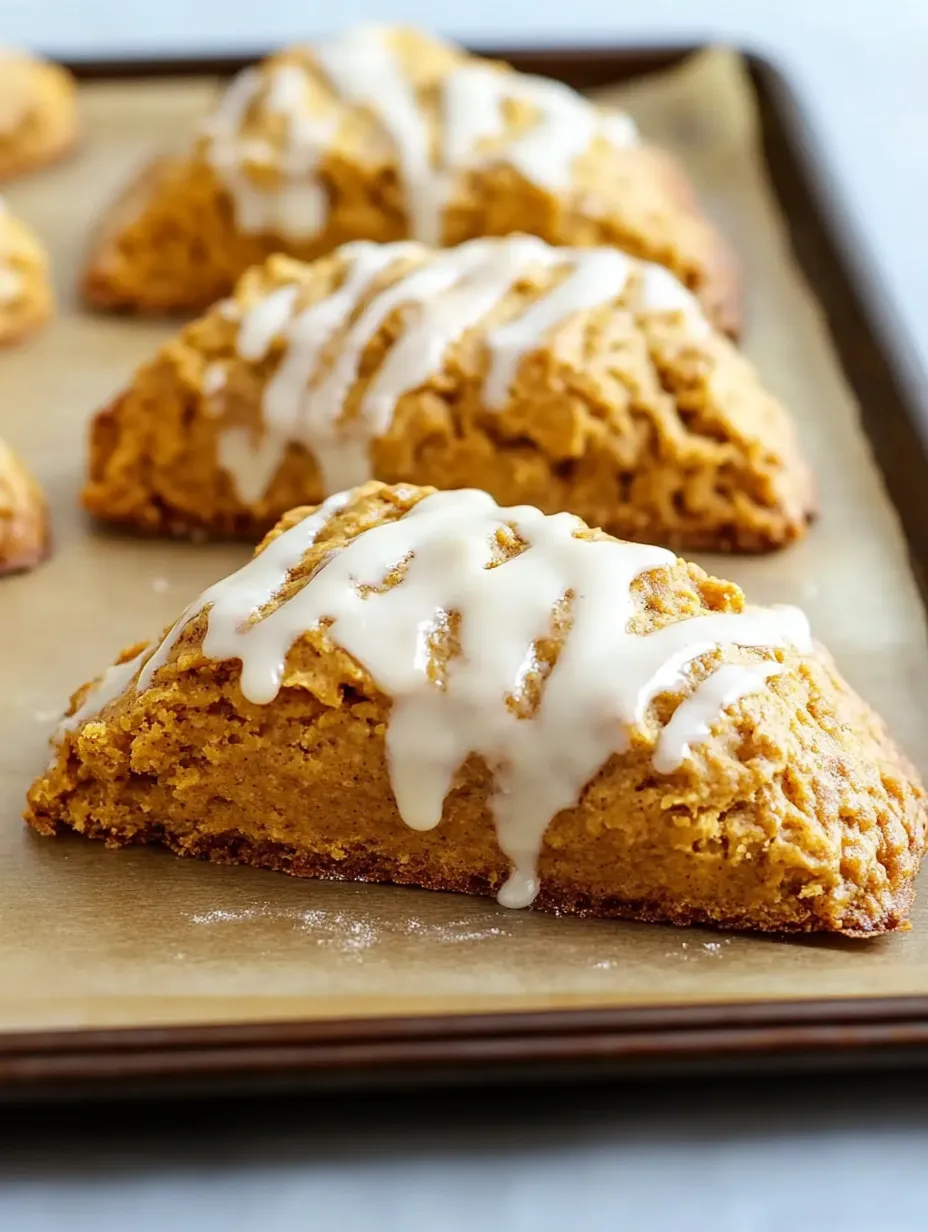
Just before you bake them, brush each scone with milk and sprinkle lots of turbinado sugar on top. The milk helps them brown evenly while the sugar adds sweetness and a nice crunch. Pop them into your hot oven and keep an eye on them - they'll need about 17-22 minutes, but start checking at 15. Look for golden brown edges and tops that bounce back slightly when you touch them.
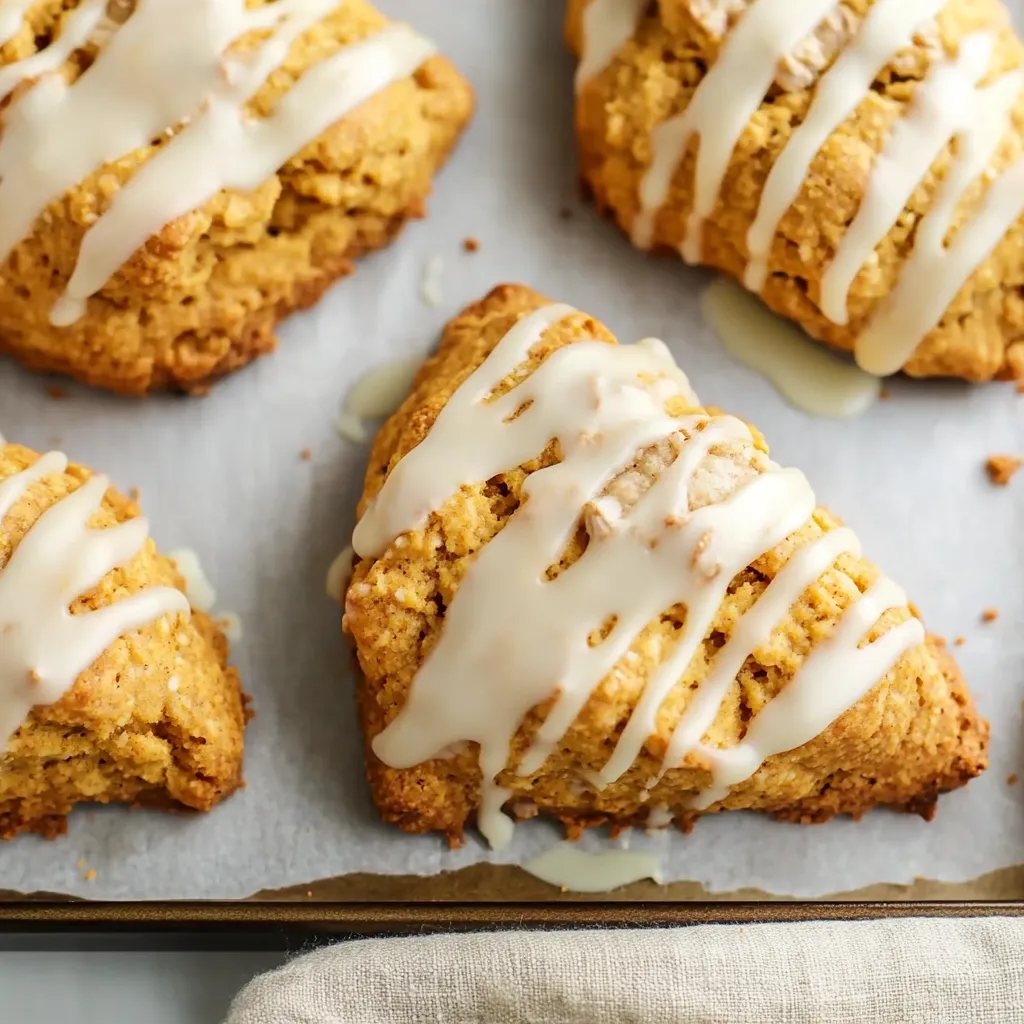
Making the Perfect Maple Topping
While your scones cool down, make the maple glaze. You've gotta use real maple syrup here - its rich flavor turns these scones from good to amazing. Mix it with powdered sugar until it's smooth and silky. You want it thick enough to hold its shape when drizzled but thin enough to slowly run down the sides of your scones. Add some vanilla and a tiny bit of salt to bring out the maple flavor even more.
Frequently Asked Questions
- → What’s the point of keeping things cold?
- Cold ingredients stop the butter from melting too soon, which gives the scones those tender, flaky layers.
- → Can these be frozen before baking?
- Absolutely. Freeze them solid after shaping, then toss them in freezer bags—they’ll keep for up to 2 months. Bake straight from the freezer.
- → What if I don’t have pumpkin pie spice?
- No problem! Just blend cinnamon, nutmeg, ginger, and cloves to make your own version.
- → Why does chilling help before baking?
- Chilling firms up the dough so the scones hold their shape and bake up flakier.
- → Can these be prepped in advance?
- Totally. Either freeze the uncooked dough or store baked ones in a sealed container for up to two days.