
 Pin it
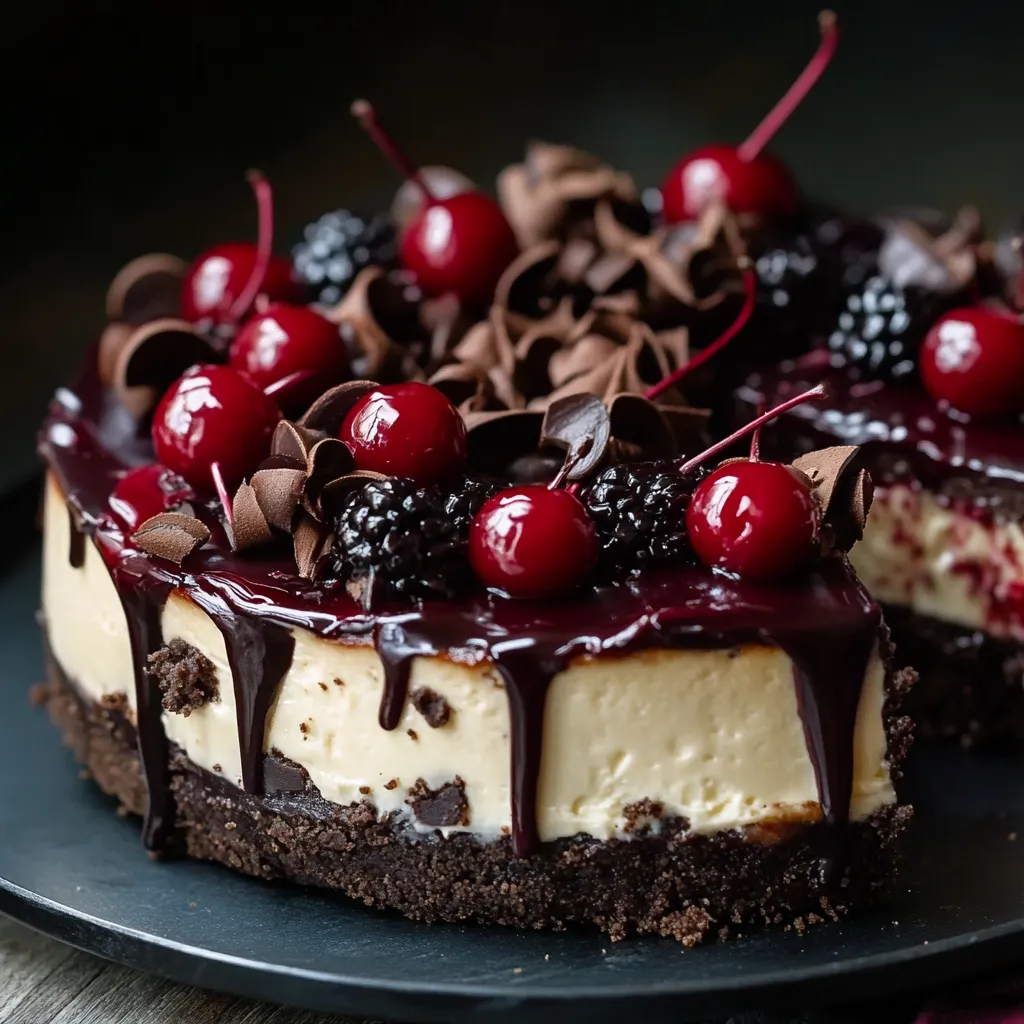
When you cut into this Black Forest Cheesecake, you'll realize you've whipped up something truly remarkable. It's not just a regular sweet treat - it's a showstopper that blends the velvety richness of chocolate with the tangy burst of cherries, all tucked into the creamy goodness of a flawless cheesecake. I've spent many years tweaking this recipe in my home, and it's now the dessert everyone begs me to bring to gatherings.
What Makes This Treat Special
I first created this dessert during a wet afternoon when I mixed up my mom's tried-and-true cheesecake with my grandma's famous Black Forest cake. What came out of the oven was better than I'd hoped, and now we can't celebrate anything without it.
Key Components
- Full-fat cream cheese: Don't go for low-fat options if you want that lush texture
- High-fat European butter: It makes a more reliable and tasty crust
- Good chocolate cookies: They build the base of your amazing creation
- Top-notch cherries: The highlight of your Black Forest masterpiece
- Dutch-process cocoa: Adds richer, more interesting chocolate flavor
- Heavy whipping cream: Gives you that dreamy smoothness we all want
 Pin it
Step-By-Step Method
- Get Everything Ready (1 hour ahead):
- Let your cream cheese, eggs, and sour cream sit out until they reach room temp. Don't eyeball anything - exact measurements matter for cheesecakes. Get your springform pan ready with grease and parchment paper.
- Make Your Base (20 minutes):
- Break down chocolate cookies into fine bits. Stir them with melted butter until they look like damp sand. Press the mixture firmly across the bottom of your pan. Bake briefly until it sets and smells good.
- Whip Up Your Filling (30 minutes):
- Beat the cream cheese until it's completely smooth with no bumps. Slowly add sugar to keep everything smooth. Mix in eggs one by one, just until they blend in. Carefully fold your melted chocolate in without overmixing.
- Nail the Baking (1 hour 10 minutes):
- Set up a proper water bath for gentle heat. Cover your pan carefully so water can't get in. Keep an eye on the temperature while it bakes. You'll know it's done when the middle still jiggles slightly.
- Cool It Right (4-6 hours):
- After baking, keep it in the oven with the door open for an hour. Let it cool completely on a rack. Chill it thoroughly in the fridge. Put the cherry topping on just before you serve it.
 Pin it
Important Notes
I knew this cheesecake was a hit when my aunt, who never likes anyone's desserts, asked me how I made it after her first bite at our family dinner.
Getting That Smooth Feel
After many attempts, I've found that the secret to that incredible silky smoothness comes down to perfect timing and temperature. Every single ingredient needs to be at room temperature - I even put my eggs in warm water for 10 minutes before I start mixing. These little details transform a decent cheesecake into something truly amazing.
Tricks For The Water Bath
I struggled with water baths for ages before figuring it out. Now I wrap my springform pan in three layers of thick foil that goes well above the sides. The water should come halfway up the pan - any higher might leak in, any lower won't give enough moisture during baking.
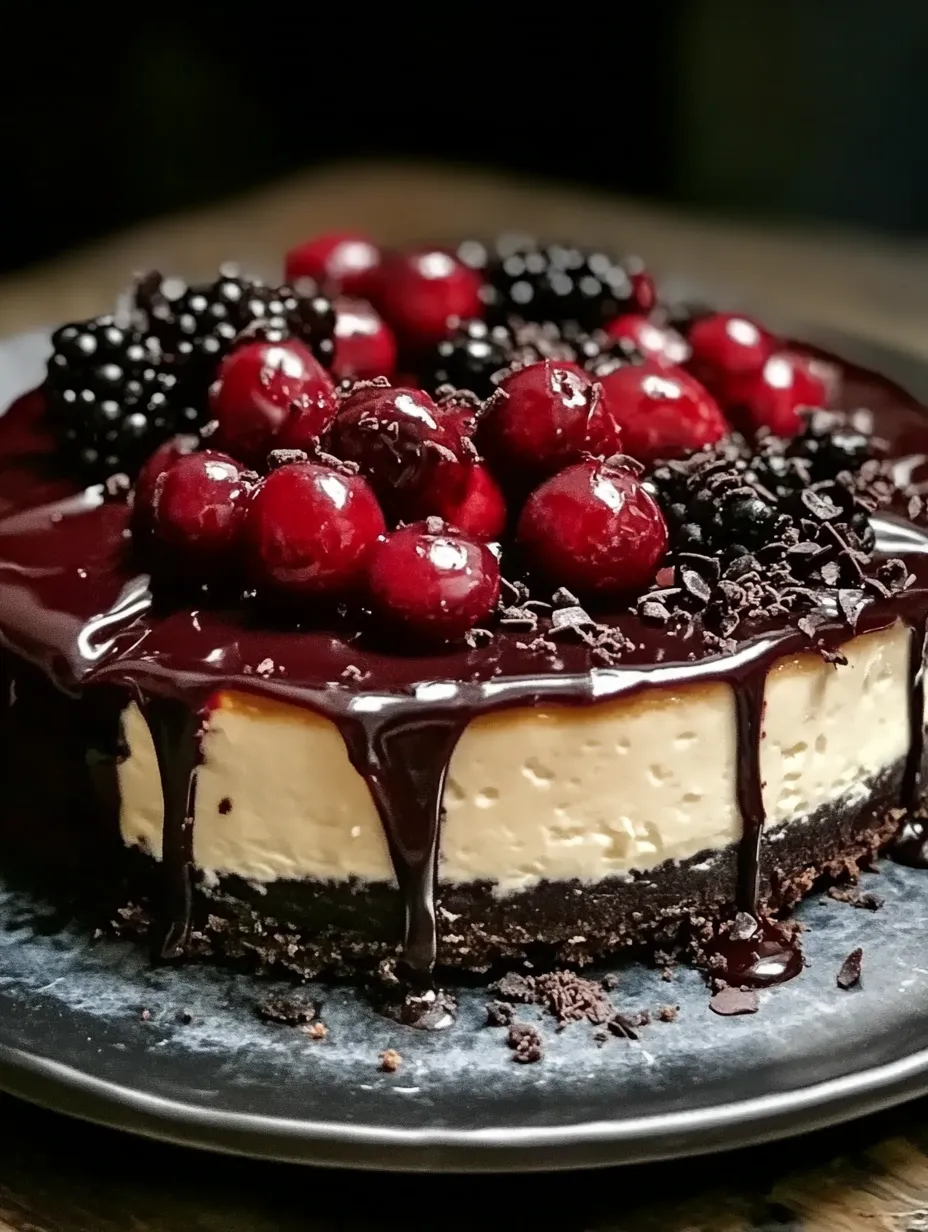
Picking The Right Cherries
While good canned cherry filling works fine, I love making my own topping from fresh or frozen cherries. I cook them with a bit of sugar, real vanilla, and a little kirsch until they're shiny and delicious. Their natural sourness works so well with the rich cheesecake underneath.
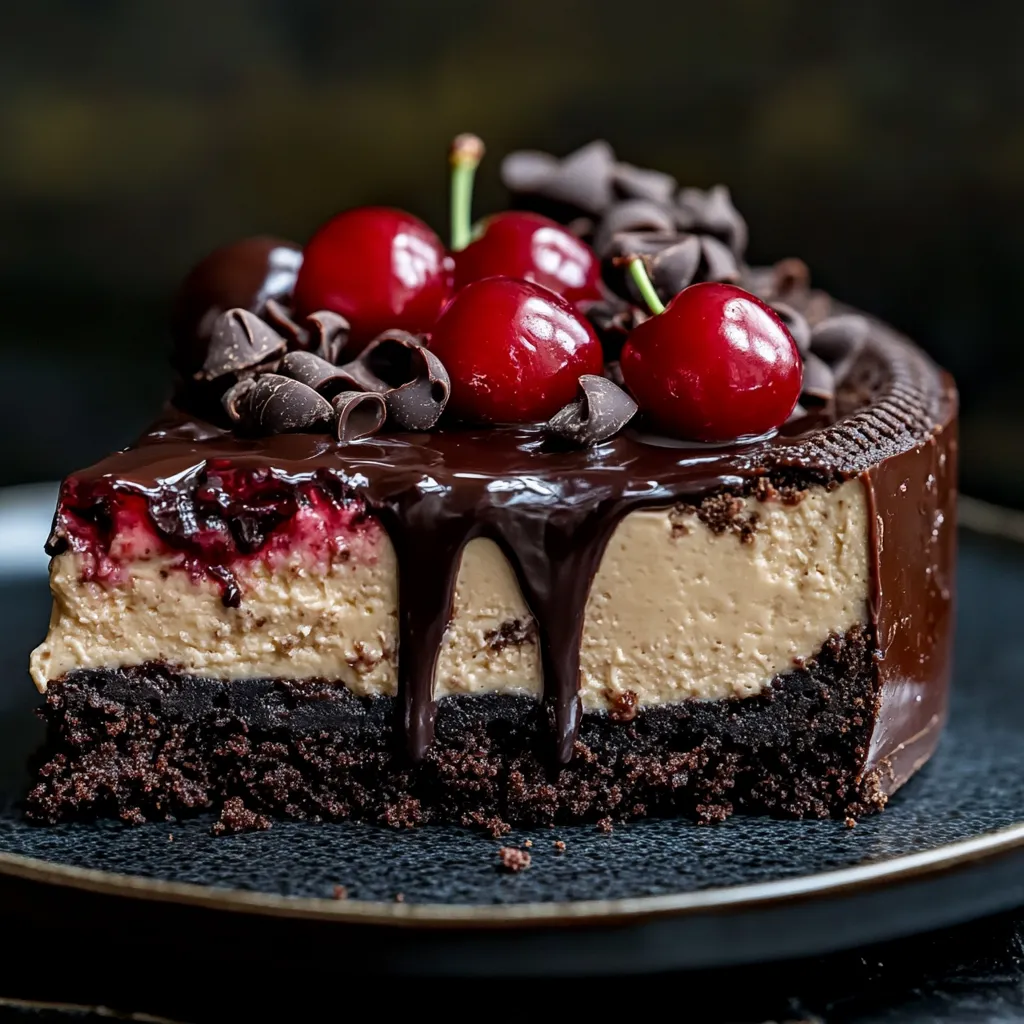
Working With Chocolate
Each chocolate type brings something special to the table. For the crust, I mix dutch-process cocoa with the cookie crumbs for more flavor. The filling gets both melted dark chocolate and a bit of cocoa powder, while I garnish the top with curls of semi-sweet chocolate.
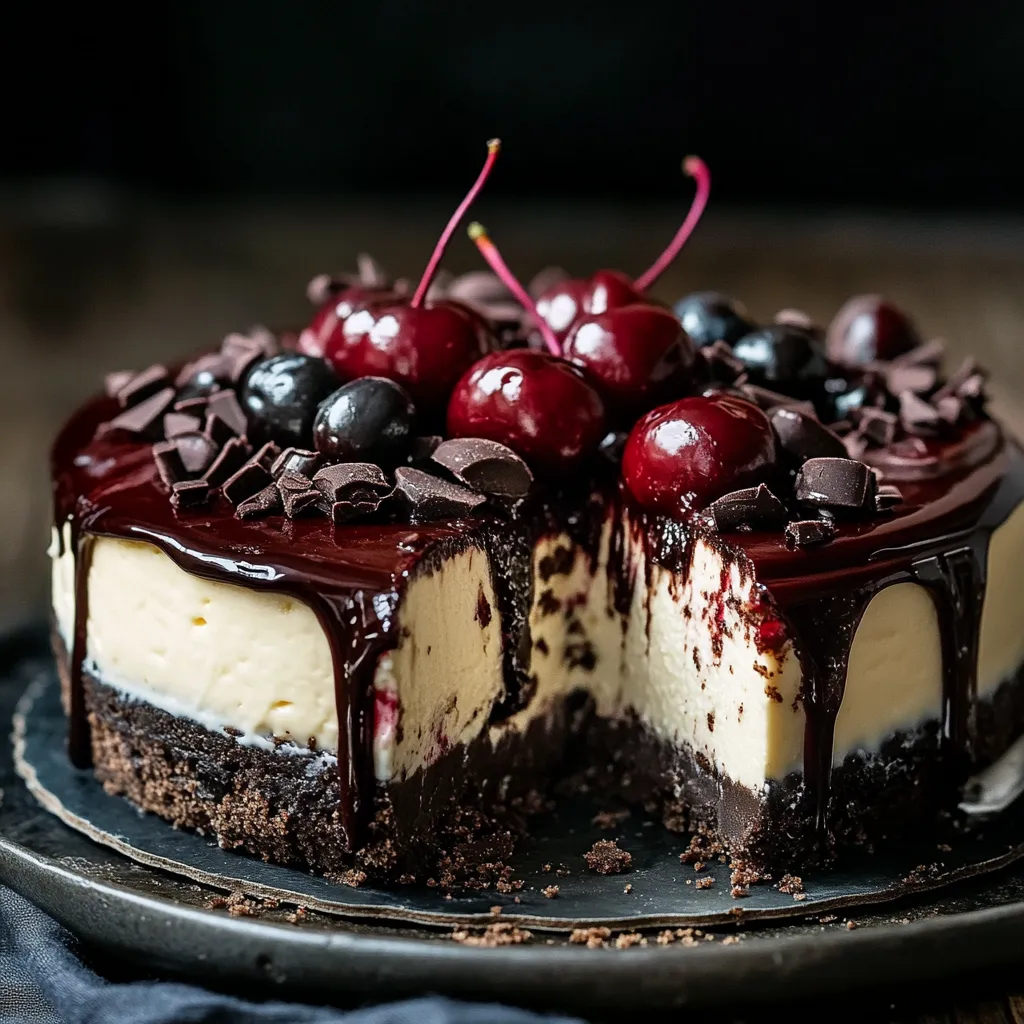
Changing With The Seasons
In summer months, I often make it lighter with more fresh cherries and less chocolate. During winter, I go all-in on richness with extra chocolate and warm ganache drizzled on top. The basic recipe works great year-round with these small tweaks.
Keeping It Fresh
Good storage keeps every piece tasting fresh. I've learned that putting a paper towel on top before wrapping soaks up moisture and keeps the surface perfect. When I freeze it, I cut it into slices first so they thaw easily when needed.
Fixing Common Problems
Issues like cracks or uneven baking usually happen because of temperature changes. If the top starts getting too brown, cover it loosely with foil. Seeing a crack form? Turn your oven down 25 degrees and bake it a little longer.
Planning Ahead
This cheesecake actually tastes better after a day or two. I often make it two days before I need it, letting all the flavors blend together perfectly. Just wait to add the cherry topping until a few hours before serving so everything stays the right texture.
 Pin it
Quality Tools You'll Need
Having the right equipment really matters. A good springform pan, strong mixer, and proper spatulas are must-haves. I actually keep one rubber spatula just for making cheesecakes - I don't use it for anything else!
Pro Pointers
- Don't ever open the oven during the first hour of baking
- Run your filling through a strainer for super smoothness
- Keep separate measuring tools just for working with chocolate
- Learn to hear the right sound when you tap it to check if it's done
Last Thoughts From The Kitchen
Through countless times making this Black Forest Cheesecake, I've found that patience truly makes all the difference. Whether it's waiting for ingredients to warm up or giving it time to chill completely, every bit of waiting leads to a tastier dessert. This recipe has grown beyond just ingredients - it's become a celebration of family traditions, good techniques, and the pure joy of making something that wows everyone at the table.
Frequently Asked Questions
- → Do I have to use a water bath?
- You can skip it, but a water bath helps prevent cracks and bakes evenly. If skipping, bake at 300°F for a bit longer.
- → How can I tell if it’s done baking?
- Look for the edges to be firm while the center still moves slightly. It finishes setting as it cools.
- → Can I swap cherries in a can for fresh ones?
- Yes! Cook pitted cherries with sugar and cornstarch to make a fresh topping. About 4 cups should do it.
- → How long can this cheesecake stay fresh?
- Store it in the fridge for up to 5 days, or freeze it and keep for 2 months.
- → Is this dessert good for making ahead?
- Absolutely! It’s better when chilled for at least 4 hours. Make it 1-2 days ahead of your event.