 Pin it
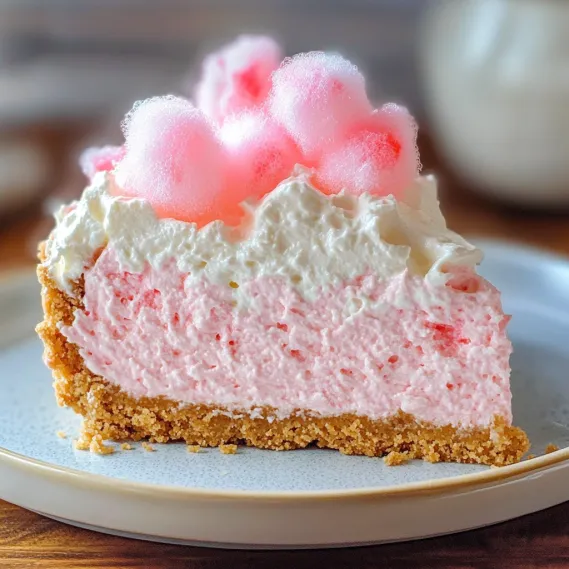
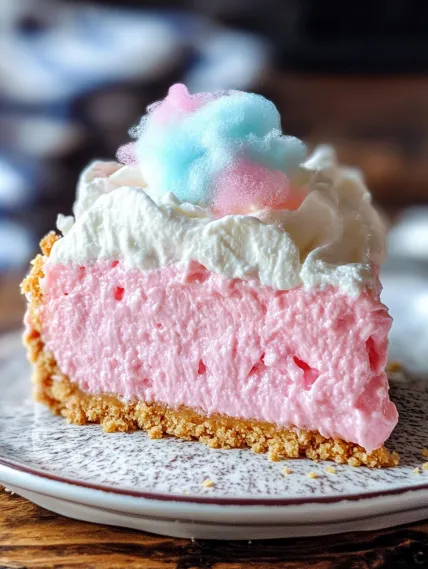
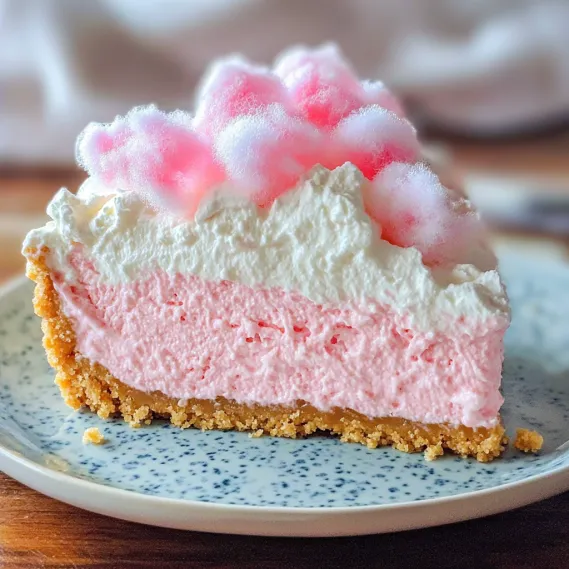
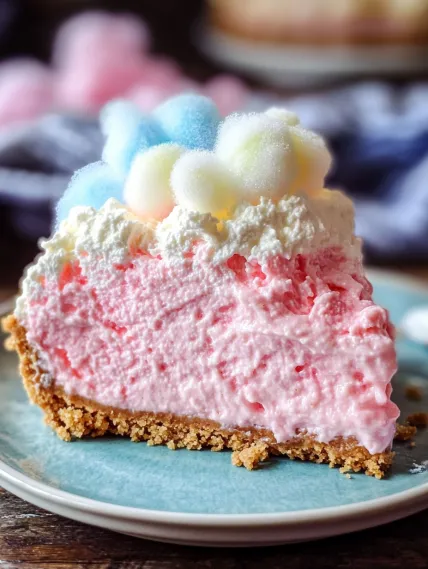
This fluffy carnival-inspired cheesecake transforms sugary cotton candy into a creamy, sophisticated treat you might not want to share. Built on a rich graham cracker foundation, it features a velvety filling where real cotton candy dissolves completely into the mixture during baking. You'll get that classic cheesecake tanginess blended with playful cotton candy sweetness, topped with fluffy cream and extra cotton candy puffs. It looks stunning and tastes even better—perfect for birthday celebrations, fun get-togethers, or anytime you want a grown-up version of your favorite childhood sweet.
I created this for my niece's birthday party and her face just lit up completely. Even my father, who normally passes on sweets, grabbed another slice saying it brought back memories of county fairs but wasn't too sugary. Now everyone in the family asks for it whenever we have something to celebrate.
Star-Quality Ingredients
- Graham Crackers: The honey variety works best—they create a warm foundation that complements everything above. Always use fresh ones for the best texture.
- Cream Cheese: Don't skimp on fat content for the creamiest result—let it get properly soft before mixing. The low-fat kind works in a pinch but isn't quite as indulgent.
- Cotton Candy: Go for the freshest, fluffiest kind you can find in any flavor you enjoy—it'll create lovely sweet spots throughout. Try to avoid the dense pre-packaged stuff if possible.
- Sour Cream: This keeps everything beautifully moist with a slight tang—it's essential. Take it out early so it's not cold when mixing.
- Heavy Cream: Makes the lightest, fluffiest topping—stick it in the fridge beforehand for the best whipping results.
Adding cotton candy really makes this dessert unique. I tried using some older cotton candy from storage once and it just didn't melt right into the mix. Getting fresh stuff really pays off for that special touch.
Baking Time
- Step 1: Create Your Base
- Smash 9 graham crackers into tiny bits (a blender makes quick work of this). Combine with ¼ cup sugar and 6 tablespoons melted butter until it looks like wet beach sand. Push firmly into your 9-inch springform pan—go up the sides too if you want—and bake for 10 minutes at 325°F until golden and fragrant. Let it cool while you work on the next part.
- Step 2: Prepare The Filling
- Whip 24 ounces of room-temperature cream cheese until completely smooth. Add 1 cup sugar gradually, then blend in ½ cup sour cream and 2 tablespoons flour until everything's well mixed. Add 3 large eggs one by one, mixing gently just until they disappear—too much mixing will cause problems. Finish with 1 teaspoon vanilla for flavor depth.
- Step 3: The Magic Touch
- Break 1 cup cotton candy into little pieces and carefully mix them into your batter. You'll notice small colorful flecks—that's exactly what you want. Don't mix too vigorously or they'll completely disappear.
- Step 4: The Baking Method
- Pour everything onto your cooled crust and smooth the surface. Place your pan inside a larger roasting dish, add hot water halfway up the sides for steam, and bake at 325°F for about 60-70 minutes. The edges should be firm but the middle slightly wiggly. Turn the oven off, open the door slightly, and let it cool there for an hour before refrigerating at least 4 hours.
- Step 5: Final Touches
- Beat 1 cup cold heavy cream with 2 tablespoons powdered sugar until it stands in stiff peaks. Spread or pipe over your chilled cheesecake, then add fresh cotton candy tufts just before serving—they'll start dissolving if left too long.
 Pin it
I can't get enough of how the cotton candy melts throughout the filling—creating these amazing sweet spots in every bite. My sister always says it's like eating a fluffy dream, and my children always argue over who gets the parts with the most whipped cream. It's become our go-to happy dessert for family gatherings.
Stunning Presentation
I enjoy serving this alongside tiny pastel cookies or colorful candy sticks for a full carnival effect. For fancier occasions, I've done individual servings in small glasses with alternating layers of crust, filling and whipped cream—they always vanish first at parties.
 Pin it
Tasty Variations
Try using blue raspberry cotton candy with a matching swirl of jam for something fruitier. Or go with strawberry cotton candy and a ribbon of preserves for a bright summer feel. My chocolate-crazy cousin always wants the version with cocoa powder mixed in and dark chocolate shavings scattered on top.
Storage Info
This stays good in your fridge for up to 5 days—just wait to add the cotton candy decoration until you're ready to eat. For longer storage, wrap it tightly (without the whipped cream) and freeze up to a month. Let it thaw overnight in your fridge before adding fresh toppings—nobody will know it wasn't made that day.
Easy Entertaining
This cheesecake lets you get ahead on party prep. I often make it the day before, let it chill overnight, and add fresh whipped cream when guests arrive. Once I made a double batch for a big family reunion—half went into the freezer and tasted just as amazing when we pulled it out weeks later.
 Pin it
This cotton candy cheesecake brings a bit of carnival wonder to your table—smooth, sweet and always impressive. It's amazing how something so fun can also feel so fancy with just a little effort. Each bite takes you back to those carefree fair days, but now you can enjoy it with a fork instead of sticky hands.
Frequently Asked Questions
- → What kind of cotton candy works best for this cake?
- Store-bought cotton candy is a great choice since it's compact and less likely to vanish instantly like fresh spun candy. Look for ones sold in tubs or bags instead of on sticks. Pick pink or blue varieties made with sugar, as they deliver better color and taste.
- → Can I swap real cotton candy for flavoring?
- Sure, you can use cotton candy extract if you like. Add 1-2 teaspoons to the batter and maybe a dab of pink or blue food coloring for effect. However, real cotton candy adds unique streaks of flavor and visual touches that extracts can't quite replicate.
- → Why did the cotton candy vanish into the filling?
- Dissolving a bit is normal since it melts into the mixture, enhancing the taste. To keep some flavor streaks intact, add cotton candy just before baking and fold it very softly. Tearing it into smaller bits also helps balance how much blends into the batter.
- → How can I stop my cheesecake from cracking?
- Follow these tips: Get the ingredients to room temperature before starting. Don't stir too much after adding eggs. Bake at a lower heat (325°F). Let it cool gradually by turning the oven off, leaving the door ajar. Lastly, run a knife around the outer edge while still warm to prevent sticking.
- → Can I use a different pan if I don't have a springform one?
- Yep! Line a deep 9-inch cake pan with parchment paper, leaving some overhang as handles. Once chilled, gently pull it out. You can also go mini by making them in muffin tins, using cupcake liners, and baking for 20-25 minutes instead.
- → How early can I prepare this cake?
- You can make it ahead by up to 3 days and keep refrigerated under a cover. For longer storage, wrap the cooled cheesecake tightly in plastic wrap, followed by foil, and freeze for a month. Let it thaw overnight in the fridge, and hold off on toppings until just before serving.
