 Pin it
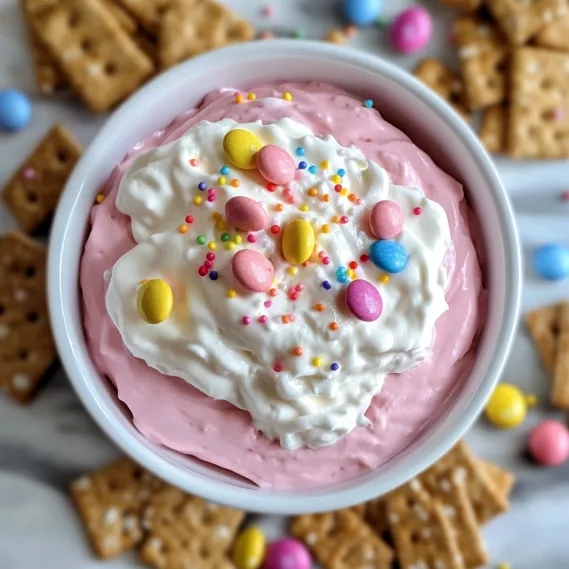
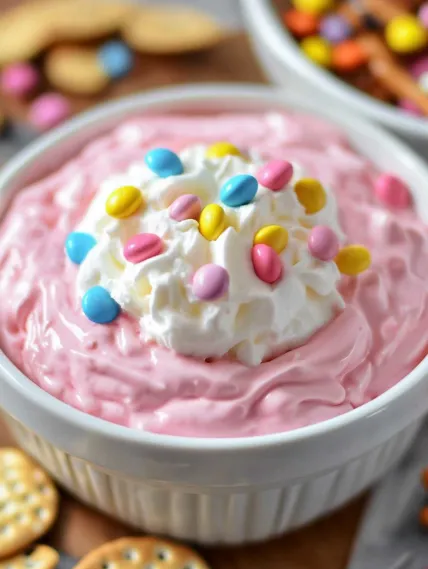
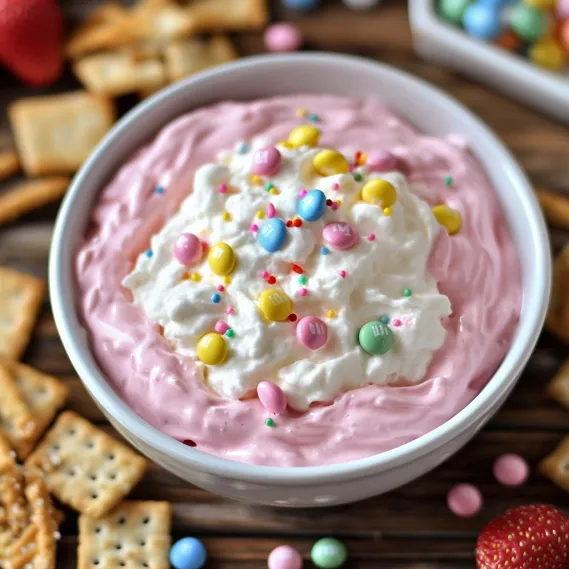
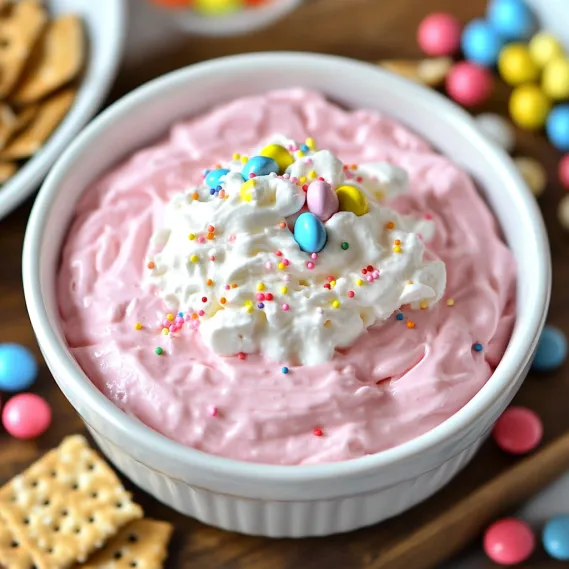
Fluffy cream cheese blended with light topping creates a dreamy dessert dip that's got vanilla hints and fun pastel candy bits. This cute Easter snack looks amazing but takes hardly any work, making it just right for spring parties when you want something awesome but don't have time for fancy baking.
I came up with this Easter dip when I needed something sweet fast for a surprise family visit. The kids were waiting for a treat and I didn't have baking time, so I just played around with stuff I had in my fridge. The soft pink color got the kids all excited while grown-ups loved that it wasn't too sweet but still super creamy.
Key Ingredients and Smart Picks
- Cream Cheese: Gives that thick, tangy base that cuts through sweetness. Go for full-fat for the best texture, but light works too if that's what you've got.
- Whipped Topping: Makes everything super airy without whipping cream yourself. Let it thaw completely so it mixes in easily.
- Powdered Sugar: Melts right in for smoothness without any grainy bits. Give it a quick sift if you see clumps.
- Vanilla Extract: Brings a cozy flavor that makes everything taste better. The real stuff works best here.
- Pink Food Coloring: Turns a plain dip into a fun Easter treat. Gel colors pack more punch with just a tiny drop.
- Pastel Sprinkles/Candies: Add pretty pops of color and nice crunch. Easter shapes like little eggs make it extra festive.
I've learned that which cream cheese you pick really changes how smooth your dip turns out. Philadelphia always gives me the creamiest results, while cheaper brands sometimes stay a bit lumpy even after lots of mixing. When I'm making this for something special, I don't take chances and always grab the good stuff for perfect results.
Simple Step-by-Step Guide
- Step 1: Whip Up Your Base
- Grab 8 ounces of softened cream cheese and drop it in a big mixing bowl. Beat it with your electric mixer on medium until it's totally smooth. This part needs patience - keep scraping the sides and beating until all lumps are gone because they won't disappear later.
- Step 2: Sweeten Things Up
- Throw in 1 cup powdered sugar and 1 teaspoon vanilla. Start mixing slowly so sugar doesn't fly everywhere, then speed up to medium until everything gets light and fluffy. Want it extra special? This is when you can mix in 1/2 cup marshmallow fluff.
- Step 3: Build That Cloud-Like Texture
- Carefully fold 8 ounces of thawed whipped topping using a rubber spatula with wide, gentle movements. Take your time and go slowly to keep all that air while making sure no white streaks stay behind. When done, your mix should look puffy but still hold shape when you lift the spatula.
- Step 4: Add Some Easter Magic
- Put in 3-4 drops of pink coloring and fold just enough to make an even light pink throughout. Then gently mix in 1/4 cup of pretty sprinkles or tiny candies, but save some for topping. Don't overmix or you'll lose that fluffy texture while spreading out the colorful bits.
- Step 5: Let It Rest
- Scoop everything into your serving dish, smooth the top, and sprinkle the leftover candies on top. Cover with plastic and stick it in the fridge for at least 30 minutes or up to a day ahead. This waiting time lets flavors come together and helps the dip set up perfectly.
 Pin it
My family loves eating this Easter dip with honey graham crackers and fresh strawberries. My husband can't get enough of the sweet dip with salty pretzels, and my kids have fun putting sprinkles on marshmallows before dipping them in. What makes this snack so great isn't just how yummy it tastes but watching everyone gather around, trying different combos and making happy memories together.
Tasty Texture Secrets
These cookies taste amazing because they've got different textures - crunchy bottoms with soft, flavorful insides. I've figured out it's all about handling moisture every step of the way. First, you gotta really squeeze that salted cabbage to get all the water out or your filling will turn mushy. Then, the cornstarch doesn't just hold everything together - it soaks up any wetness that's left. Last trick is how you cook them - fry, then steam, then fry again. That's what gives you that awesome crispy bottom while making sure the middle cooks perfectly.
 Pin it
Brilliant Party Prep Ideas
The best thing about this recipe is how you can make it ahead of time. When I'm having people over, I break it into stages: I shape and freeze the balls up to a month before, coat them the day before and keep them covered in the fridge, then just bake them when guests show up. The smell fills the house and gets everyone hungry right away. For bigger parties, I make twice as much and keep the second batch warm in a low oven until we need it.
New Life for Leftover Treats
If you somehow don't finish all your cookies (which hardly ever happens at my place!), you can turn them into completely different meals. Break them up into scrambled eggs for a French-style breakfast, or cut them up and toss them in a green salad with spicy dressing for lunch. My favorite way to use them again is putting halved cookies on top of creamy grits for breakfast. It's so good and lets you enjoy those flavors again the next day.
 Pin it
Smart Cooking Tricks
- Let the balls sit for 5 minutes after they come out of the oven before you dig in - this makes the inside set up just right
- Want more flavor? Try adding a teaspoon of smoked paprika to your panko mix
- Can't find cookies in your local stores? You can order them online from places like Bourgeois Meat Market or The Best Stop
- Put out different dips - try spicy remoulade and cool ranch along with the Louisiana sauce
- Make it look fancy by arranging the balls on a platter with bits of chopped parsley, purple cabbage, and yellow bell pepper to match the traditional green, purple, and gold colors
Frequently Asked Questions
- → Can I prep this dip the day before?
- Yep! Make it up to a day ahead and store it in the fridge, tightly covered. Sprinkle the toppings right before serving so they don’t lose their crunch. If it separates a bit (which is rare), just stir it gently.
- → Is there an alternative to whipped topping?
- Sure! Use 2 cups of freshly whipped cream instead of store-bought whipped topping. Whip 1 cup of heavy cream until it forms soft peaks. It might have a slightly different texture, and it won’t last as long, so enjoy it the same day.
- → How can I make this dip match other holidays?
- Switch up the colors and sprinkles for any occasion! Try red and green for Christmas, orange for Halloween, or a combo of red and blue for Fourth of July. You can even leave it white with rainbow sprinkles for birthdays or celebrations.
- → Why is my dip lumpy?
- That usually happens if your cream cheese wasn’t soft enough before mixing. To fix it, cut the cream cheese into smaller pieces and microwave briefly (10 seconds at a time) until just soft. If the dip is already mixed but lumpy, try using a mixer or food processor to smooth it out.
- → How can I make this dip less sugary?
- Easy! Use just 1/4 cup of powdered sugar instead of more, or skip the marshmallow fluff if you want a tangier cream cheese flavor. Choose less sugary add-ins like tiny chocolate chips or nuts instead of sprinkles and candies.
- → What are some other dipper ideas for this?
- Mix it up! Try apple slices, vanilla cookies, pretzels, cinnamon pita chips, biscotti, or even chocolate-covered graham crackers. Arrange them nicely around your dip for a fun and colorful table setup.
