 Pin it
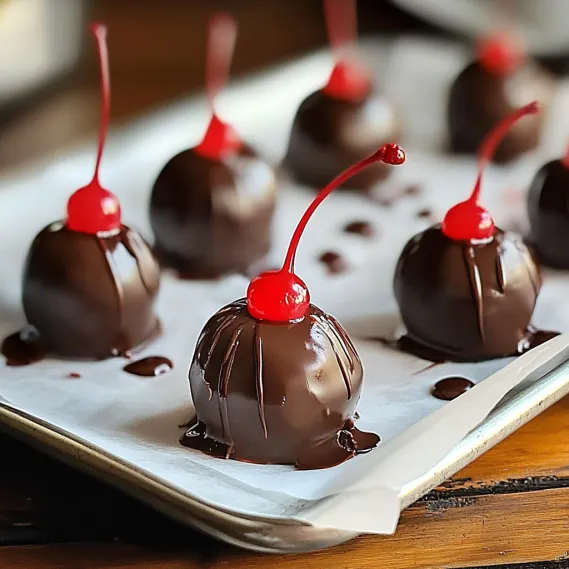
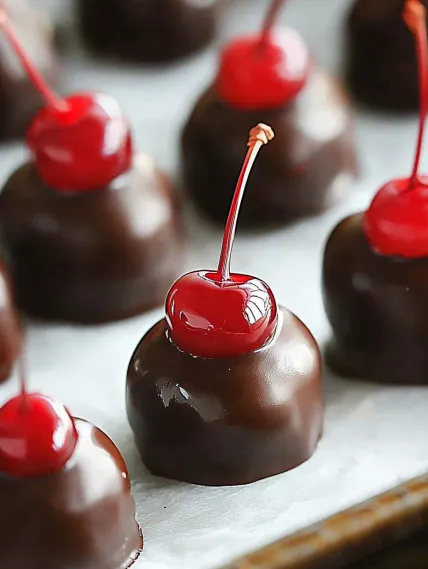
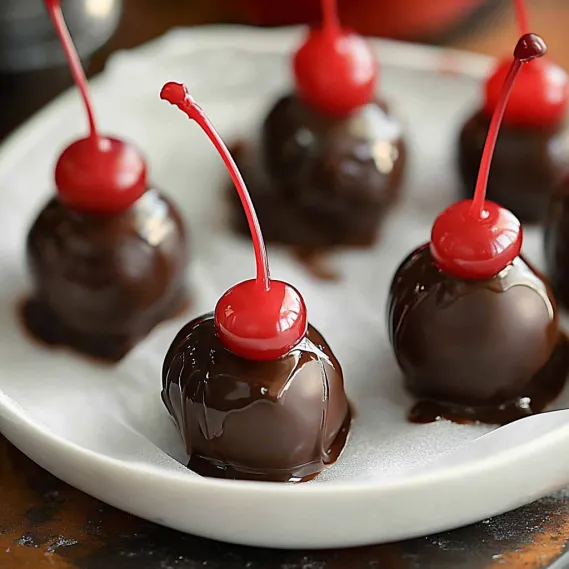
When you take that first bite into a homemade Amish Chocolate Covered Cherry, something wonderful happens – the chocolate outer layer breaks apart to show a sweet fondant inside, and then comes that amazing burst of cherry and liquid in the center. It's a combo of textures and tastes that you won't be able to stop eating.
For Christmas last year, I put these in cute little boxes as gifts for teachers. When I met with my daughter's math teacher later, she told me she'd kept them hidden from her family because she didn't want to share! The trick? Taking enough time to dry the cherries properly and letting the finished candies sit so that amazing liquid center forms on its own.
Key Ingredients and Smart Selection Advice
- Maraschino Cherries: Go for juicy, firm ones with nice color. I like using cherries with stems for that classic look, but ones without stems work great too.
- Powdered Sugar: Make sure it's fresh with no clumps. The tiny particles help create that smooth fondant that will turn into the gooey center.
- Butter: Pick salted butter and let it soften before using. The salt helps balance out all the sweetness in the fondant.
- Chocolate: Grab some good quality semisweet or dark chocolate for the best melting and flavor. Don't use chocolate chips since they have additives that make dipping harder.
- Cherry Juice: Saved from the jar of cherries, this adds more flavor and helps with the cool change from solid to liquid centers.
I've found that choosing good maraschino cherries makes the biggest difference in taste. That bright red color and tangy-sweet flavor comes from using real maraschino cherries instead of regular black tea with food coloring that some recipes tell you to use.
Step-by-Step Making Instructions
- Step 1: Get Your Cherries Ready
- Drain your maraschino cherries but save ¼ cup of the juice for later. Dry the cherries really well with paper towels, then put them on fresh paper towels to air dry for at least half an hour. You can't skip this drying part - it makes sure the fondant sticks properly and the chocolate won't mess up when you dip the cherries.
- Step 2: Mix Up the Special Fondant
- In a big bowl, mix 3 cups of sifted powdered sugar with 3 tablespoons of softened salted butter and the cherry juice you saved. Use an electric mixer until you get a soft dough. You might need to add up to 1 more cup of powdered sugar if it's too sticky - you want it firm enough to shape without losing its form.
- Step 3: Wrap Each Cherry Carefully
- Put the fondant in the fridge for 20 minutes to firm up a bit. Then take a spoonful of fondant, roll it into a ball, and flatten it. Put a dried cherry in the middle and wrap the fondant around it, covering it completely except for the stem if your cherries have them. Put the wrapped cherries back in the fridge for 20 minutes to get firm before the next step.
- Step 4: Dip in Melted Chocolate
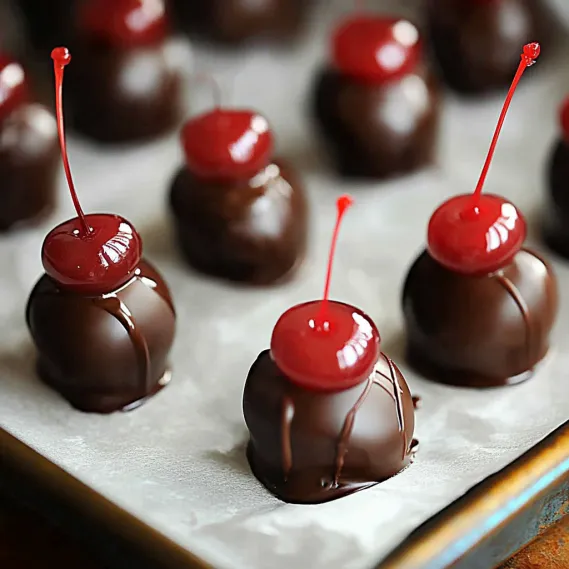
- Melt 12 ounces of good chocolate in a microwave-safe bowl. Heat it at half power for 30 seconds at a time, stirring well between each heating until smooth. Work with just a few cherries at once (keep the rest cold), and dip each fondant-covered cherry into the chocolate using a fork. Make sure they're completely covered. Put them back in the fridge for 20 minutes so the chocolate sets.
- Step 5: Let the Magic Happen
- Let the dipped cherries sit at room temperature on parchment paper until the chocolate is totally hard, about 1-2 hours. Store them in a single layer in an airtight container at room temperature for 3-6 days. During this time, something amazing happens – the fondant slowly turns into that perfect liquid center.
 Pin it
When I first tried making these, I was worried about the wrapping part. After a few lopsided tries, I realized that it doesn't matter if they look perfect - they taste amazing either way. Now my kids help with the wrapping, and they each have their own style that's become part of our family tradition.
Achieving Incredible Texture Balance
What makes these treats so special is how they have different textures that work together - crispy bottoms with soft, tasty fillings. I've learned that managing moisture at each step is crucial. First, you need to really squeeze the salted cabbage to get rid of extra water that would make the filling too wet. Next, the cornstarch does double duty by binding the filling and soaking up any leftover moisture. Lastly, the cooking method - frying, then steaming, then frying again - gives you that awesome crispy bottom while making sure the filling cooks all the way through.
 Pin it
Clever Prep Ideas for Parties
One thing I really love about this recipe is how you can make it ahead of time. When I'm hosting, I often do this in stages: shape and freeze the balls up to a month before, bread them the day before (keeping them covered in the fridge), and just bake them when guests are about to arrive. The smell of these baking gets everyone excited to eat. For bigger parties, I make twice as much, keeping the second batch warm in a low-temp oven until it's needed.
Fresh Ways to Use Up Extras
If you somehow have leftover treats (which hardly ever happens at my house!), you can turn them into completely different dishes. Break them up into scrambled eggs for a French-style breakfast hash, or cut them up and toss into a simple green salad with a spicy dressing for a light lunch. My favorite way to reuse them is to put halved treats on top of a bowl of creamy grits, making a filling breakfast that carries the flavors into the next day.
 Pin it
Expert Advice for Best Results
- Let the balls cool for 5 minutes after baking before you eat them – this helps the inside set up for the perfect bite
- Want more flavor? Try adding a teaspoon of smoked paprika to your panko mix
- Can't find them nearby? You can order online from real deal suppliers like Bourgeois Meat Market or The Best Stop
- Put out several dipping options – maybe a spicy remoulade and cool ranch along with the Louisiana dipping sauce
- For a party-ready look, arrange them on a plate with sprinkles of chopped parsley, purple cabbage, and yellow bell pepper in groups to show the traditional green, purple, and gold
Frequently Asked Questions
- → Do cherries have to be super dry before dipping?
- Yes, totally. If they're too wet, the fondant could slip off or turn gooey, and the chocolate might not stick properly. Dry them well with paper towels to avoid these issues.
- → How do these keep, and for how long?
- If you store them in a sealed container at room temperature, they last about 1 to 2 weeks. Over time, the fondant turns more liquid, making the centers ooze a bit like store-bought ones. Want that effect? Make them 3-5 days ahead.
- → Can I switch out the chocolate type?
- Sure thing! Go with dark, milk, or white chocolate—whatever you like best. Just make sure it's good quality melting chocolate, not chips with stabilizers, for smooth results.
- → Help! My fondant keeps sticking. What can I do?
- Add a little more powdered sugar slowly until it's easier to handle. Dusting your hands with powdered sugar helps too. If it's still tricky, chill the fondant for 10-15 minutes and try again.
- → I don't have stems on my cherries. Is that a problem?
- Nope! Stems make things easier, but you can dip the stemless ones with a fork. After dipping, smooth out the spots with a toothpick if needed.
- → Why won't my chocolate harden?
- If it’s warm in your kitchen, the chocolate might struggle to set. Stick the dipped cherries in the fridge for 15-20 minutes. For a shinier finish, you might want to temper the chocolate, but that’s optional.
