
 Pin it
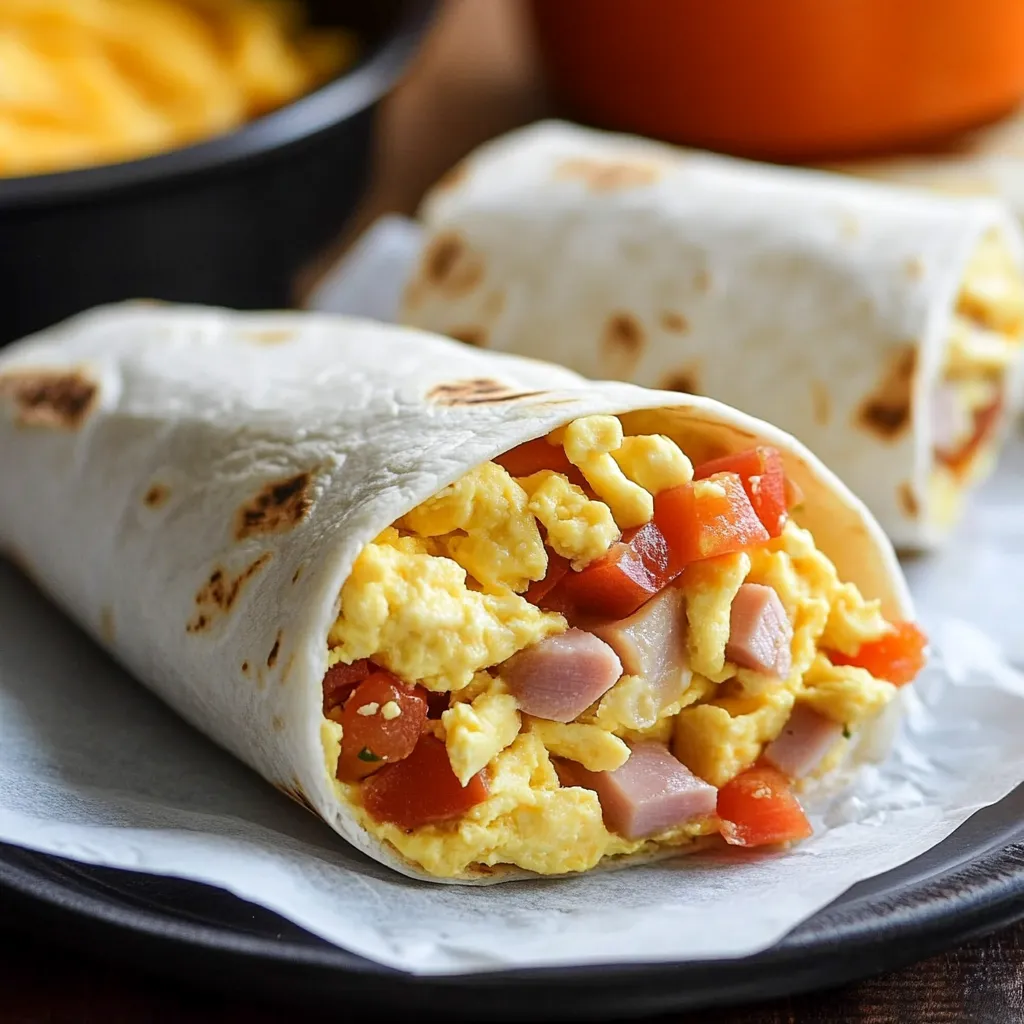
Turn basic items into tasty beef burritos with this foolproof method. The well-spiced ground beef, paired with crisp veggies and gooey cheese, makes an amazing dinner that's filling and adaptable.
My kids ask for these burritos every week - they're just that tasty. The DIY spice mix really makes them special.
Key Ingredients
- Ground beef (80/20): The fat makes sure your meat stays juicy
- Raw garlic and onion: Builds a tasty base
- Mix of spices: Each one brings its own rich taste
- Big tortillas: New ones fold better
- Black beans: Gives extra protein and roughage
- Crisp veggies: Adds needed texture
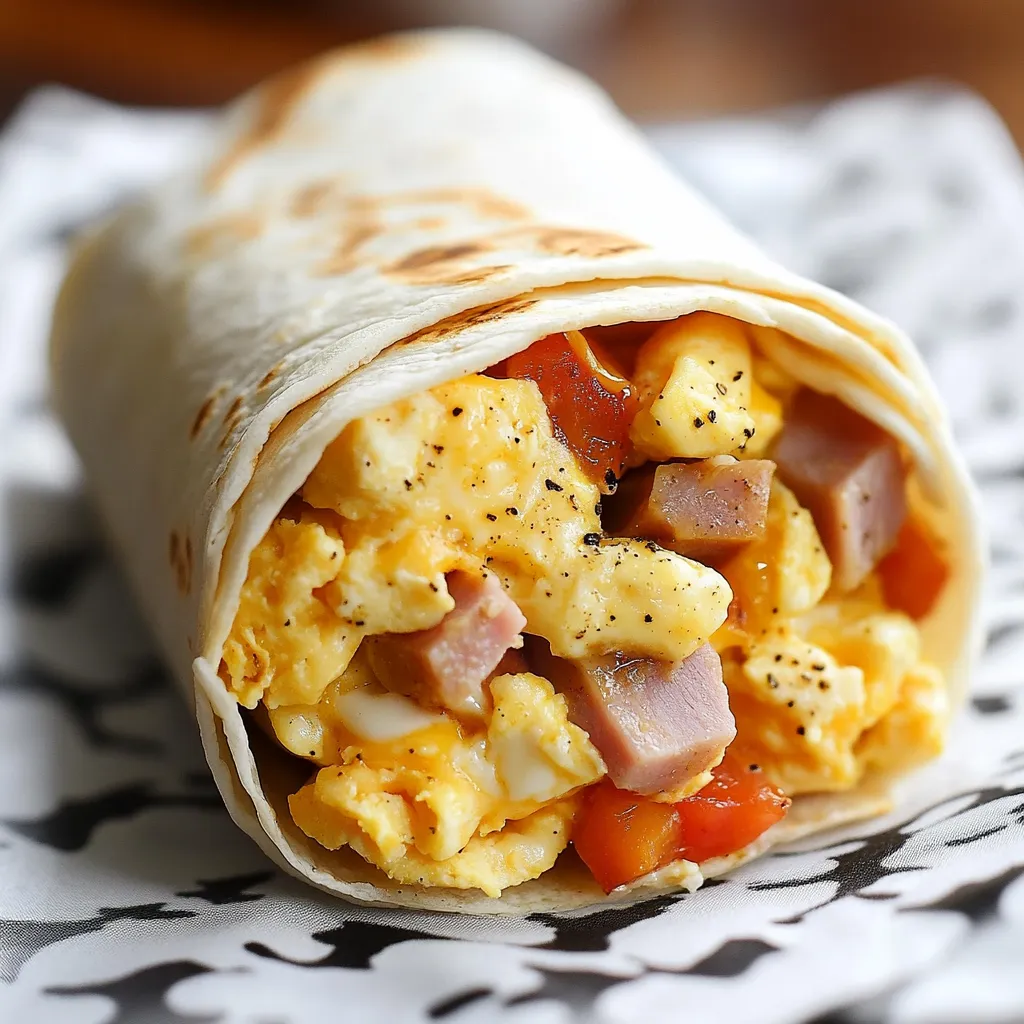
Step-by-Step Cooking Guide
 Pin it
- Step 1:
- Grab a big, solid pan and heat it up on medium. Pour in oil and wait till it shimmers. Toss in chopped onions and cook until see-through and smelling good, around 5-7 minutes. This starts your flavor journey.
- Step 2:
- Throw in chopped garlic, keep stirring for half a minute until you can smell it but before it browns. Real garlic makes things taste way better.
- Step 3:
- Turn the heat up to medium-high. Drop in your beef, breaking it into small chunks. You want them small enough to eat but not mushy. Cook until there's no pink left, about 8-10 minutes.
- Step 4:
- Pour off extra grease if there's too much. Add your spices while the meat's still hot - this wakes up the flavors. Mix well so everything's coated evenly.
- Step 5:
- Add water and tomato paste. Let it bubble until it thickens a bit but stays moist, for about 5-7 minutes. The meat should be wet but not swimming.
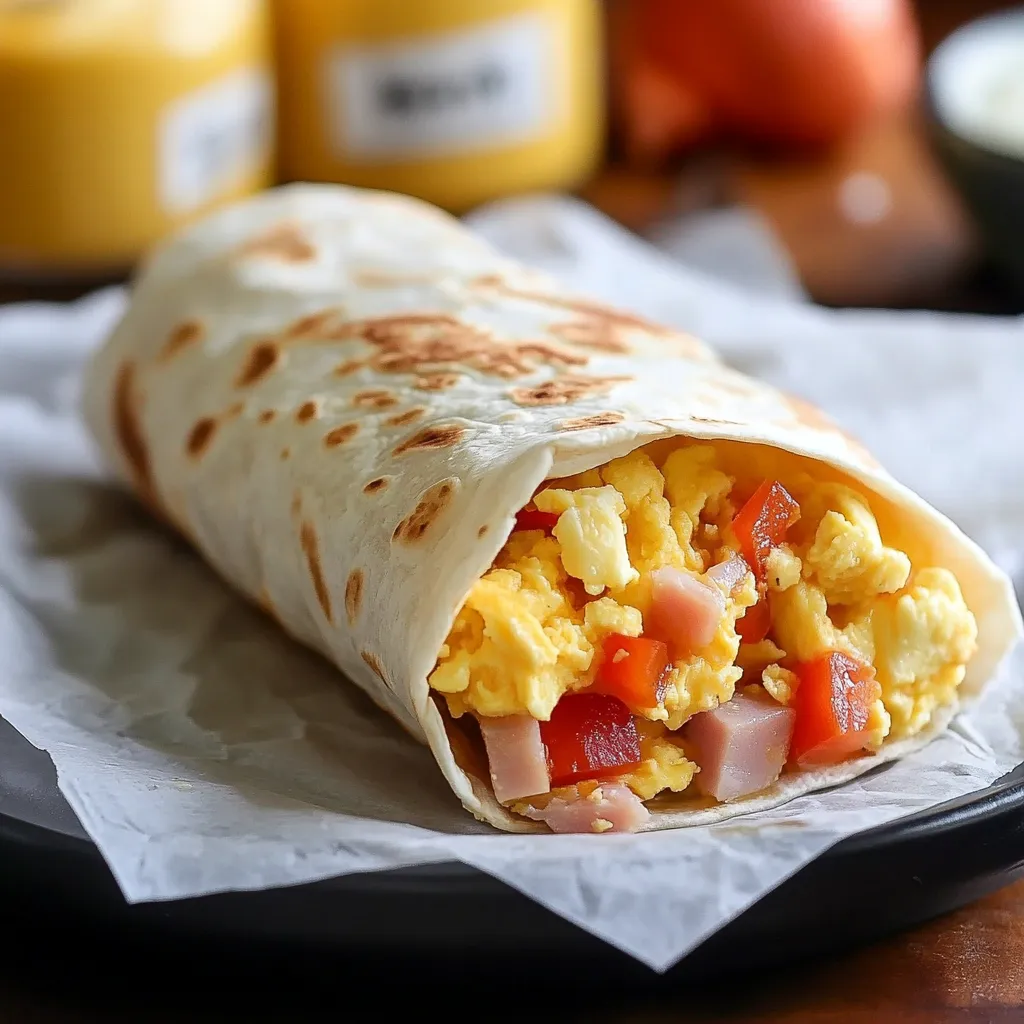
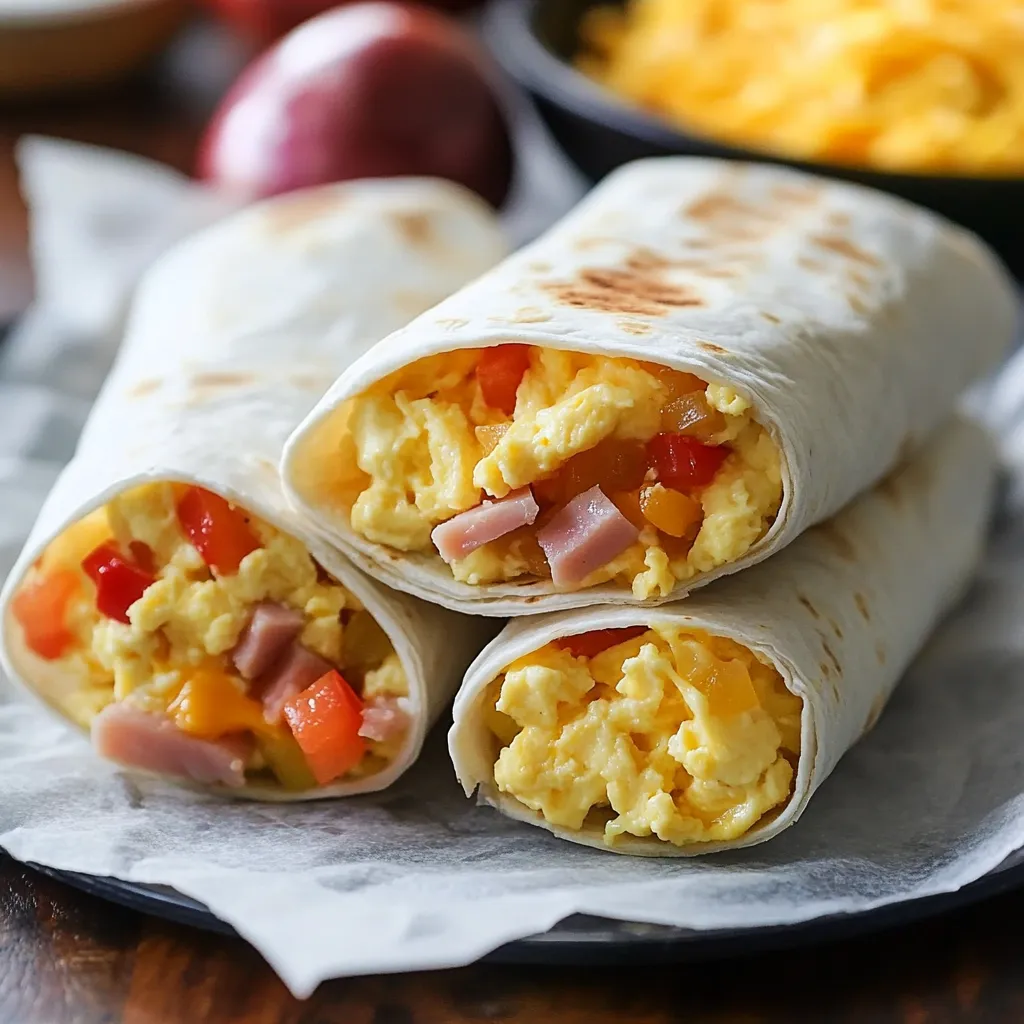
Easy Assembly Steps
- Step 1:
- Heat each tortilla in a dry pan for 20-30 seconds on both sides until soft. This stops them from breaking.
- Step 2:
- Lay tortilla flat and stack fillings a bit off-center. Begin with warm rice (about 1/3 cup). The rice stops moisture from making things soggy.
- Step 3:
- Put beef (1/3 cup) on top, followed by beans, corn, cabbage, tomato, onion, and cheese in straight lines. Keep total filling around 1 cup.
- Step 4:
- Fold the sides in first, then pull the bottom over the filling. Hold the sides while rolling upward, staying firm but careful.
- Step 5:
- Brown the finished burrito with the seam down until it's golden, about 2-3 minutes per side.
After making these for years, I've found that getting rid of extra fat and putting ingredients in the right order makes them turn out so much better.
Smart Cooking Tricks
Brown your wrapped burritos for a nice crunch. Use cheese that's not cold for better melting. Keep stuff away from the edges. Dry your beans before adding them.
 Pin it
Storing and Warming Up
Make sure burritos are totally cool before freezing - this stops ice from forming and making them soggy. Wrap each one in foil first, then plastic wrap to really guard against freezer burn. Let them thaw in your fridge overnight before heating up to keep the texture nice.
How Long They Last
Fresh burritos will stay good in your fridge for up to 3 days when wrapped tight in foil or kept in sealed containers. Store prepped items separately to make them last longer.
What Goes Well With Burritos
Try your burritos with fresh lime slices, mashed avocado, smoky sour cream, or Spanish rice. These sides make the meal better and add some variety.
Feeding a Group
Set up a make-your-own station with all ingredients in different bowls. Keep tortillas warm in a kitchen cloth and let everyone pick what they want inside.
 Pin it
Planning Ahead
Make big batches of rice and beans beforehand. Keep all parts separate to avoid sogginess and mix everything fresh when you're ready to roll.
Tasty Side Dishes
Grilled corn with toppings, rice with lime and herbs, and fresh green salsa are great sides that make the whole meal tastier.
Mistakes to Watch For
Don't stuff your tortillas too full or skip warming them up first or they'll tear. Use fillings that aren't too cold for easier rolling.
More Useful Hints
Dry off your veggies before using them, add flavor to each part, and toast your burritos in a pan to make them crunchier.
 Pin it
Money-Saving Hacks
Get your meat when it's on sale, cook your own beans from dry ones, and mix your own spices to cut costs while keeping things yummy.
Final Cook's Advice
Good tortillas and fresh stuff really matter. Work on your rolling skills for burritos that look the same every time.
Frequently Asked Questions
- → How do I reheat them properly?
- If defrosted, microwave for 1-2 minutes or crisp them up in a pan. Straight from freezer? Thaw for 5 minutes and microwave for 1-2 minutes.
- → How long will they stay fresh in the freezer?
- When sealed tightly, they'll keep for up to 3 months without a hitch.
- → Can I leave out the ham for a vegetarian option?
- Absolutely! Black beans or just more veggies make a terrific swap.
- → Why do reheated ones end up soggy sometimes?
- Cool your fillings completely before rolling them up, and don’t overdo the eggs when cooking.
- → How do I wrap these securely for freezing?
- Wrap each tightly in parchment paper first. Then pop them into labeled freezer bags.