
 Pin it
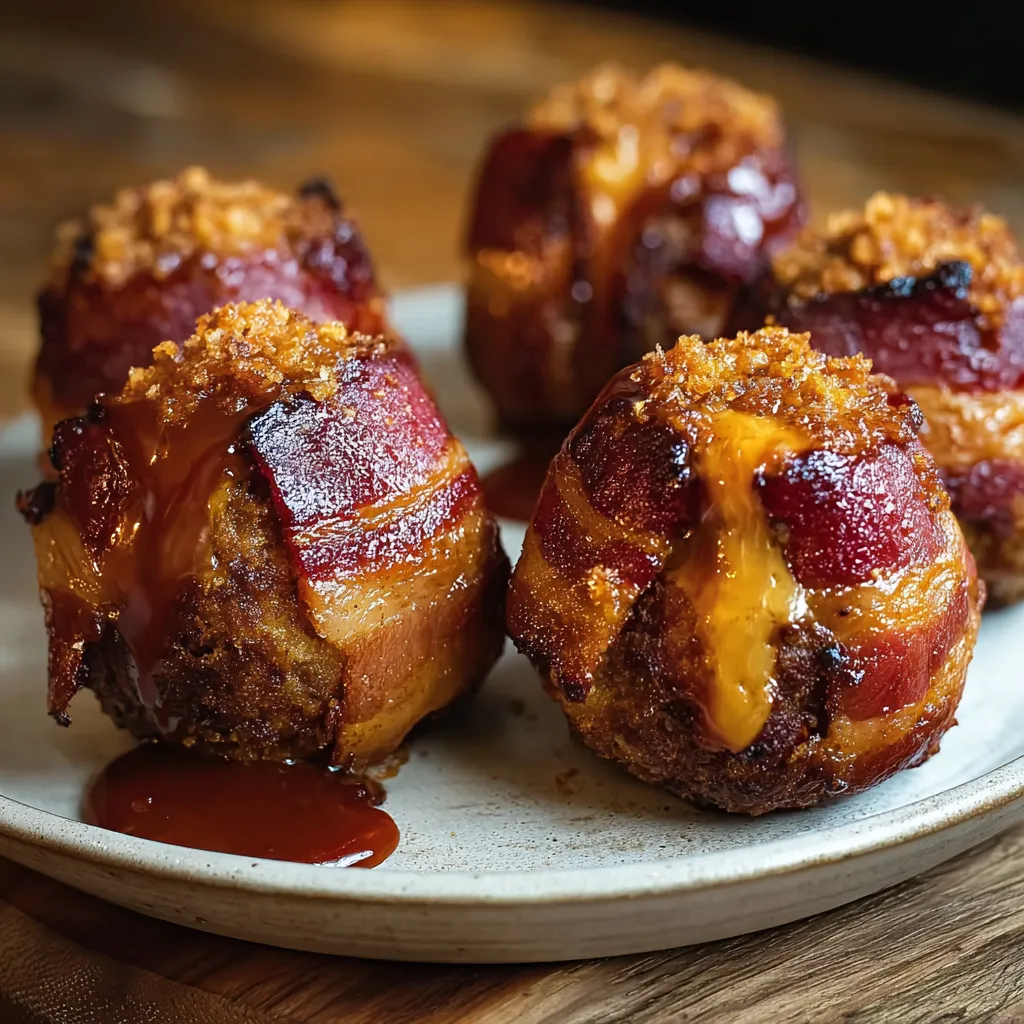
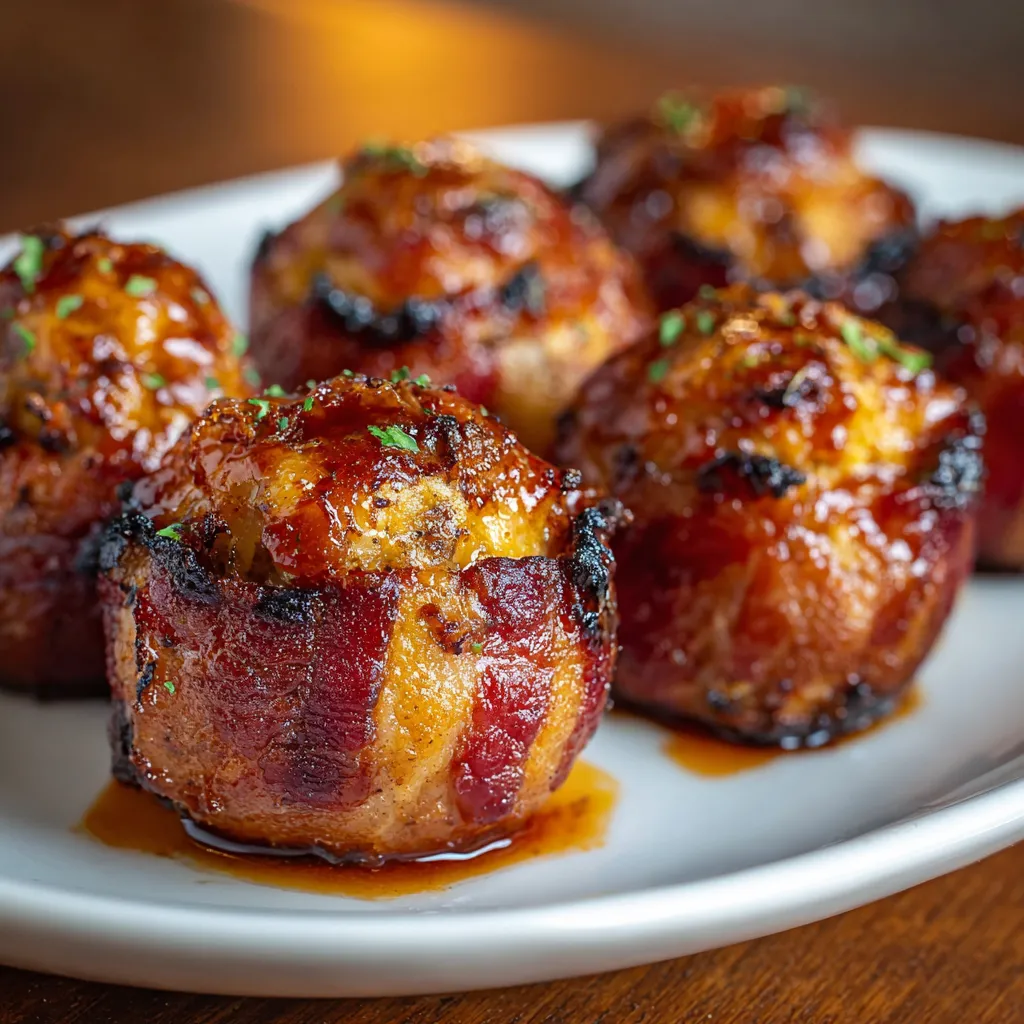
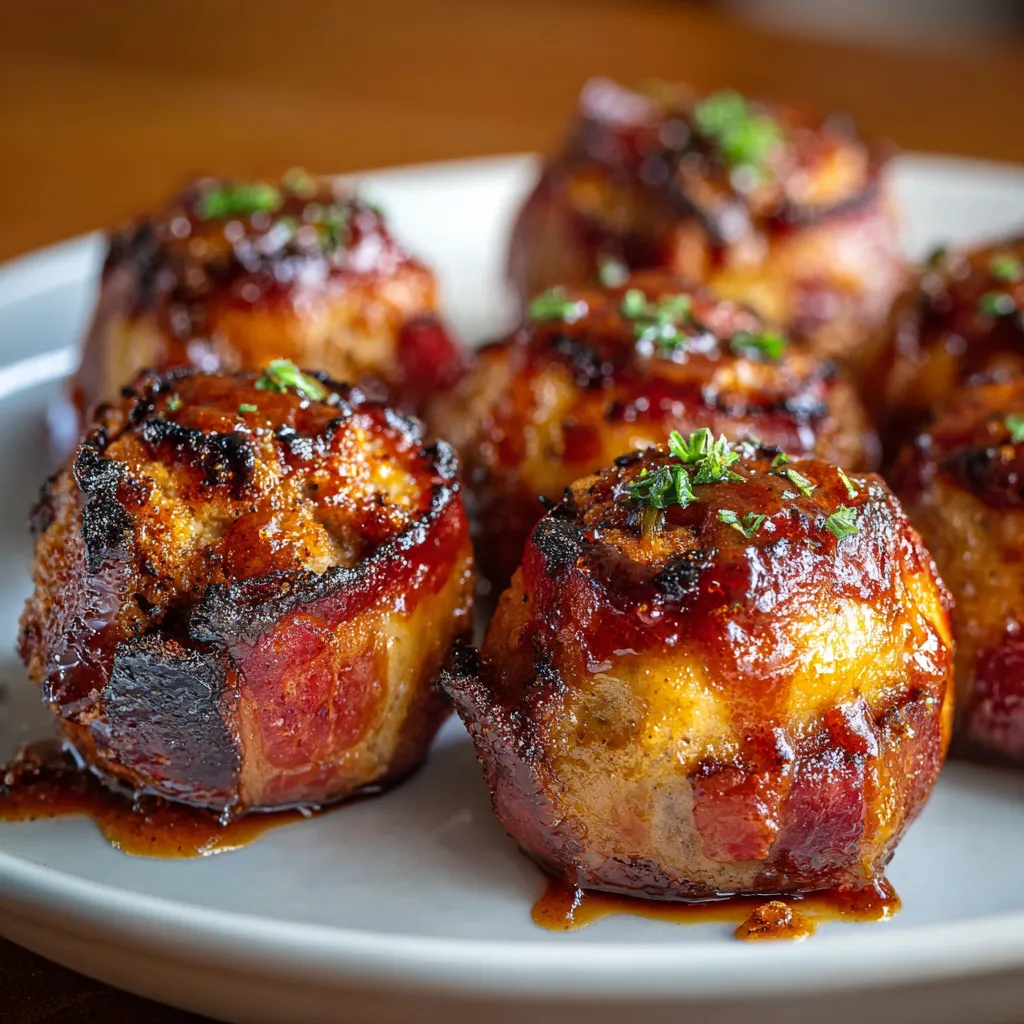
Cheddar-Stuffed BBQ Bacon Bombs are a crowd pleasing appetizer that always steal the show at game nights and backyard parties. Oozing melted cheddar at the first bite and coated in a sweet smoky glaze, these little bites make meat lovers swoon. Every time I bake a tray, they disappear faster than I can say bacon and cheese.
I first made these for a birthday tailgate and they vanished in minutes. Since then, they have been the most requested party snack from my friends and family.
Ingredients
- Ground beef or pork: Adds richness and juicy bite choose fresh local meat for best flavor
- Cheddar cheese: Creates the signature creamy molten center opt for a block cut into cubes for a smoother melt
- Bacon: Brings savory smokiness buy thin cut so it crisps up beautifully
- Barbecue sauce: Adds sweet tangy flavor find one you love for the glaze
- Garlic powder and onion powder: Enhance the meat with deep savory notes use fresh spices for fullest taste
- Worcestershire sauce: Gives a touch of umami complexity
- Salt and black pepper: Round out the seasoning and balance the richness always use freshly ground pepper if you can
- Brown sugar: Encourages caramelization and adds a hint of sweetness choosing dark brown sugar gives deeper flavor
- Toothpicks: Keep everything together while baking
- Mixing bowl, baking sheet, foil, pastry brush, tongs: Make prep and cleaning easy
Step-by-Step Instructions
- Preheat the Oven:
- Set your oven to three hundred seventy five degrees Fahrenheit. Line a baking sheet with foil for quick cleanup and less sticking.
- Prepare the Meat Mixture:
- In a large bowl blend your ground beef or pork with Worcestershire sauce garlic powder onion powder salt and black pepper. Knead with your hands until seasonings are evenly dispersed throughout for best flavor in every bite.
- Form the Cheesy Meatballs:
- Scoop a tablespoon amount of seasoned meat flatten it in your hand and tuck a cube of cheddar in the center. Enclose the cheese completely so none peeks out then gently roll into a firm ball. Repeat until all the meat and cheese are used up.
- Wrap in Bacon:
- Take a slice of thin bacon wrap it tightly around each meatball so the ends overlap a little. Secure with a toothpick through the side so each bomb holds its shape during baking. If the bacon is extra wide stretch it first for draping contour.
- Brush with BBQ Sauce:
- Dip a pastry brush into your chosen barbecue sauce and coat each bacon ball making sure every side is glossy. This helps the glaze seep into the bacon as it bakes.
- Bake to Perfection:
- Arrange the bacon bombs on your foil lined sheet leaving space between them for air circulation. Bake for twenty five to thirty minutes turning them halfway and brushing on extra sauce if desired. The bacon should cook evenly and the cheese will melt inside.
- Broil for Extra Crispiness:
- Switch the oven to broil and keep the tray in for two to three minutes. Watch closely so the bacon gets crispy but does not burn. This final step guarantees the best texture.
- Serve and Enjoy:
- Let the bacon bombs rest just a few minutes so the sizzling cheese will not burn you. Remove the toothpicks then pile onto a platter and serve while hot with extra barbecue sauce if you like.
 Pin it
Cheddar is my secret weapon here. The way it melts and mingles with the barbecue glaze always reminds me of cookouts with my brother where everyone hovered by the tray until the last bite was gone. Bacon rarely makes it to the table before curious fingers snatch the bombs right off the rack.
Storage Tips
Leftover bacon bombs store well in an airtight container in the refrigerator for three to four days. To reheat line up on a baking sheet and warm at three hundred and fifty degrees Fahrenheit until heated through. The cheese stays melty and bacon crisps up again. These also freeze beautifully—just let them cool fully first then freeze in a single layer. Reheat straight from the freezer for a quick snack or appetizer.
Ingredient Substitutions
Substitute ground turkey or chicken for a lighter spin though be sure to add a little extra oil to keep things moist. Use pepper jack or smoked gouda cubes for a different cheese twist. For a spicy version, try including a pinch of cayenne in the meat mix or use a spicy barbecue sauce for brushing.
Serving Suggestions
Serve Cheddar-Stuffed BBQ Bacon Bombs as a main game day appetizer or pile them into soft slider buns for a fun sandwich twist. They make a fantastic addition to a tailgate feast paired with pickles chips and fresh veggies on the side. For a fancier bite offer them with toothpicks and a homemade ranch dip.
Cultural and Historical Context
Bacon bombs are a modern American invention from the barbecue world often seen at tailgates and on potluck tables. The fusion of stuffed cheese with spiced meat and bacon brings together classic comfort foods in one bite. This dish is rooted in the tradition of wrapping and roasting as a celebration food.
 Pin it
Once you make these cheddar bombs you might find them popping up at every gathering. They are easy showstoppers that combine bold flavors and playful cheesy centers. I have found they almost always disappear before anyone can take seconds so be sure to make a generous batch.
Frequently Asked Questions
- → Can I use ground pork instead of beef?
Yes, ground pork works well and offers a slightly different flavor. You can even mix beef and pork for extra juiciness.
- → How do I keep the cheese from leaking out?
Seal the meat tightly around the cheese cubes, making sure there are no gaps before wrapping with bacon to prevent leaks.
- → What’s the best way to get crispy bacon?
Broil the bacon bombs for a few minutes at the end of baking. Watch closely to avoid burning for just the right crispiness.
- → Can I prepare them ahead of time?
Yes, assemble them in advance and refrigerate until ready to bake. Brush with BBQ sauce just before cooking for best texture.
- → What sides pair well with bacon bombs?
Serve with coleslaw, roasted vegetables, or a fresh green salad for a balanced, satisfying meal.