 Pin it
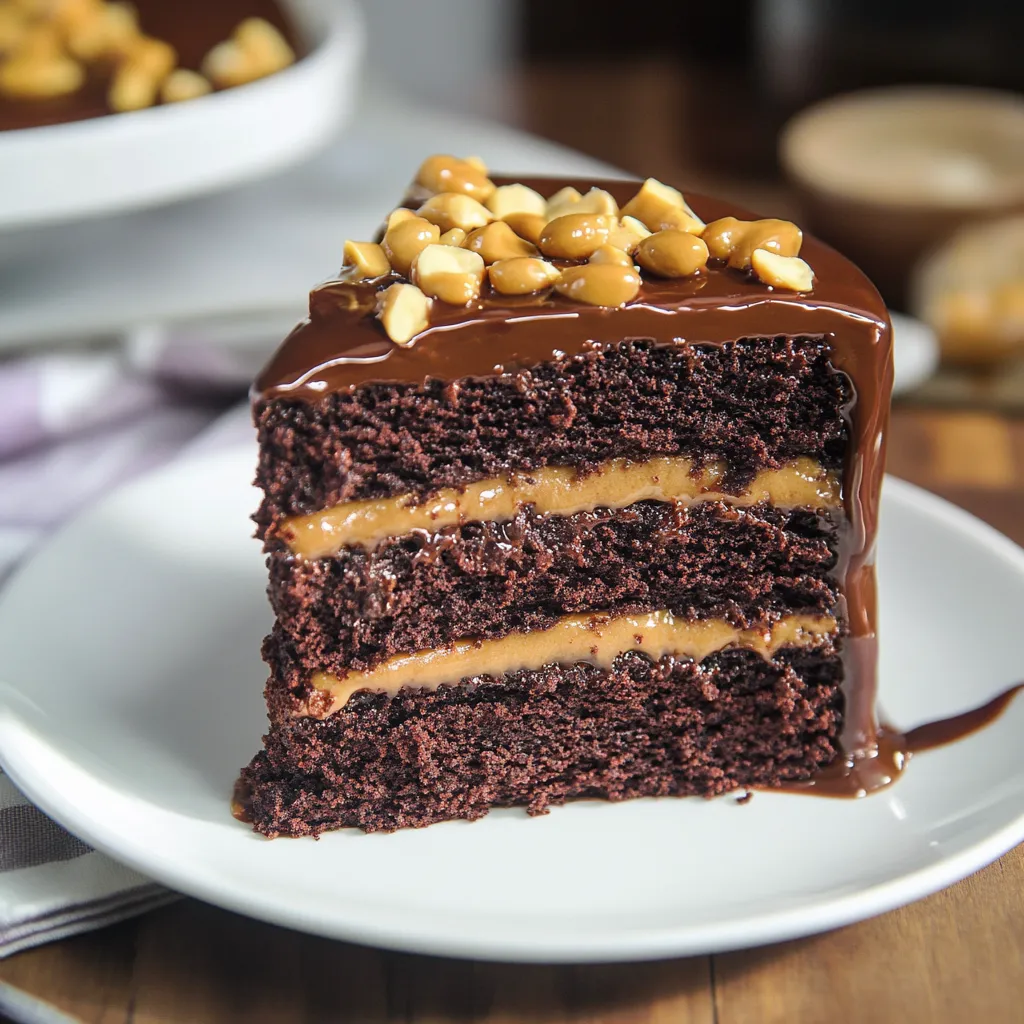
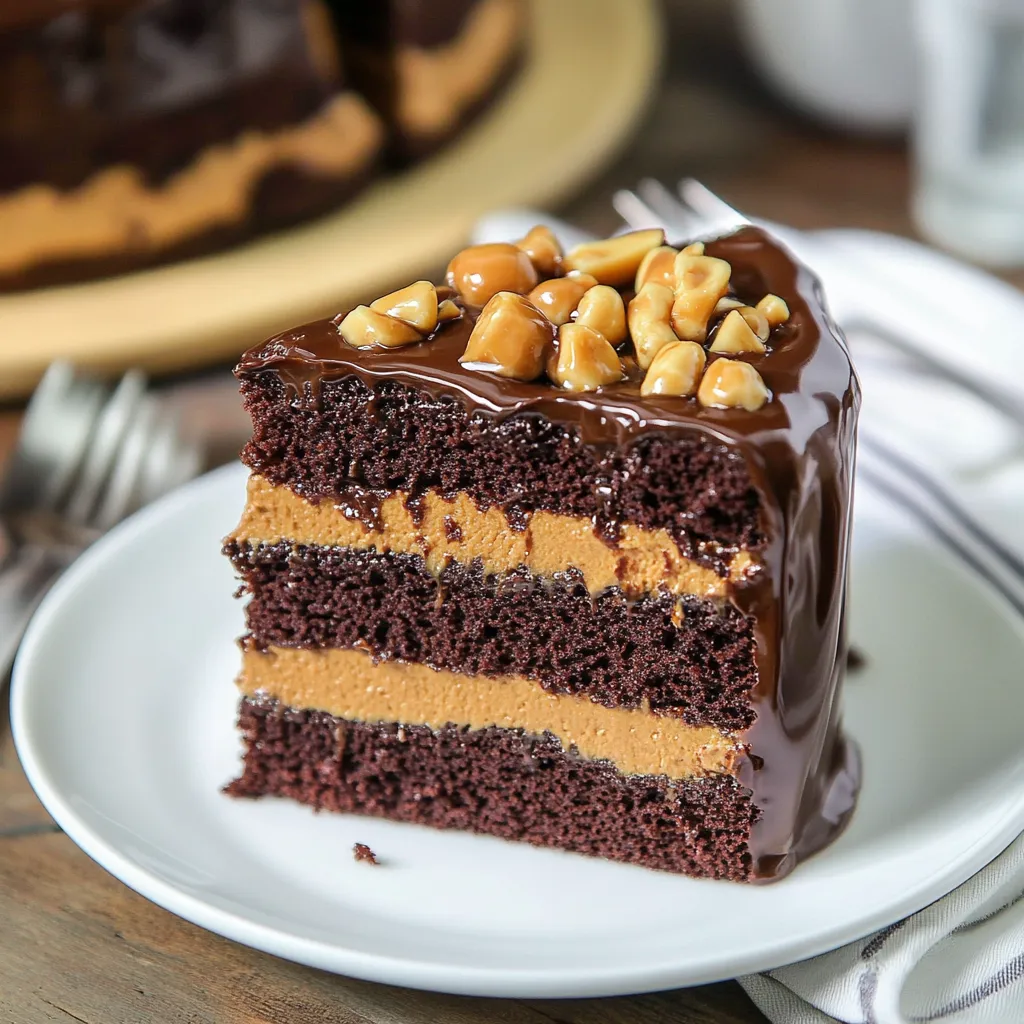
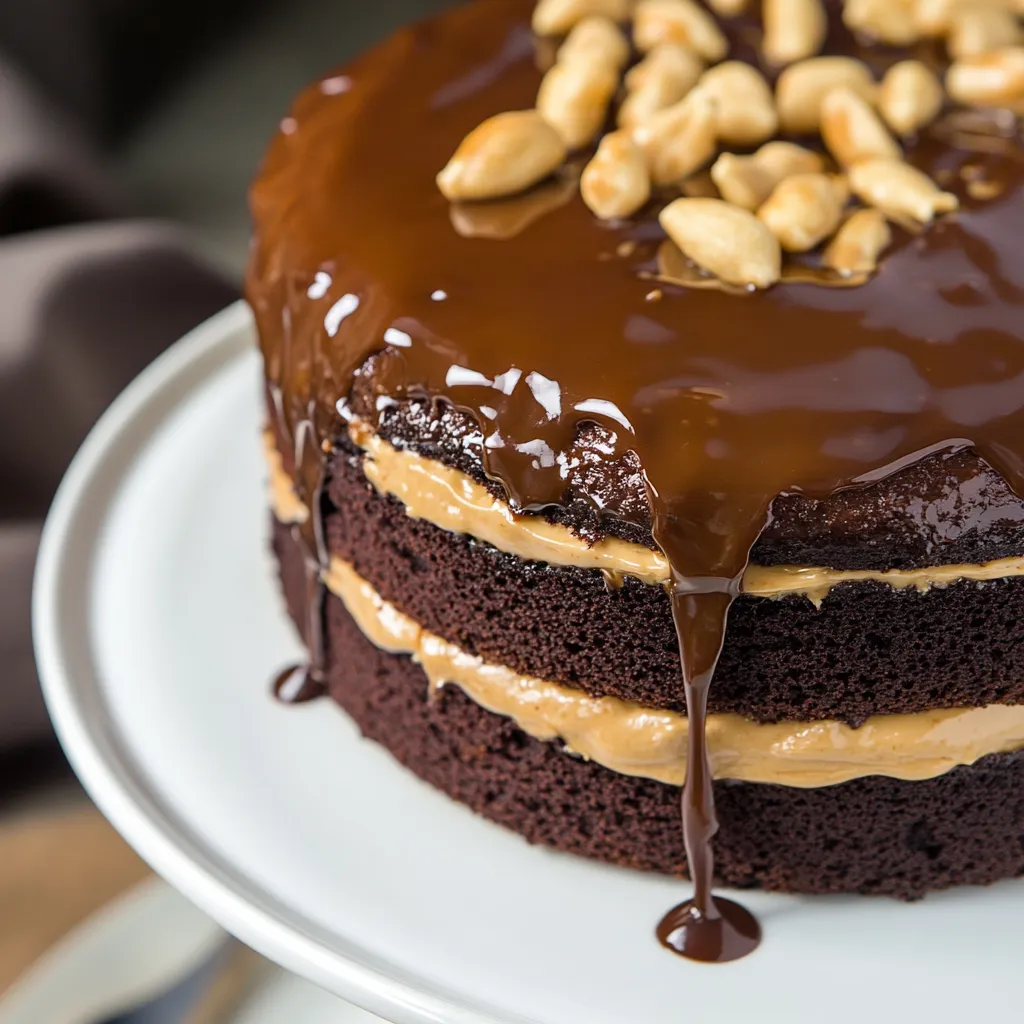
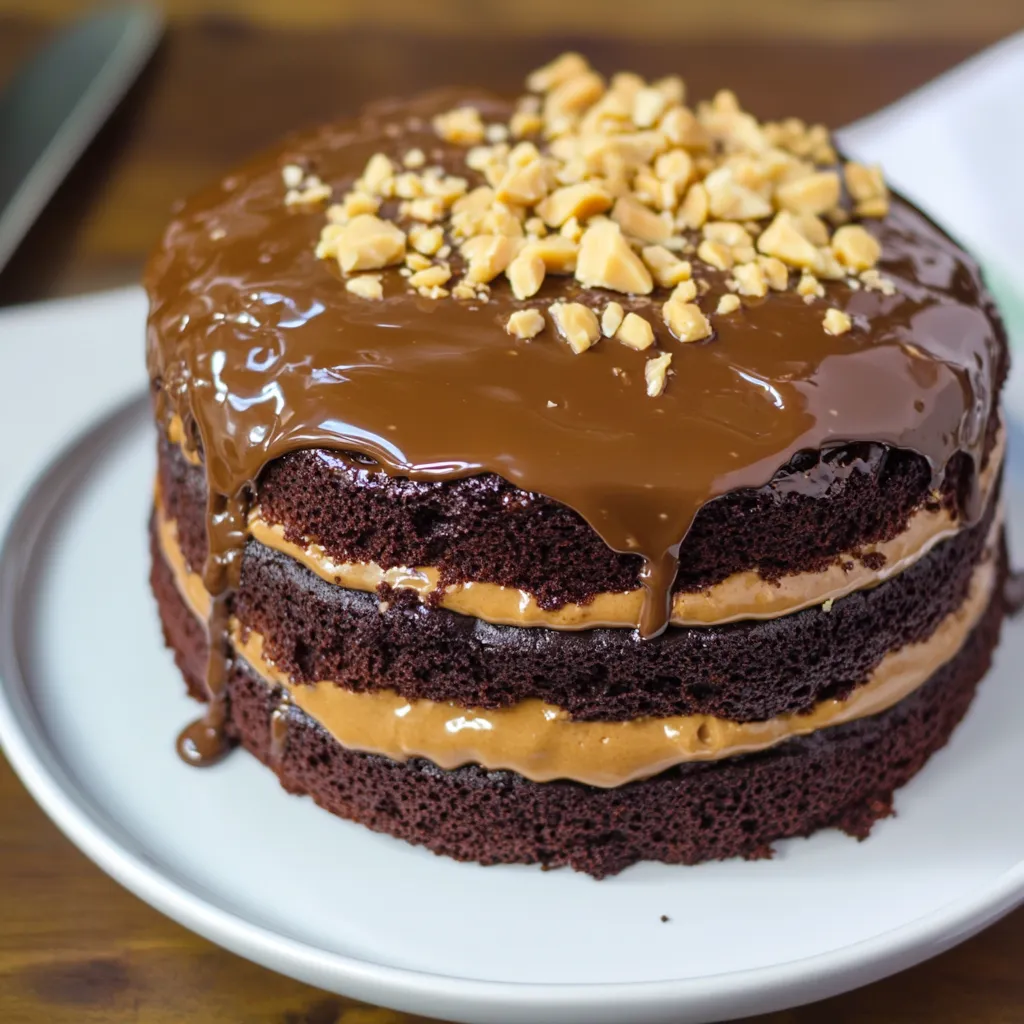
Picture this - a rich chocolate cake stacked with smooth ganache and homemade peanut caramel with just the right amount of salt. It's the kind of sweet treat that sticks in your memory long after the last bite. The way the intense chocolate works with the sticky caramel and crunchy peanuts turns an ordinary cake into something out of this world. When I first came up with this idea, I wanted something fancy enough for big celebrations but doable for anyone in their own kitchen.
I've baked this cake so many times for birthdays and family get-togethers. What makes me keep coming back is watching people's eyes light up when they get that perfect first taste with all the flavors coming together.
Top-notch Ingredients Guide:
- Cocoa Powder: Go for Dutch-processed for its stronger chocolate punch and darker look
- Sour Cream: Don't skimp on fat content here - it keeps everything moist and helps the baking soda do its job
- Milk Chocolate: Buy good chocolate bars instead of chips if you want the ganache to be ultra-smooth
- Heavy Cream: Pick one with at least 36% fat to get the right texture in your caramel and ganache
- Roasted Peanuts: Get the salted ones for that perfect crunch and flavor boost in the caramel
Complete Baking Instructions:
- 1. Setting Up
- - Get everything out half an hour early so it's room temperature
- Put parchment circles in your cake pans and butter the sides well
- Make sure your oven rack is in the middle for even heat - 2. Mixing Your Cake
- - Stir the cocoa with boiling water until it's smooth - this makes the chocolate flavor pop
- Mix all dry stuff thoroughly so there aren't any lumps
- Pour in wet ingredients bit by bit, making sure everything's well combined
- Divide the batter evenly - weighing the pans helps if you want matching layers - 3. Creating Silky Ganache
- - Cut chocolate into small, similar-sized pieces so it melts evenly
- Warm the cream just until tiny bubbles show up at the edges
- Let it sit for 3 minutes without touching it
- Start stirring from the middle and work your way out until it's completely smooth - 4. Getting Caramel Right
- - Watch the color like a hawk - it changes in seconds
- Gently tilt the pan instead of stirring to avoid sugar crystals forming
- Have your cream measured and ready to go before you start
- Step back when you add the cream so you don't get burned by steam - 5. Putting It All Together
- - Cut off any domed tops with a bread knife so your layers sit flat
- Cool the layers in the fridge for 20 minutes to make them easier to handle
- Use a turntable if you have one to spread the ganache smoothly
- Keep a warm knife nearby for drizzling caramel nicely
 Pin it
My family goes crazy for the caramel sauce - we usually make extra just to pour over ice cream later. That sweet-salty mix always reminds me of making sticky caramel apples with my grandma as a kid.
Secret Moisture Techniques:
Getting this cake super moist comes down to getting the ingredients just right. The mix of oil and sour cream gives you a cake that's tender but won't fall apart. After trying this recipe tons of times, I've found this exact mix creates the perfect texture - sturdy enough for the ganache but still incredibly soft.
Cutting Like a Pro:
There's nothing better than cutting into this cake and watching caramel slowly drip down the sides. I've learned to dip my knife in hot water and wipe it clean between each slice. This easy trick gives you picture-perfect pieces every time.
How Flavors Change:
One cool thing about this cake is how the taste gets even better over time. While it's tasty right away, day two is when it really shines. That's when the caramel has seeped a bit into the cake and the ganache has set to the perfect firmness.
Smart Baking Tricks:
- Start with the caramel - if it goes wrong, you can try again without wasting other stuff
- Pop the whole cake in the freezer for 15 minutes before adding the final ganache layer for cleaner edges
- Keep leftover slices standing up in a tall container to keep the layers looking nice
After baking for years, this cake remains one of the things I'm most proud of creating. It hits that sweet spot between wow-factor and actually doable, making it great for special days or just when you need a chocolate-caramel fix. The way all the textures and flavors work together makes something truly special - a cake that's as fun to make as it is to eat.
Smart Chocolate Picking:
Every fantastic chocolate cake starts with picking the right chocolate. I've played around with all sorts of brands and cacao percentages for this recipe. While fancy chocolate brands are great, regular supermarket options work well too. The real trick is using chocolate you'd happily eat by itself. I've found that mixing different types - like using 60% dark cocoa in the cake but milk chocolate in the ganache - adds amazing flavor depth.
Getting Timing and Heat Just Right:
One thing that took me forever to figure out was how temperature affects everything in this recipe. Your cake layers must be totally cool before you stack them - even slightly warm cakes will melt your ganache. But the ganache itself needs to be just right - too hot and it runs everywhere, too cold and it won't spread. I now make the ganache while the cakes cool so both reach the perfect temperature at the same time.
Sugar Secrets Revealed:
After making this countless times, I've learned that using both white and brown sugar isn't just about sweetness - it's about keeping moisture in and adding flavor complexity. The molasses in brown sugar brings subtle caramel notes that make the salted caramel pop, while helping the cake stay moist. That's why I never use all white sugar, even when I'm running low on brown.
Nailing the Perfect Texture:
The texture of this cake makes me particularly proud. The crumb is tight enough to handle the weight of ganache and caramel, but still super moist and tender. This happens through careful mixing - too much and your cake gets tough, too little and the texture gets uneven. I've found that counting my stirs helps me get the same results every time I make it.
 Pin it
Baking at Different Heights:
Living in different places during my baking journey taught me how elevation changes things. At higher altitudes, using a bit less baking powder and a splash more liquid helps your cake turn out right. I've successfully baked this from sea level all the way up to 5,000 feet, tweaking ingredients as needed.
Keeping It Fresh:
Storing this cake properly keeps it tasting amazing. While it stays good on the counter for a few days, I've worked out how to keep it longer too. You can freeze individual slices with parchment paper between them, then thaw them overnight in the fridge. Surprisingly, both the ganache and caramel keep their texture really well this way.
Changing With the Seasons:
Throughout the year, I switch things up to match the season. In summer, sometimes I add fresh raspberries between layers. For fall, I might splash some bourbon in the caramel and swap the peanuts for toasted pecans. Winter holidays call for a hint of peppermint in the ganache, while spring might get a bit of orange zest to brighten up the chocolate.
Fixing Common Problems:
After teaching this recipe to lots of people, I've seen pretty much everything go wrong. If your caramel gets grainy, you can save it with a splash of hot water and gentle heating. When ganache splits, warming it slowly while whisking like crazy usually brings it back. Even sunken cake centers can be saved by turning everything into a trifle using the same ganache and caramel.
Sharing the Love:
Maybe what makes this cake truly special is how it brings folks together. I've taught this recipe in so many baking classes, and nothing beats seeing someone's proud face when they make caramel sauce successfully for the first time. This cake has become the most requested dessert at family gatherings, with relatives calling dibs on corner pieces well before any celebration.
Must-Have Kitchen Tools:
While you don't need fancy gear, certain tools really help. Good cake pans that heat evenly are a must. I've found light-colored aluminum pans work best since dark ones can make the edges too brown. A reliable candy thermometer takes the guesswork out of caramel making, though I've taught many people to judge it by color alone.
Getting Everything Ready First:
One lesson I learned early on was the value of having everything prepped before starting. Measuring all ingredients and having them ready makes everything smoother and more fun. This is super important for the caramel sauce, since timing is crucial and you won't have time to measure stuff once the sugar starts turning color.
 Pin it
Customizing Your Creation:
While this recipe works perfectly as written, I always tell bakers to make it their own. Some of my students add coffee powder to boost the chocolate flavor, while others try different nuts in the caramel. These personal touches make the recipe more meaningful to everyone who tries their hand at it.
A Recipe to Pass Down:
This cake has become more than just another recipe in my collection - it's turned into something I hand down to my kids and countless students. It shows the perfect mix of technique and creativity, precision and flexibility. Each time I bake it, I think about all the celebrations it's been part of and all the smiles it's brought to those who've had a slice.
Frequently Asked Questions
- → Can I prep the cake ahead?
- Sure! Bake the layers the day before and simply put them together when needed.
- → Why does my caramel get thick?
- Caramel thickens as it cools. Heat it gently to make it pourable again.
- → Is it okay to skip the peanuts?
- Of course! Go for regular salted caramel if you'd rather leave them out.
- → What's the best way to store it?
- Keep it covered in the fridge for up to 5 days. Let it warm up a bit before serving.
- → Can I swap milk chocolate for dark chocolate?
- Definitely! Dark chocolate will give it a deeper, richer flavor.
