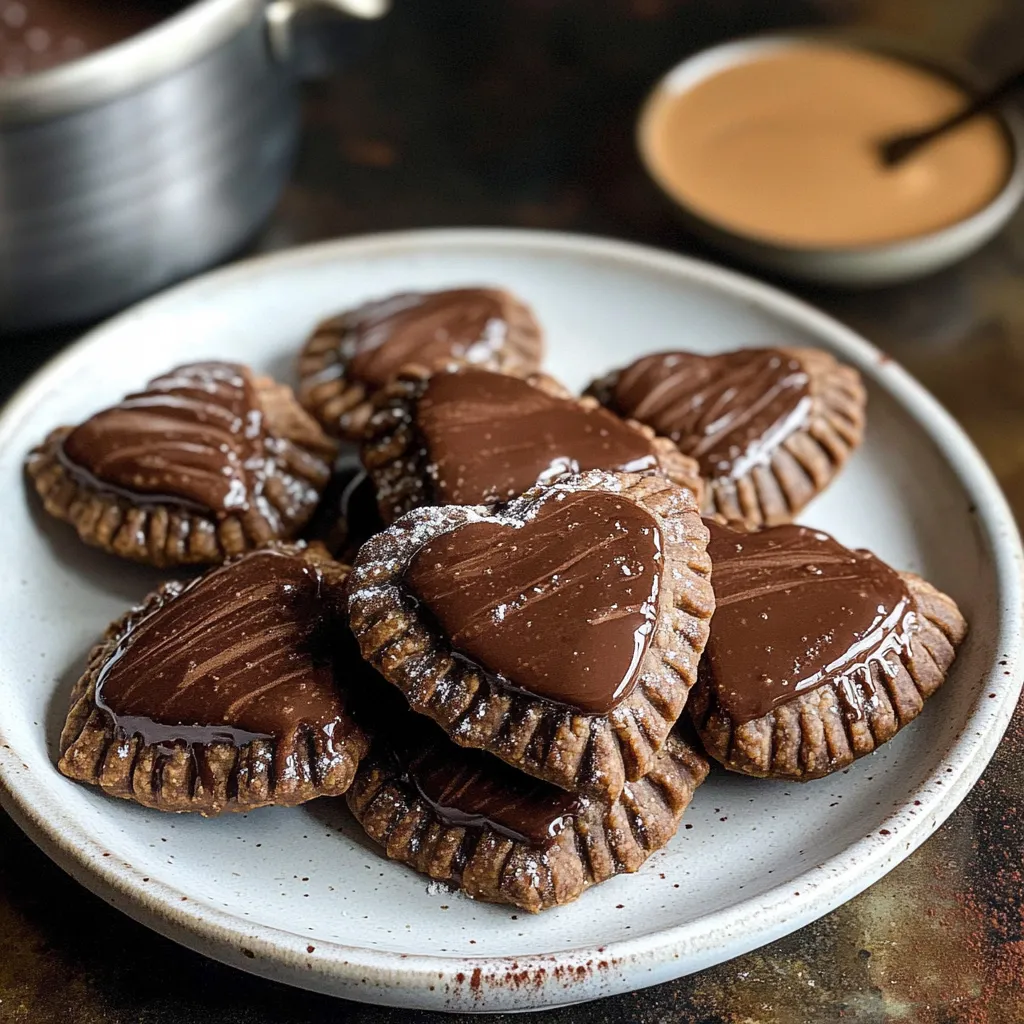
These chocolate heart hand pies will satisfy any chocolate fan's cravings. Crafted with tasty chocolate pastry and stuffed with velvety chocolate ganache, they're wonderful portable treats for Valentine's Day. The chocolate dough comes together quickly using a food processor, then gets shaped into cute hearts. Each pastry holds a rich chocolate ganache that stays wonderfully gooey inside the crunchy outer shell. A finishing touch of melted chocolate on top makes them totally tempting. Though they need some prep time, you can do most steps beforehand, making them great for planning a special Valentine's surprise. The mix of crumbly chocolate shell and rich filling creates an amazing blend of textures.
These Fudgy Pocket Treats blend crispy chocolate dough with smooth ganache centers, making irresistible little bundles of chocolate heaven. Every heart-shaped treat delivers a triple chocolate experience - a flaky cocoa-infused outer shell, velvety chocolate ganache middle, and a swirl of chocolate on the surface. They're basically an upgraded homemade take on those chocolate snacks you loved as a kid.
I whipped these up for friends last Saturday, and nothing beats seeing folks crack into those warm, chocolate-filled middles with big smiles. The trick? Making sure everything stays nice and cold throughout.
Key Ingredients and Shopping Advice
Butter: Needs to be super cold and diced. I stick mine in the freezer about 15 minutes beforehand
Cocoa Powder: You can go with Dutch-process or regular. I lean toward Dutch for its darker look
Pure Chocolate: Grab good baking bars instead of chips for the creamiest ganache
Cold Milk or Cream: The cooler it is, the better your crust will turn out
Peanut Butter (optional): Throws in extra flavor to the ganache if you want something more exciting
I've learned from years of baking that watching your temperatures is crucial when making these tasty chocolate treats.
Step-by-Step Baking Guide
1. Making Your Dough
Always begin with super cold stuff - this makes all the difference for flaky results. Mix your dry items with cold butter until you see little crumbs. Slowly add cold milk until everything barely sticks together. Don't mix too much - those butter bits create the flakiness. Cut the dough in half, wrap it up, and cool it at least 2 hours.
2. Cutting Your Shapes
Spread the cool dough on a slightly floured counter (you can also use cocoa for dusting). Cut hearts using a 3-inch tool. Keep all hearts cool as you go - toss them back in the fridge between steps.
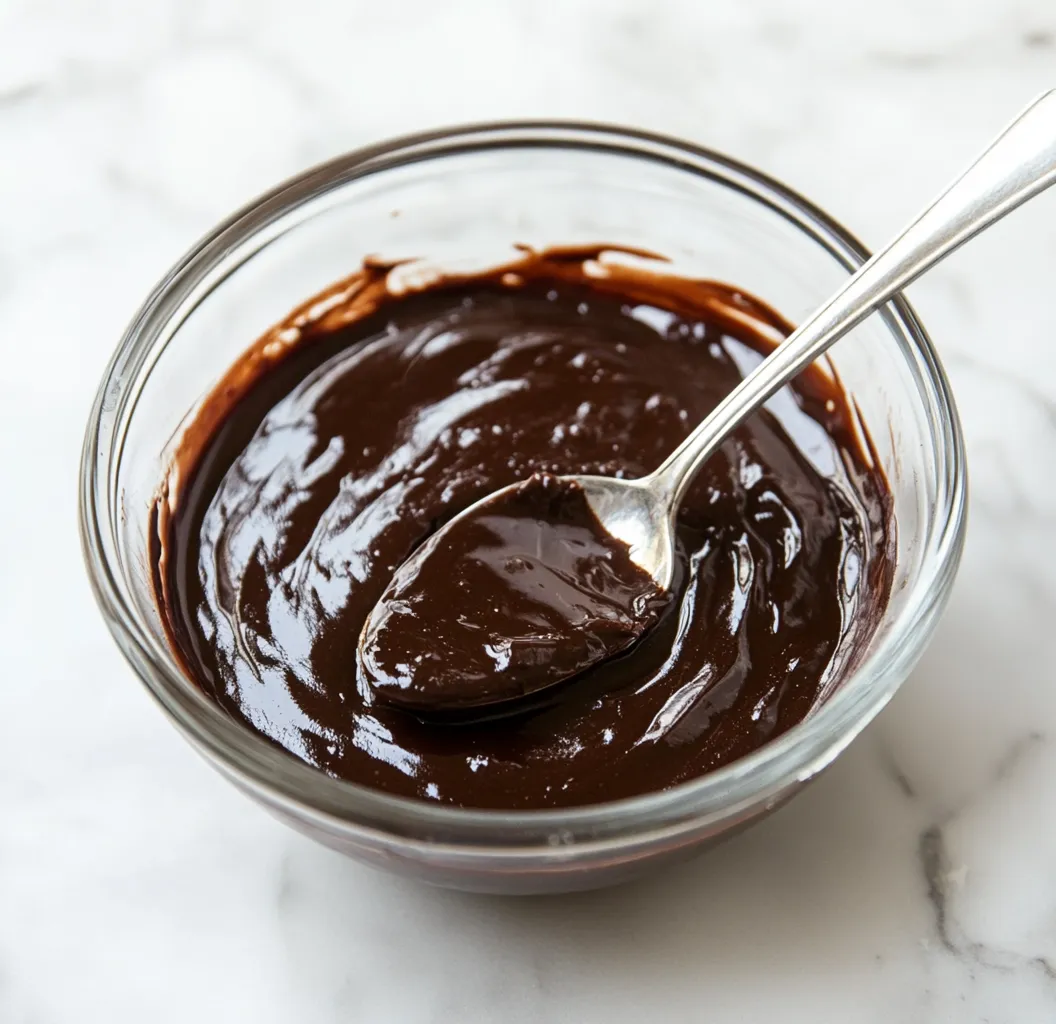
3. Making The Filling
Warm up cream just until tiny bubbles form at the sides, then dump it over broken-up chocolate. Let it sit for a minute without touching it, then stir slowly. If you're using peanut butter, mix it in now. Let it cool until it's thick but still soft enough to spread.
4. Putting Them Together
Brush beaten egg around the outer part of half your hearts. Put a small spoonful of ganache in the middle, but don't put too much. Cover with your other hearts and press edges down with a fork.
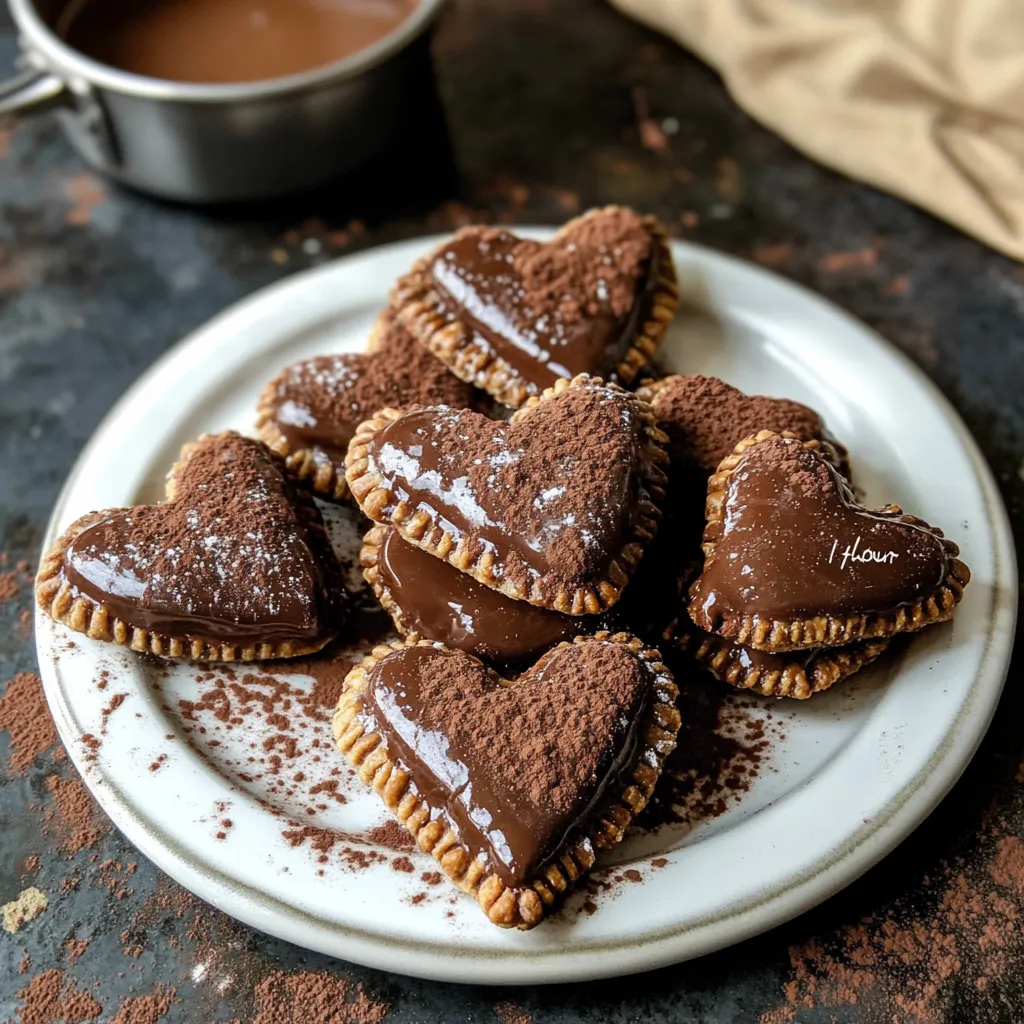
5. Topping and Cooking
Brush tops with beaten egg and add chunky sugar if you want. Cook at 400°F for 15-18 minutes - watch closely! They should just barely set around the sides.
Pin itEasy Chocolate Hand Pies Recipe | cookingwithmee.com
Keeping Things Cool
Getting that perfect flaky outside means keeping all ingredients cold throughout. If your kitchen gets hot, work with small batches while the rest of your dough chills.
Pin itChocolate Hand Pies Recipe | cookingwithmee.com
Plan Ahead Options
You can make the dough up to 5 days early. You can also freeze the ready-to-bake pies for up to 3 months.
Keeping Them Fresh
Store baked pies at room temp for 2 days or in the fridge for a week. Warm them a bit before eating to get that melty center back.
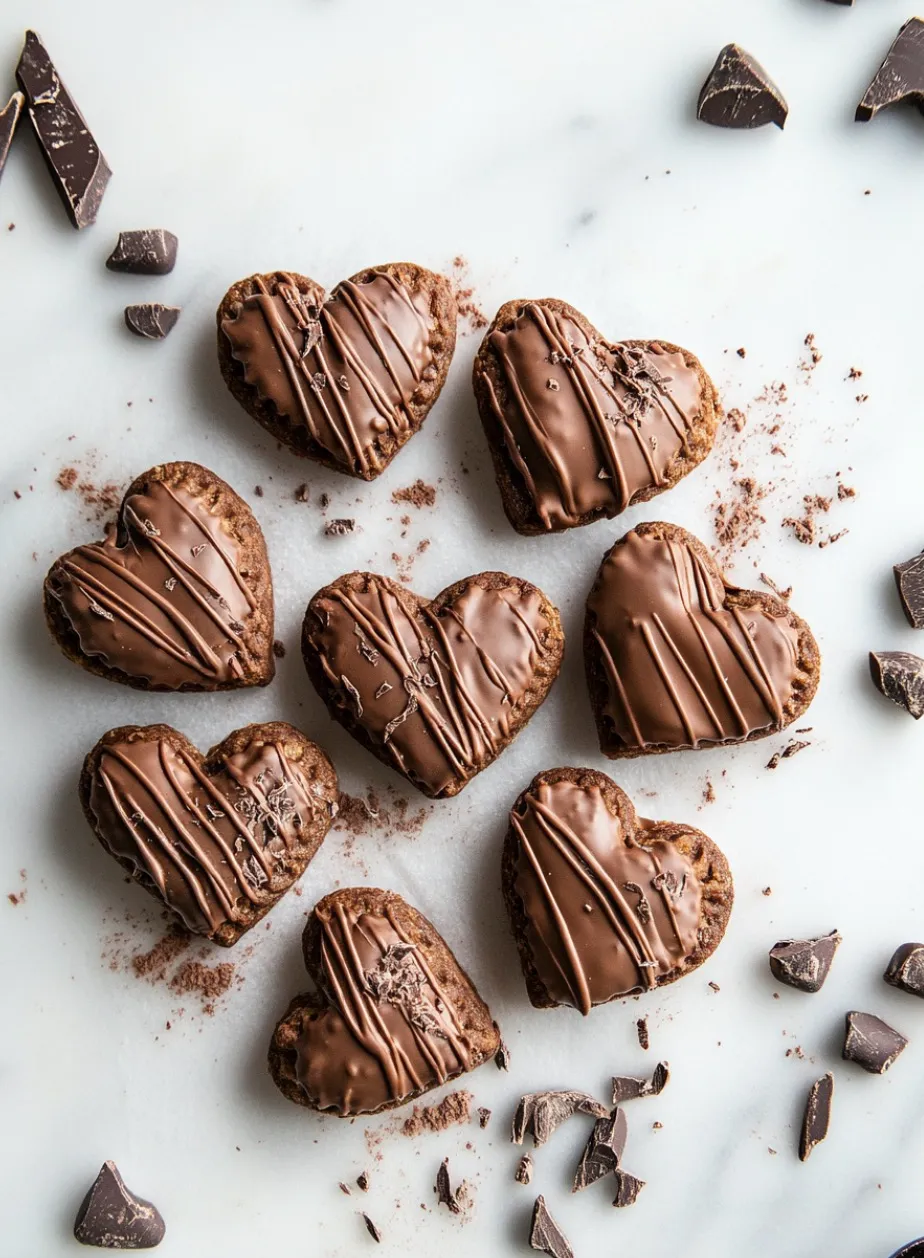
Shape Ideas
Hearts work great, but these pies can match any event. Try circles for fancy dinners, stars for holiday parties, or leaf shapes for autumn gatherings. The chocolate drizzle looks even better with colorful sprinkles, edible sparkles, or a touch of gold dust for special days. For a cool swirled look, mix white chocolate into dark chocolate before it hardens.
Taste Boosters
The all-chocolate combo tastes amazing, but you can play around with extra flavors too. A bit of cinnamon or coffee powder in the crust adds nice warmth. The filling tastes great with orange peel, mint drops, or even a splash of whiskey for grown-up versions. Many bakers love adding a tiny sprinkle of sea salt on top just before baking to make the chocolate taste pop.
Wrapping as Gifts
These treats make wonderful presents when packaged nicely. Put them in small bakery boxes with parchment paper, or wrap each one in clear wrap with ribbons. For parties, stack them on a pretty stand, turning some different ways for a cool look. Add a note about warming them up so people can enjoy that melty center.
Baker's Top Tricks
Use a flat scraper to move your cut hearts without wrecking them
Cool the filled pies before baking for extra flakiness
If your filling gets too hard, warm it slowly over steaming water
Pin itEasy Chocolate Hand Pies | cookingwithmee.com
Closing Thoughts
These chocolate pocket pies aren't just another sweet treat. They're tiny bundles of happiness that mix homey pastry comfort with fancy chocolate filling. Whether you're baking them for Valentine's Day or just because, they'll bring joy to anyone who gets one. The mix of crackly chocolate crust with rich filling creates something really special that's worth the extra effort of keeping everything cold.
Frequently Asked Questions
→ Can I prepare these pies in advance?
Absolutely! You can make the dough up to 5 days early and keep it in the fridge, or freeze it for 3 months. Ready-to-bake pies can stay in the fridge for 2 days before cooking.
→ Why shouldn't I use chocolate chips for the filling?
Whole chocolate bars (not chips) give better flavor and consistency for both the filling and topping. Try brands like Baker's or Ghirardelli.
→ Is it okay to mix in peanut butter?
Definitely! You can blend peanut butter into the ganache filling and chocolate topping for a tasty twist.
→ What's the best way to keep these pies fresh?
Keep them at room temperature for up to 2 days or in the fridge for up to a week. They also do well in the freezer for up to 3 months.
→ Why do the ingredients need to be cold?
Cold items are key for making a flaky crust. Go with ice-cold milk or cream and really cold butter.
Chocolate Hearts Hand Pies
Lovely heart pastries with decadent chocolate filling. The ideal portable sweet for your Valentine!
092 tablespoons smooth peanut butter (31g, skip if preferred)
→ Decoration
102 ounces chopped semi-sweet chocolate (57g)
111 teaspoon vegetable or canola oil
121 tablespoon peanut butter (16g, skip if preferred)
→ Putting Together
131 egg mixed with 1 tablespoon milk (for brushing)
142 tablespoons chunky sugar for sprinkling (skip if preferred)
Instructions
Step 01
Mix flour, cocoa, sugar, salt, and cold butter in food processor until it looks like crumbs. Slowly pour in cold milk until it clumps together. Split in half, wrap up, and cool in fridge for 2 hours.
Step 02
Flatten dough on floured counter, cut out 3-inch hearts. Put hearts in fridge while making the filling.
Step 03
Pour heated cream onto chopped chocolate, stir till smooth. Mix in peanut butter if you want. Let it sit for 15 minutes to thicken up.
Step 04
Brush edges of half your hearts with egg mix. Drop filling on top, cover with other hearts, and press edges with a fork. Brush tops with egg mix and add sugar if you'd like.
Step 05
Heat oven to 400°F and bake for 15-18 minutes until the edges feel firm. Let cool for 10 minutes.
Step 06
Melt chocolate with oil for drizzling. Add peanut butter if using. Drizzle over pies once they've cooled down.
Notes
For the best flaky crust, make sure your ingredients are super cold
Real chocolate bars melt better than chips for both filling and topping
You can make the dough up to 5 days before using it
Tools You'll Need
Food processor or dough cutter
Rolling pin
Heart shaped cookie cutter (3-inch)
Cookie sheets
Food brush
Small pot
Allergy Information
Please check ingredients for potential allergens and consult a health professional if in doubt.
Has dairy products (butter, cream)
Has wheat from flour
Has eggs
Might have nuts if you use peanut butter
Nutrition Facts (Per Serving)
It is important to consider this information as approximate and not to use it as definitive health advice.

 Pin it
 Pin it
 Pin it
 Pin it