
 Pin it
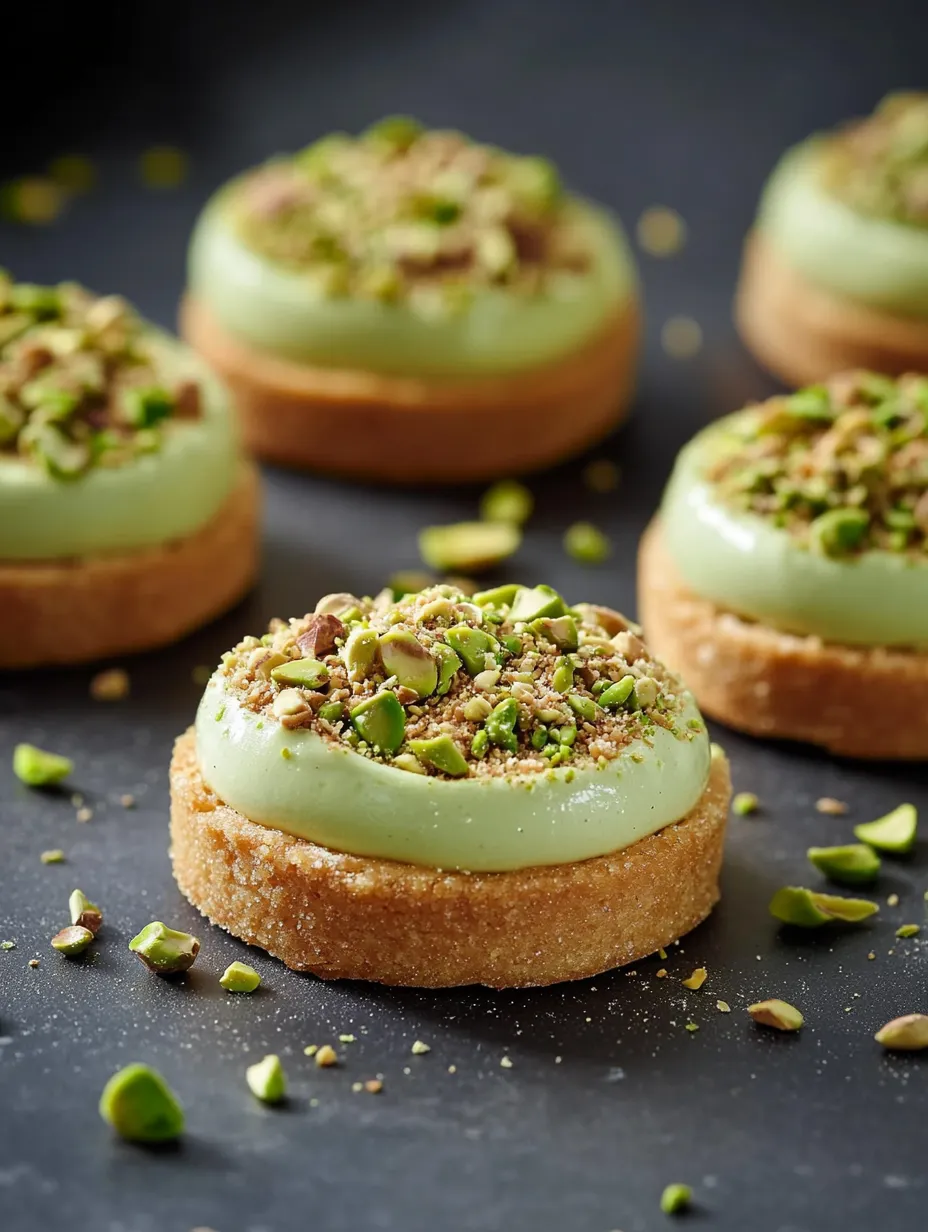
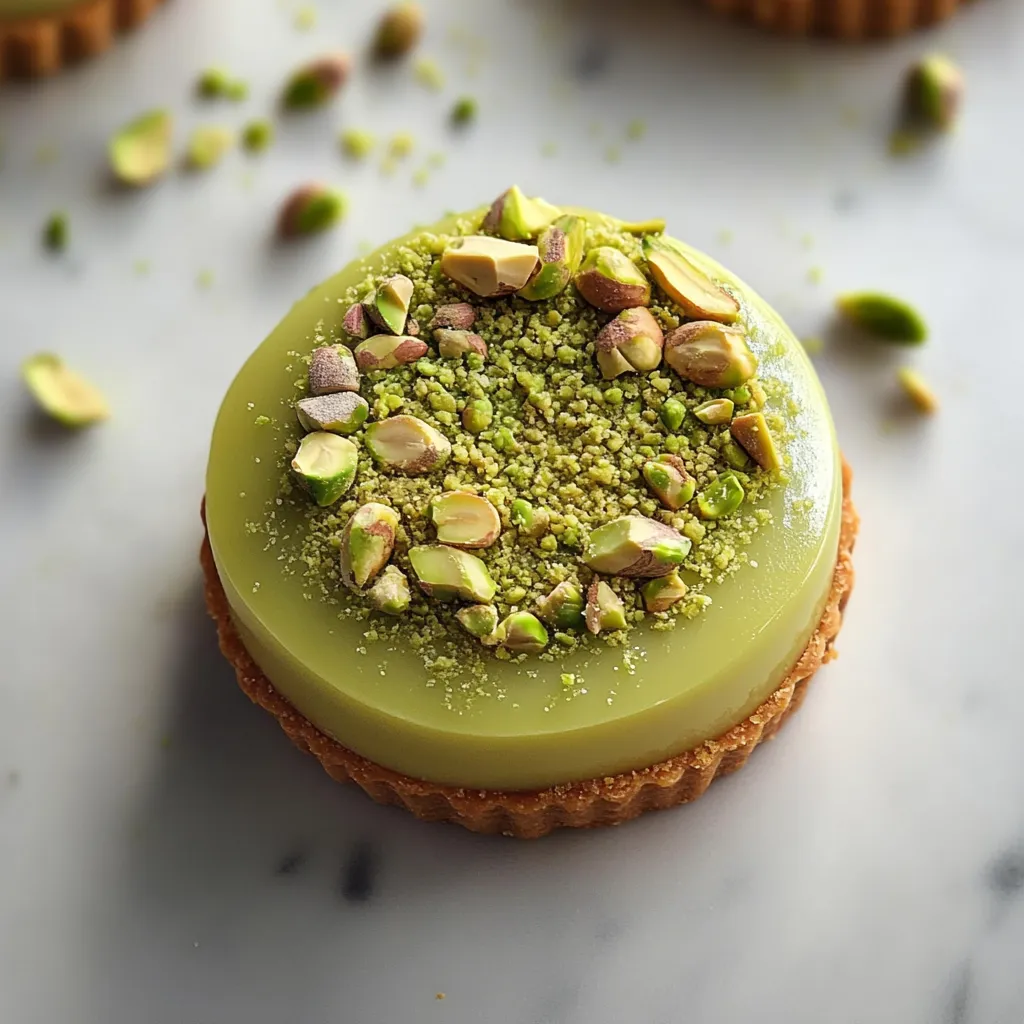
These fancy pistachio mini tarts showcase the green nut's magic through several different textures and tastes. The vanilla-infused buttery base cradles a baked pistachio filling, topped with crunchy pistachio chunks and finished with smooth pistachio cream. It's a fancy sweet treat that puts pistachios front and center. I whipped this up using leftovers after the holidays, mixing bits from my top pistachio desserts into one knockout creation.
When I served these little tarts last New Year's Eve, my friends were blown away. They looked so fancy with all their layers that someone actually asked me which fancy bakeshop I bought them from!
Key Ingredients and Shopping Advice
- Pure Pistachio Paste - Go for 100% pistachios without extra oils or sweeteners for the best taste
- Peeled Pistachios - Sicilian Bronte pistachios give amazing taste and bright green color
- Pailleté Feuilletine - These sweet crispy flakes add that must-have crunch; check baking supply stores
- White Chocolate - Works with the pistachio flavor in the creamy topping
- Gelatin - Helps make the top layer perfectly smooth
The real wonder comes from how these four parts work together—the crisp base, soft baked filling, crunchy middle, and velvety top—making a fancy dessert with amazing depth of flavor and feel.
Step-by-Step Cooking Guide
- Step 1: Get Gelatin Ready
- Mix gelatin powder with water, stir well and chill for at least 30 minutes until it firms up. Chop into tiny bits before using.
- Step 2: Create Pistachio Cream Top
- Put white chocolate, pistachio paste and gelatin in a jug. Warm milk, cream, sugar and egg yolks to 80-82°C, stirring all the time. Pour through a strainer into your chocolate mix, blend till smooth, then pour into small rings. Pop in freezer until solid.
- Step 3: Make Vanilla Shell
- Combine flour, ground almonds, sugar powder, salt and cold butter chunks until it looks sandy. Add beaten egg and vanilla, mix just enough to form dough. Roll it between paper to 3mm thick and chill until hard.
- Step 4: Form Tart Bases
- Cut dough into strips and circles, line the bigger rings, making sure corners are square. Cut off extra dough, poke bottoms with fork, and freeze until firm.
- Step 5: Cook Shells
- Bake at 170°C for 16-18 minutes until they turn light gold. Let cool and take out of rings, tidying edges for a clean look.
- Step 6: Prepare Baked Pistachio Layer
- Crush pistachios with powdered sugar, mix with soft butter, slowly add egg until creamy. Fill crusts halfway and bake 16-19 minutes until firm.
- Step 7: Make Pistachio Crumbles
- Mix ground pistachios, flour, sugar, salt and butter into rough crumbs. Bake at 170°C for 8-10 minutes until golden.
- Step 8: Mix Crunchy Layer
- Blend pistachio paste, crispy flakes and crumbles with melted chocolate until easy to spread. Layer over the baked filling and smooth level with crust edge.
- Step 9: Toast Pistachios for Topping
- Toast shelled pistachios at 160°C for 7 minutes, cool down, then smash for the finishing touch.
- Step 10: Put Tarts Together
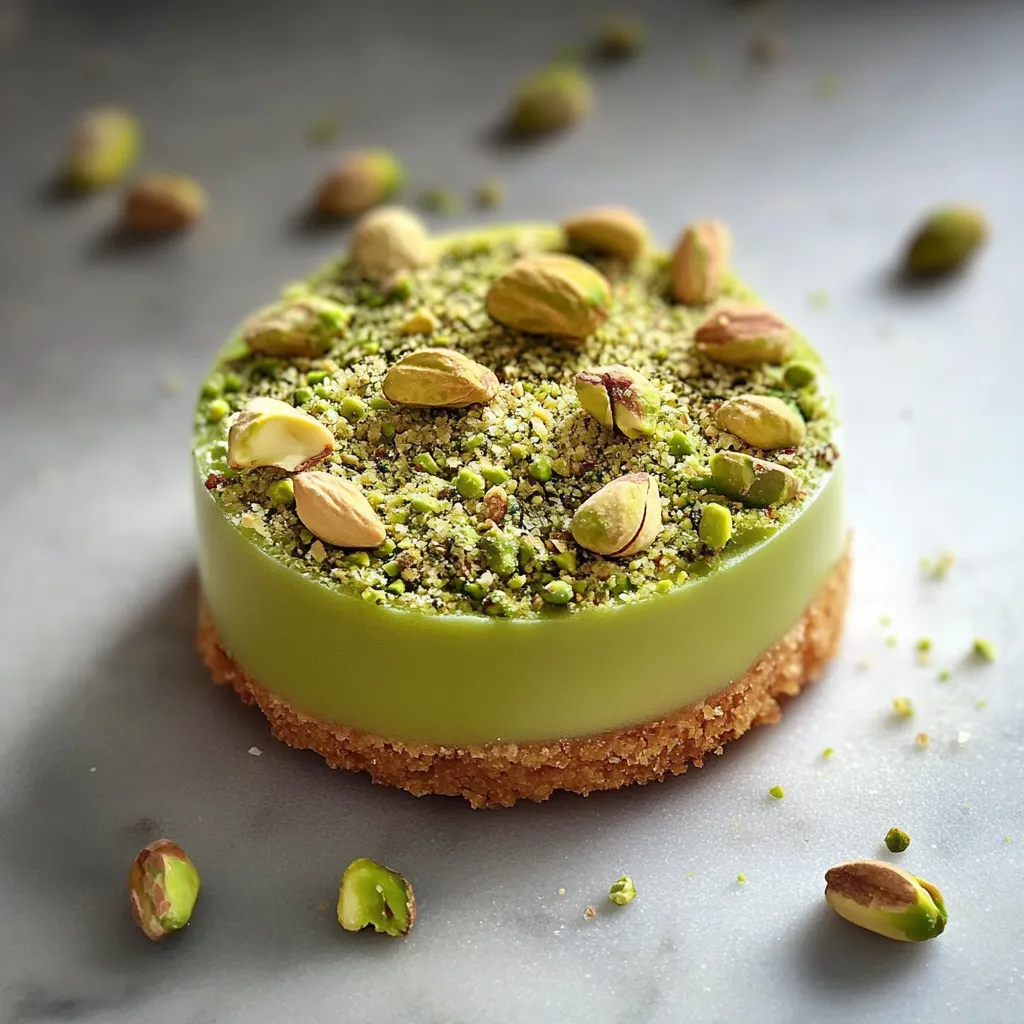
- Set partly thawed cream discs on the crunchy layer. When slightly sticky, press broken toasted pistachios on top and sides.
 Pin it
I learned how much temperature matters with these tarts after my first try on a hot day left me with floppy dough that kept breaking while I tried to shape it.
Wonderful Waiting Game
This treat teaches you to slow down when making fancy sweets. Every part needs time—chilling dough, freezing cream, letting flavors come together. I've found that splitting the work across a few days makes it easier and actually makes everything taste better. The flavors get stronger and the textures set just right when you don't rush.
 Pin it
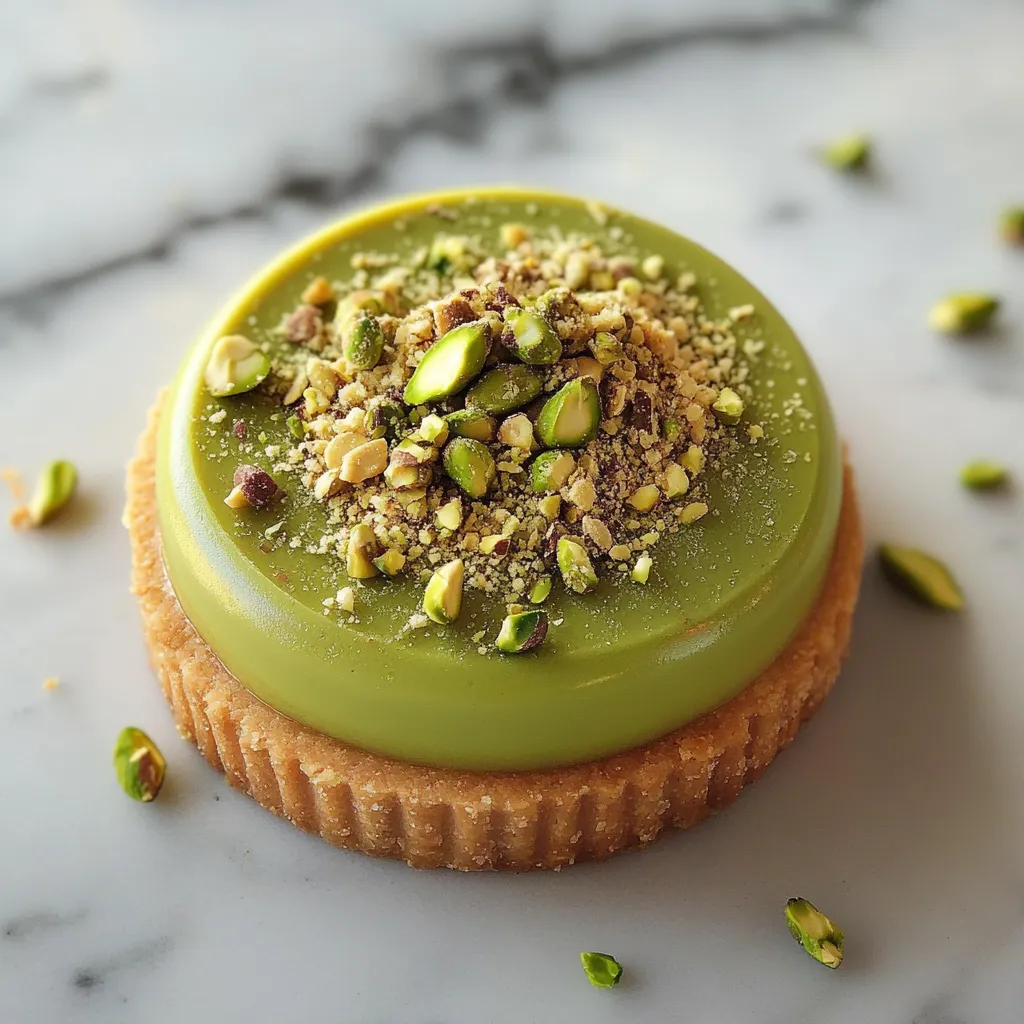
Green Shade Options
The green color changes a lot based on what pistachios you use. Iranian and Sicilian ones give you a bright green, while California pistachios look more subtle. I've tried both and think they're each pretty in their own way. Just let the nuts' natural color shine instead of trying to add fake coloring.
Food History Moment
These tarts connect us to how pistachios have been used across Middle Eastern and Mediterranean cooking for ages. Pistachios first came from western Asia and people have loved them for thousands of years. When I serve this dessert, I like telling guests how the different textures show all the ways pistachios get used in foods from Turkish baklava to Italian ice cream.
Pro Kitchen Tricks
- For the crunchy middle, add more or less chocolate to get the right spreading texture
- Using frozen cream discs makes putting tarts together much easier than trying to pipe soft cream
- The crushed nuts stick better to partly thawed cream discs
- A Silpan mat helps crusts bake more evenly if you have one
- Store finished tarts in a sealed container in the fridge for up to 3 days
These tarts sum up what I've learned about pastry making over the years – bringing together tricks from lots of different recipes. Breaking it into parts lets you spread out the work over a few days, making it doable even when you're busy.
All those layers create a dessert that feels like it came from a fancy shop but has that special homemade touch. With each bite giving you something crisp, crunchy, creamy, and buttery, these pistachio tarts turn basic ingredients into an amazing dessert perfect for special moments.
 Pin it
Closing Advice
- Start making this a day or two before you plan to serve it to allow for cooling times
- Spend a bit more on really good pistachios for the best color and flavor
- For neat slices when serving, warm your knife in hot water and wipe it clean between cuts
- Add a tiny bit of edible gold leaf for extra fancy occasions
- Think about making extra cream discs to freeze for future desserts
Frequently Asked Questions
- → Why do we need two different sized rings?
- Each part of the tart needs its own size for putting everything together right.
- → What's that pailleté feuilletine stuff?
- They're little broken bits of crispy crepes that make desserts crunchy.
- → Can I make some parts earlier?
- Absolutely, you can prep many bits ahead and put them together later.
- → Why are the temperatures so exact?
- It keeps your custards setting properly and stops them from getting lumpy.
- → Do I really need those ring molds?
- Yeah, they're important for getting those perfect shapes in fancy tarts.