
 Pin it
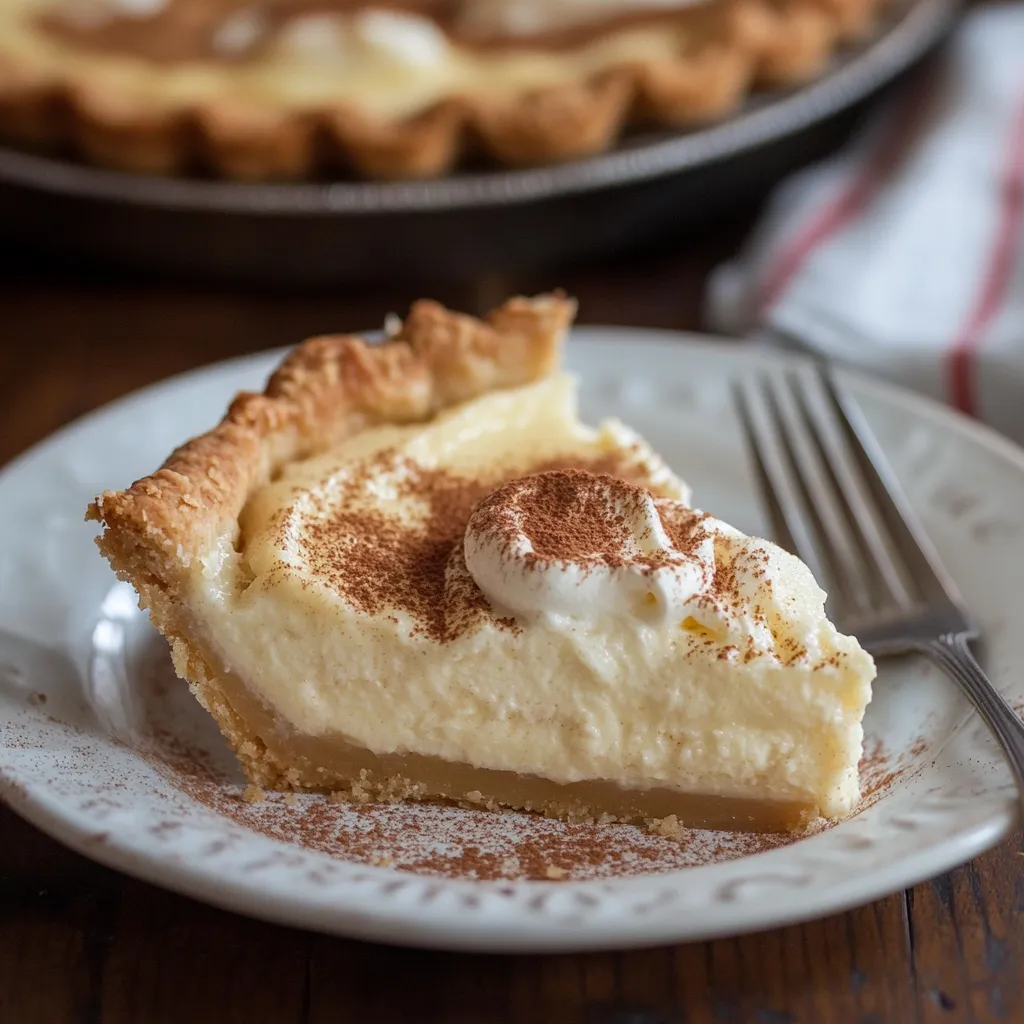
Take a bite of Indiana tradition with this Sugar Cream Pie that turns basic items into a velvety, indulgent treat. Every taste brings pure joy with its creamy, vanilla-infused filling tucked inside a crisp, flaky crust that breaks perfectly with each bite.
I whipped this pie up for our family reunion last week, and my elderly aunt said it reminded her exactly of her mom's recipe. That's what's so wonderful about old family dishes - they bring different generations together.
Key Components and Smart Shopping Advice
- Heavy Cream: Pick one with maximum fat percentage for best thickening
- Butter: Go for European brands to get extra flakiness and richness
- Cornstarch: Make sure it's not old for proper setting
- Vanilla: Stick with real extract for the best taste
- Cinnamon: Quality, fragrant spice really stands out
 Pin it
Step-by-Step Walkthrough
- Getting the Crust Ready:
- Everything needs to stay super cold for the crust. I even pop my mixing bowl in the freezer first. Look for butter chunks about the size of peas - that's what creates those amazing flaky bits.
- Baking the Empty Shell:
- When you're pre-baking, wait for the edges to turn slightly golden. The bottom should look dry but not too brown since it'll keep cooking once you add the filling.
- Whipping Up the Filling:
- Don't walk away while making the filling. You'll know it's done when slow bubbles pop up and your whisk leaves clear paths - that shows the cornstarch is working.
- Mixing Everything Together:
- Getting the temperatures right matters a lot. Your cream shouldn't be cold from the fridge or you'll get lumps, and your melted butter should be warm but not bubbling hot.
- Adding the Filling:
- Use a soft spatula to scrape every last bit of filling into your crust. Gently spread it evenly to keep air bubbles away.
 Pin it
My grandma always told me a proper sugar cream pie should hold its shape when cut but feel smooth and silky in your mouth. She taught me to pay attention to how the filling sounds while cooking - the bubbles make a different noise when it's ready.
Mastering the Perfect Consistency
Getting that just-right texture takes careful attention:
- Keep your spoon moving to avoid lumps forming
- Look for the mix to coat the back of a spoon nicely
- Don't disturb the pie while it's setting up
- Find that sweet spot between too soft and too firm
Getting Temperatures Just Right
Every part of the process has its own temperature needs:
- Your butter must be freezing cold for the crust
- Let cream sit out before using it
- Cook over low heat to avoid burning
- Let it cool totally for the best texture
Fixing Common Problems
If your filling's too thin:
- Make sure it's good and thick before you pour it
- Check that your cornstarch isn't too old
- Give it plenty of time to cool down
- Double-check your cream's fat content
If it feels gritty:
- Mix your sugars really well before adding cream
- Warm everything up slowly so sugar melts properly
- Keep stirring the whole time
- Watch your heat carefully
Different Local Styles
Depending where you're from, you might make it differently:
- Some folks add egg yolks for extra richness
- The spice mix changes from family to family
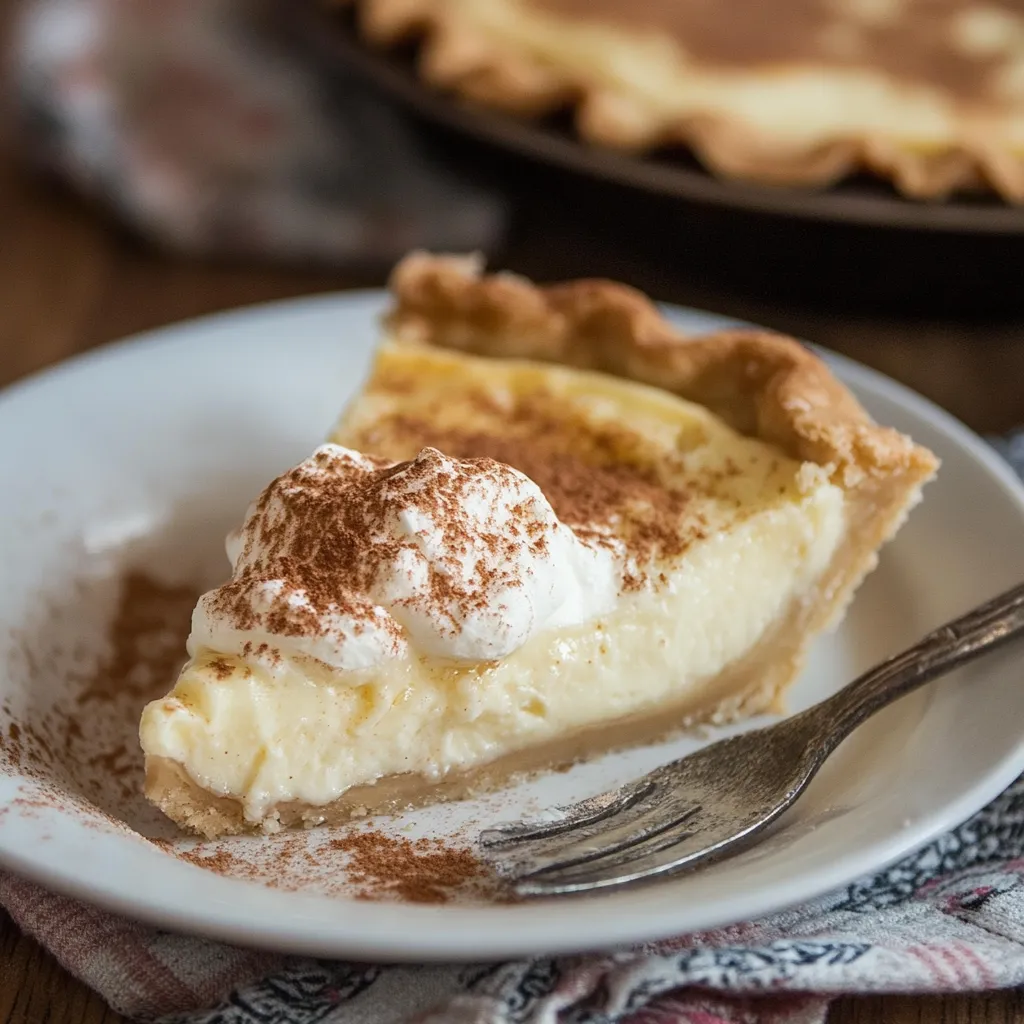
- In some places they top it with fresh whipped cream
- Different families use various thickening ingredients
Closing Thoughts
This Sugar Cream Pie isn't just a dessert - it's a taste of American cooking history. Each spoonful tells the story of clever home cooks who turned basic items into something special.
What makes it wonderful is how simple yet delicious it is when you take your time with each step. Made with care, it becomes more than just pie - it connects you to all the bakers who made it before you.
Rich Flavor Possibilities
Understanding how everything works together:
- Cook the butter until it smells nutty for extra flavor
- Add vanilla to warm cream to release more aroma
- The cinnamon gets better the longer it sits
- Brown sugar adds hints of toffee flavors
Making It Look Special
Try a fancy edge pattern on your crust
Sprinkle cinnamon through a paper cutout design
Add some sugar crystals on top for sparkle
Cut out little shapes from extra dough for special events
Keeping It Fresh
Smart storage keeps it tasting great:
- Wrap with plastic touching the surface
- Keep away from foods with strong smells
- Store in the coldest part of your fridge
- Let it warm up slightly before serving
 Pin it
Tasty Seasonal Twists
Spring - Mix in some fresh orange zest
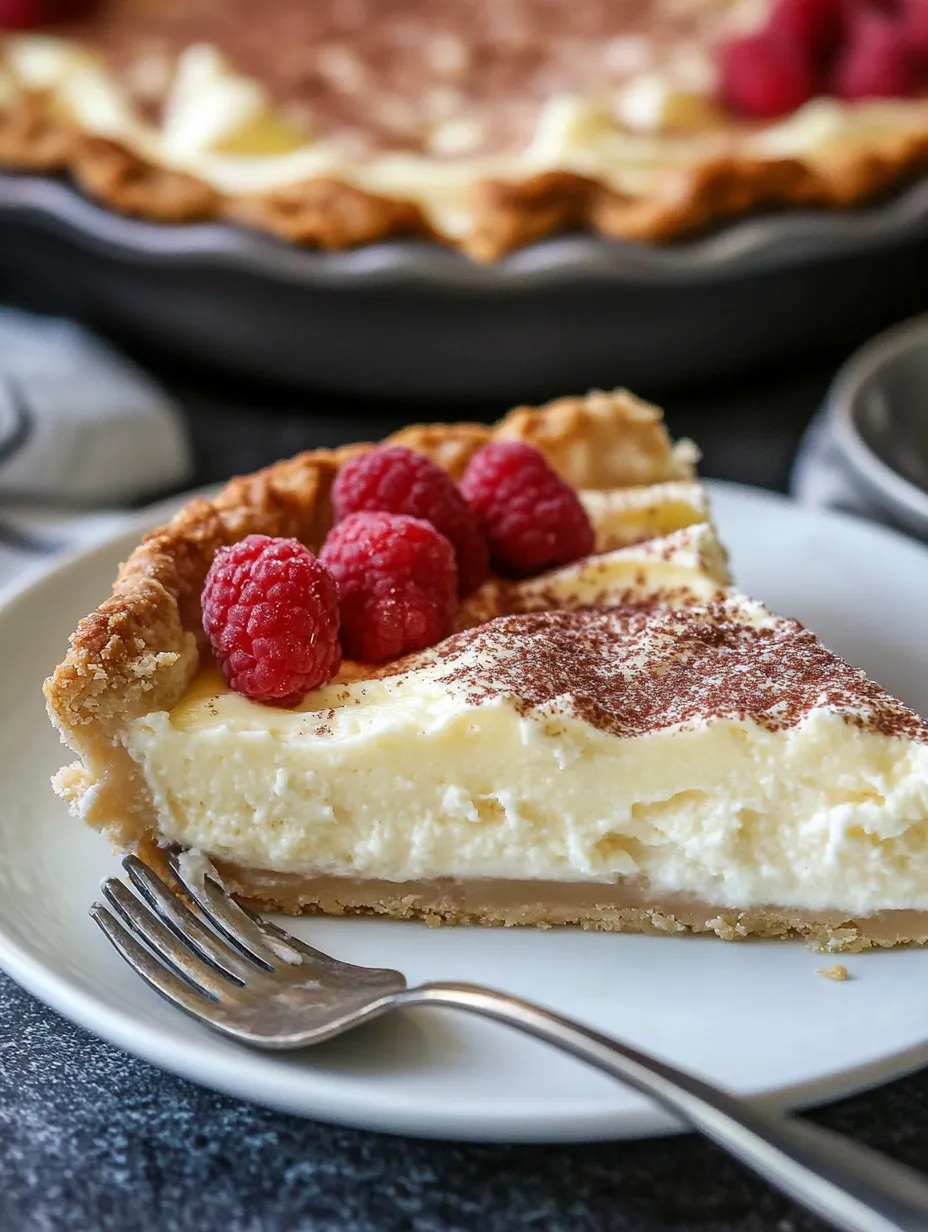
Summer - Serve alongside fresh berries
Fall - Add more cinnamon and nutmeg
Winter - Stir in a touch of maple flavor
Quick Fixes
Fast solutions when things go wrong:
- Filling too stiff? Stir in a little warm cream
- Crust pulling away? Check if it rested enough
- Getting a skin on top? Put plastic wrap right on the surface
- Browning too fast? Move to a lower oven rack
This pie shows off the beautiful simplicity of country cooking. It proves you don't need fancy ingredients to make something amazing - just patience, careful technique, and love for the process.
Whenever I bake this pie, I think about all the home cooks who made it through the years, creating something unforgettable from simple pantry staples. It's not just a recipe - it's proof that sometimes the simplest things, done well, are the most memorable.
Frequently Asked Questions
- → How does vodka improve the crust?
- It helps create a super flaky texture since it evaporates while baking and avoids gluten development.
- → What if I don't want vodka in the crust?
- You can swap it for very cold water, though the crust might be a bit less flaky.
- → Why does the pie need hours to chill?
- The filling sets over time to slice cleanly and keep the best texture.
- → Can this pie be prepped early?
- Sure! Make it up to 2 days in advance and store in the fridge.
- → How did the pie get its name?
- It's named for its main ingredients—sugar and cream.