
 Pin it
These charming Mini No-Bake Lemon Cheesecake Tarts mix zesty citrus with smooth cheesecake filling in bite-sized portions. They're fantastic for making ahead and look stunning, working great for everything from laid-back brunches to fancy dinner gatherings.
I brought these to a backyard get-together last spring and everyone kept sneaking back for extras. Nobody could resist that tangy-sweet combo of lemon and creamy cheesecake.
Key Ingredients Breakdown
- Cream Cheese: Use softened Philly-style for the creamiest texture possible
- Lemons: Grab firm, sunny yellow ones for the boldest taste and fragrant zest
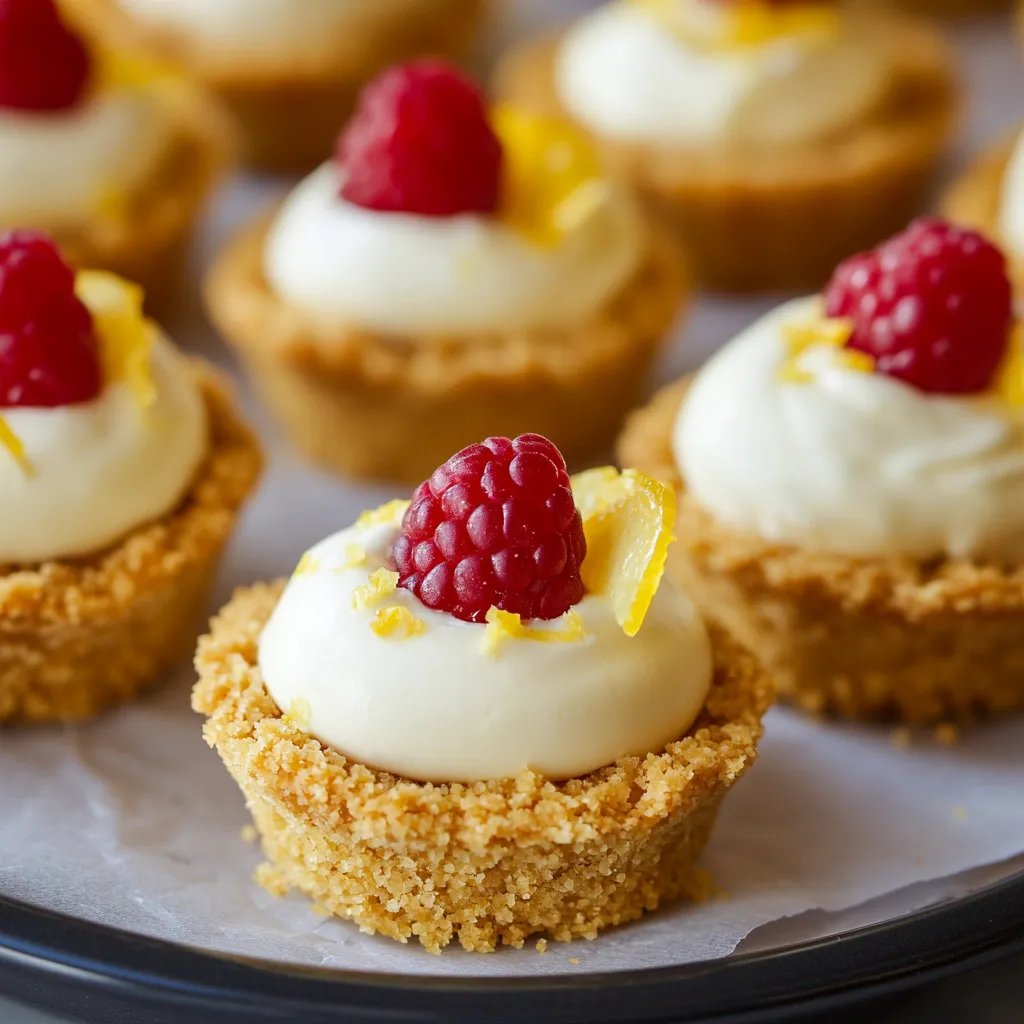
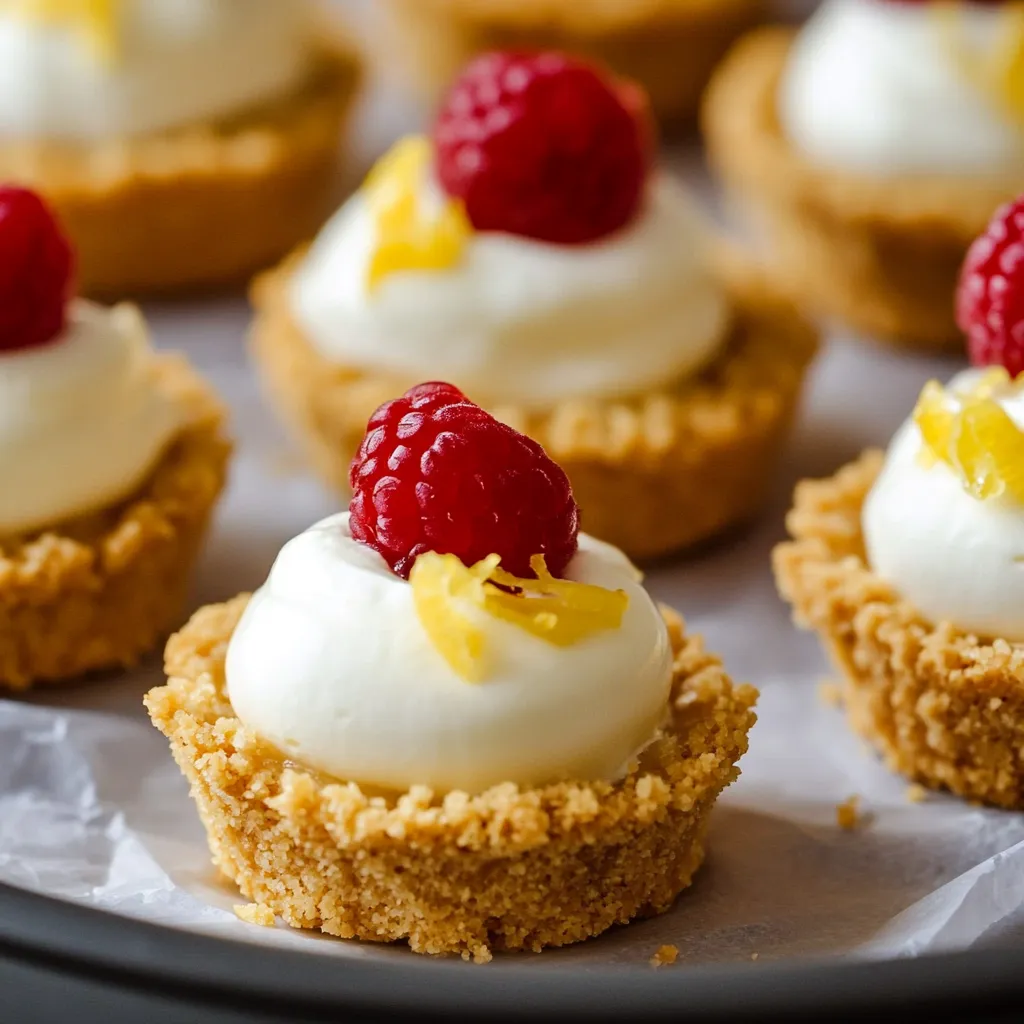
- Graham Crackers: Only use crunchy, fresh ones to build a solid base
- Heavy Cream: Pick one with at least 36% fat content to whip up perfectly
 Pin it
Step-by-Step Cooking Instructions
- Building Sturdy Bases
- Crush graham crackers until they're super fine and uniform
- Pack the mixture down tight with a measuring spoon's back
- Make sure the thickness stays the same all around for better support
- Creating Silky Filling
- Mix cream cheese thoroughly until smooth before you add anything else
- Get the zest off lemons first, then squeeze out their juice
- Incorporate whipped cream with care to keep it fluffy
- Putting It All Together
- Lift tarts out carefully using the plastic wrap edges
- Use a piping bag for that fancy finished look
- Pop them in the fridge between steps for best results
 Pin it
I first came up with these when I needed to plan a summer baby shower. I wanted something pretty and ready-to-serve that wouldn't stress me out.
They've now become my favorite dessert for warm weather parties, offering something light and refreshing when folks don't want heavy sweets.
You can switch things up so many ways with different fruits and decorations as the seasons change.
Everyone loves how the crumbly, buttery crust plays against the light-as-air filling.
Through countless parties and family gatherings, these lemon treats have proven themselves as the most dependable and crowd-pleasing sweets in my recipe collection.
Tasty Serving Ideas
Make your dessert table more exciting by playing with different flavors. My guests always love:
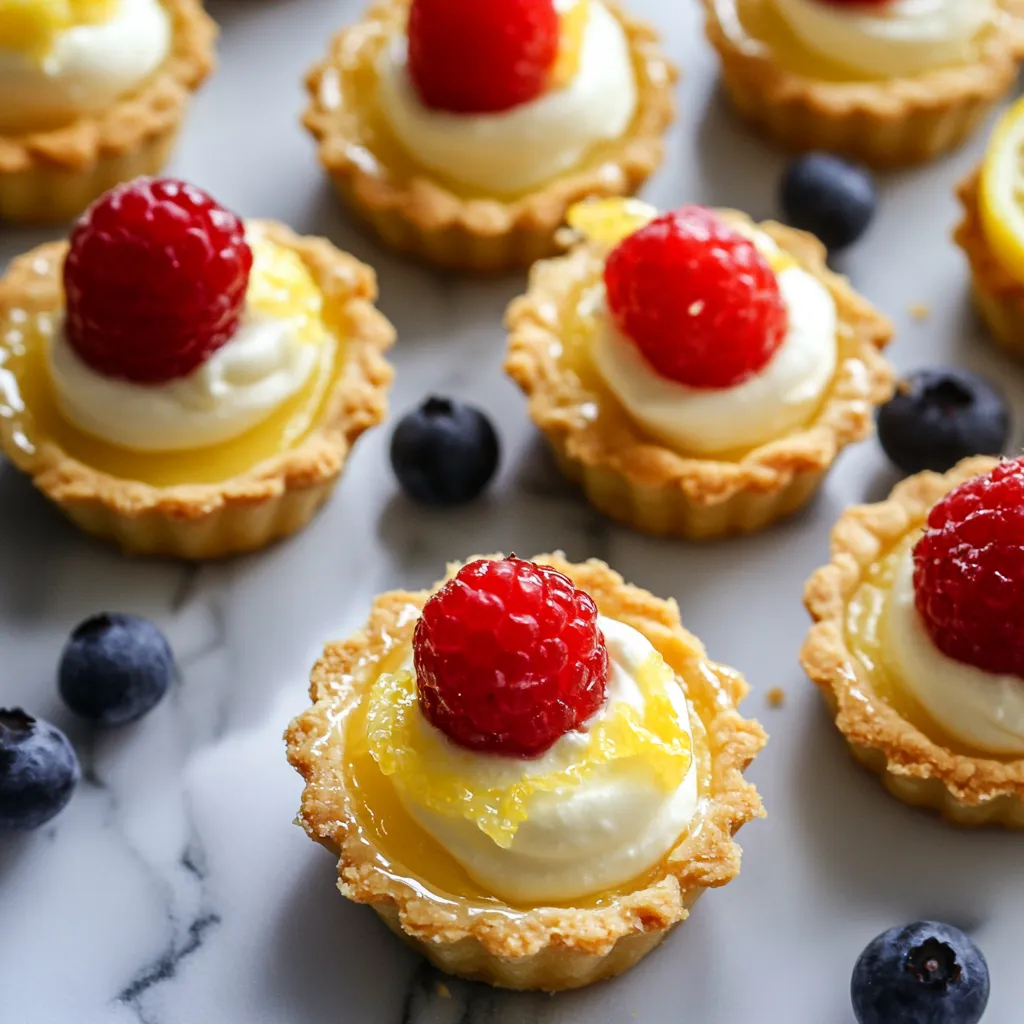
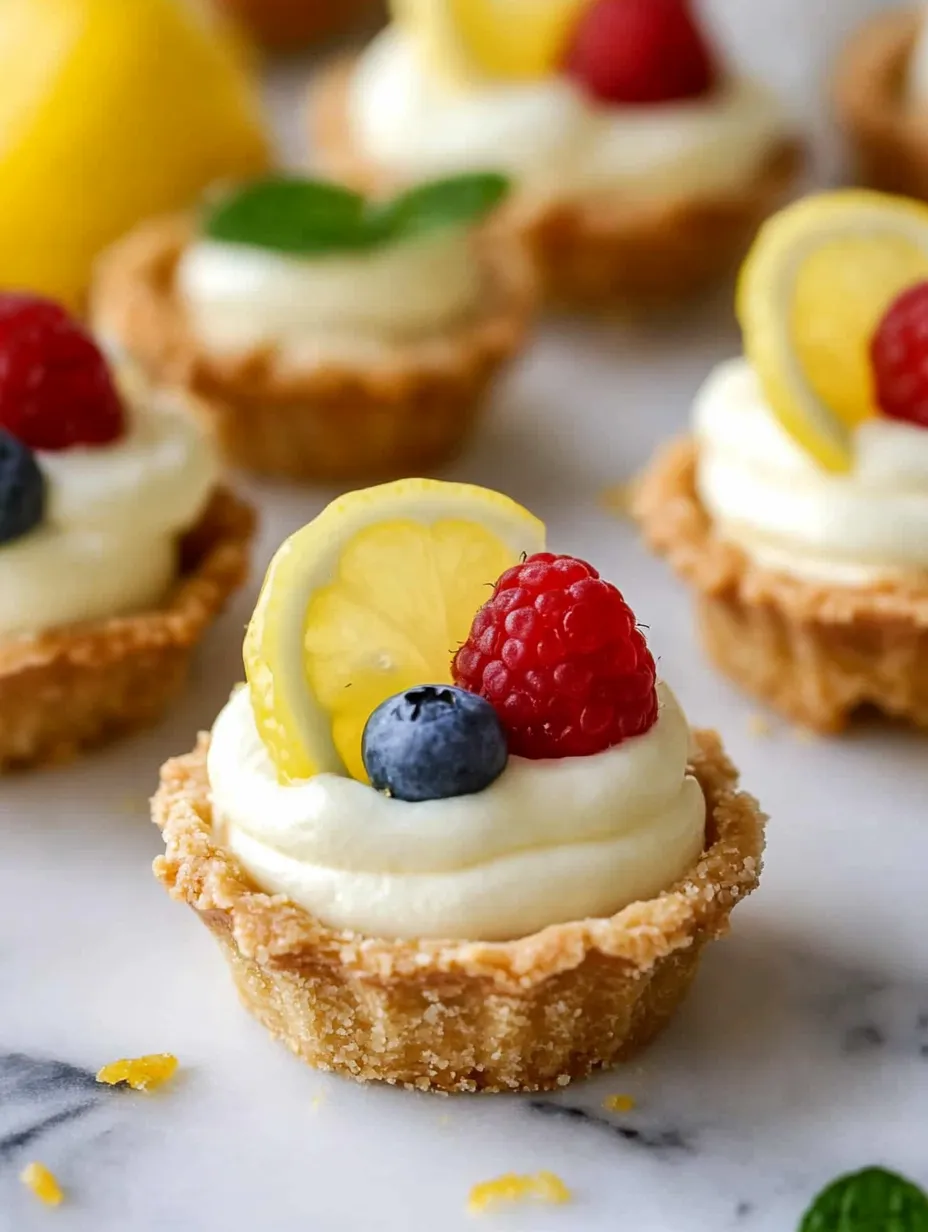
- Tarts topped with raspberries and fresh mint sprigs
- An orange-vanilla twist using orange zest and real vanilla
- A tropical version with lime and crunchy toasted coconut
When hosting big parties, arrange them on a multi-level stand with little flowers tucked between layers for a wow-factor display.
 Pin it
Smart Prep Planning
These treats work great for planning ahead:
- Get the crusts done up to four weeks early and freeze them
- Whip up the filling two days before you need to put them together
- Save the fruit decorations until just before serving so they look their best
Fixing Common Problems
Got filling that's too runny? Try whipping your cream a bit stiffer. Crusts falling apart? Just add another spoonful of melted butter. If they're stuck in the pan, pop them in the freezer for a few minutes before trying to take them out.
Getting Temperatures Right
Work with slightly cool ingredients for best mixing results
Stick your tools and bowls in the fridge before whipping
Let the finished tarts warm up for 5 minutes before eating
Changing With The Seasons
Spring: Add fresh strawberry slices and mint leaves
Summer: Pile on mixed berries and pretty edible flowers
Fall: Drizzle with warm, gooey caramel
Winter: Top with sweet candied lemon strips
Fancy Decoration Tricks
Get a star tip for your piping bag to make pretty swirls
Put berries in a neat pattern that repeats
Sprinkle powdered sugar right before you serve them
Add tiny mint sprigs to make the colors pop
I've learned that often the easiest recipes turn out the most impressive. These tarts taste amazing and look fancy, but they're actually pretty simple to make. They work well for both cooking beginners and pros. Just take your time and pay attention to the little things that make them extra special.
Every time I serve these mini lemon treats at any kind of party, people smile and ask how I made them. I hope you enjoy making them as much as I do, and that they bring lots of compliments to your table too!
Frequently Asked Questions
- → Can I prepare them in advance?
- Totally! Keep them in the fridge for up to 5 days or freeze for 3 months.
- → Why is chilling important?
- Since it's no-bake, they’ll lose shape and texture if not kept cold.
- → What fruit toppings do you recommend?
- Fresh berries, sliced citrus, or even jam work beautifully.
- → Are other crusts an option?
- Sure thing! Vanilla cookies or gingersnaps make tasty alternatives.
- → What’s the best way to store leftovers?
- Stash them in the fridge or pop them in the freezer in a sealed container.