 Pin it
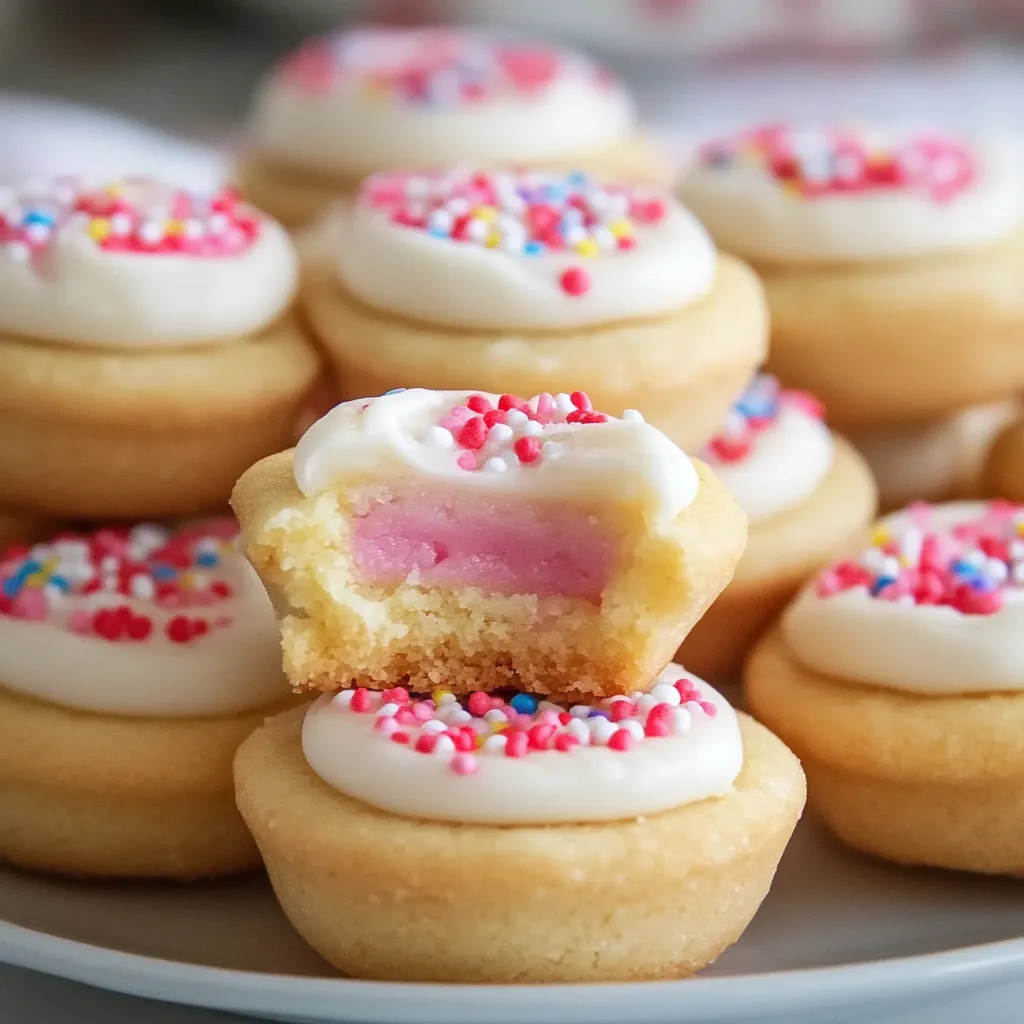
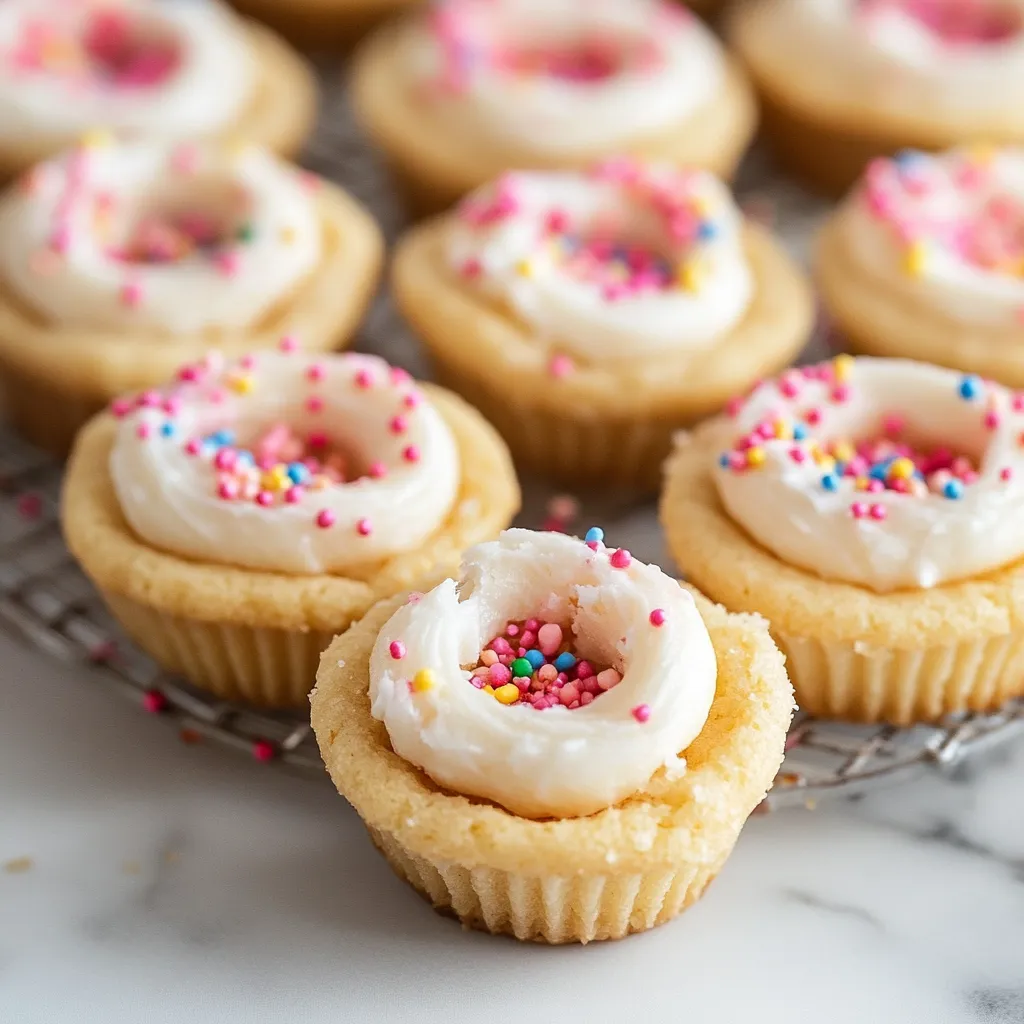
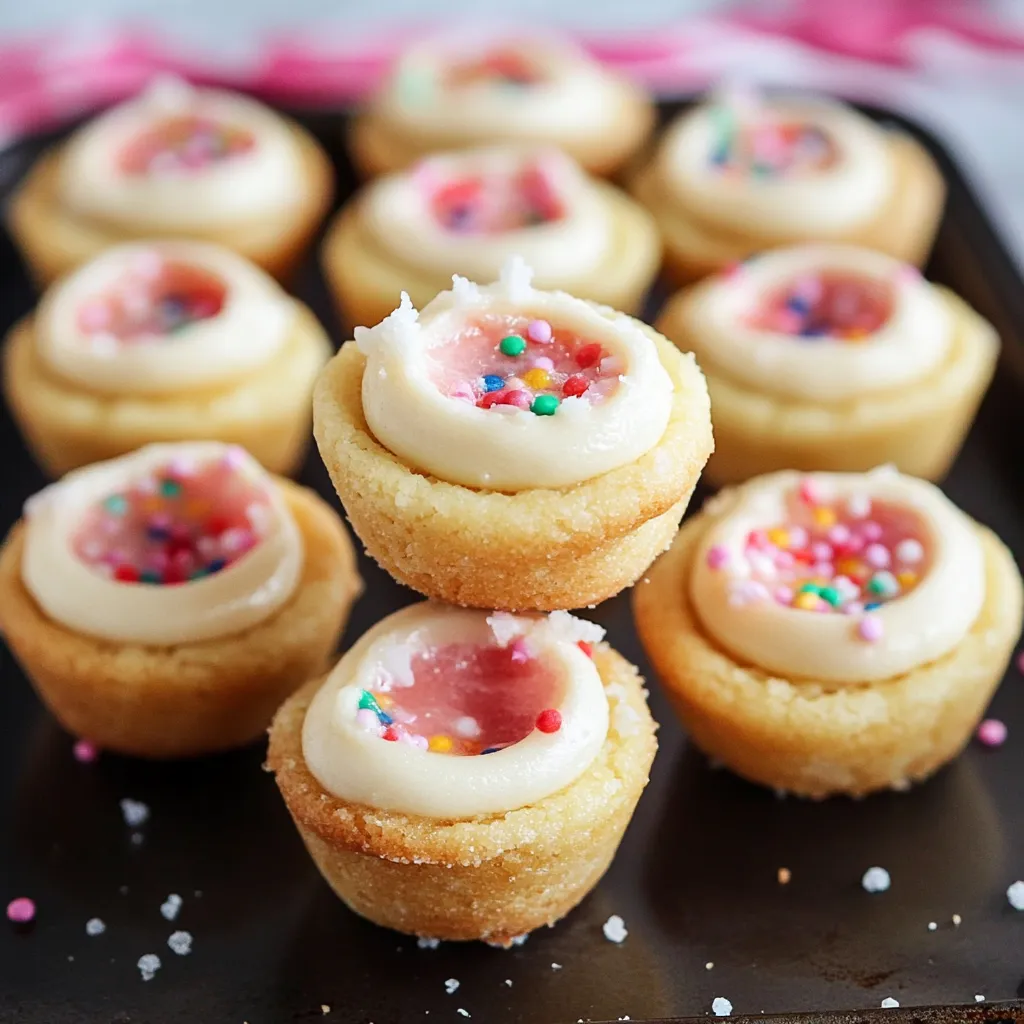
Turn traditional sugar cookies into cute little cups that hold creamy frosting perfectly. These small bites mix buttery cookie bases with smooth frosting, making flexible treats that work great for gatherings and fun events.
After making many batches, I've found that getting the dough just the right coolness and watching the clock carefully helps create the ideal cup shape.
Key Ingredients
- Butter: At room temperature (65-70°F), unsalted
- Granulated Sugar: For the right consistency
- All-Purpose Flour: Properly measured
- Large Eggs: At room temperature
- Pure Vanilla Extract: Not the fake stuff
- Heavy Cream: For smooth frosting
- Sprinkles: To make them pretty
Step-By-Step Guide
- 1. Dough Preparation:
- Mix room temperature butter and granulated sugar until it looks puffy and light, for around 3-4 minutes. Put in eggs one by one, then add vanilla, stirring well each time. Mix dry stuff separately, then slowly add to your butter mix. Stir just enough to form dough - it should feel soft but not sticky. Cool it for 30 minutes so it's easier to handle.
- 2. Pan Preparation:
- Cover 36 mini muffin cups completely with cooking spray or soft butter. For the easiest removal, try using paper liners. Heat your oven to 350°F with the rack in the middle.
- 3. Cookie Cup Formation:
- Use a 1½-tablespoon scoop (about 1 ounce) to get the same size each time. Form each piece into a ball, then push down a bit to fit the muffin cups. Press dough into cups, making the sides and bottom around ¼-inch thick.
- 4. Baking Process:
- Cook for 12-14 minutes until the edges turn slightly golden and middles just set. Take them out and right away push down the centers with a rounded measuring spoon. A small dent works great for holding frosting later.
- 5. Shaping and Cooling:
- Let cookies sit in the pan for exactly 5 minutes - this helps them firm up while staying flexible enough to take out. Carefully move them to a wire rack to finish cooling.
 Pin it
Keeping And Serving Tips
Make sure cups are totally cool before adding frosting. If serving soon, keep at room temperature up to 3 days in a sealed container. To save for later, pack unfrosted cups carefully in a freezer container with parchment paper between layers. They'll stay good frozen for up to 3 months.
Making The Frosting
Whip softened butter until it's fluffy. Slowly mix in sifted powdered sugar, taking turns with heavy cream until you get the right thickness - firm enough to keep its shape but easy enough to squeeze through a tip. Put it in a piping bag with a star tip (or a plastic bag with a small corner cut off).
Good Companions
- Fresh milk
- Warm chocolate drink
- Coffee or tea
- Freshly picked berries
- Ice cream as filling
- Bright sprinkles
 Pin it
Creative Decoration Ideas
- Holiday themed sprinkles
- Tinted frosting
- Various piping nozzles
- Sparkly sugar
- Bits of fresh fruit
- Melted chocolate topping
These little cookie cups show how basic ingredients can make something really nice. They'll make people happy whether for special days or just because. Just remember, paying attention to the small stuff during making ensures they'll look and taste great every time.
Frequently Asked Questions
- → Can I prepare these in advance?
- Sure thing, you can make the cups up to 3 days early and keep them unfrosted. Just add the filling right before you serve them.
- → What's the best way to keep them fresh?
- Pop them in an airtight container and they'll stay good at room temperature for up to 5 days.
- → Will the empty cups freeze well?
- Absolutely, you can freeze the unfilled cups in an airtight container for up to 3 months.
- → I don't have a bottle cap handy. What else works?
- Any small round thing about 1 inch across will do the trick. Try a tiny shot glass or even a measuring spoon.
- → Can I put other fillings in these cups?
- For sure, they're great with melted chocolate, cream cheese frosting, or even fruit curd instead.
