
 Pin it
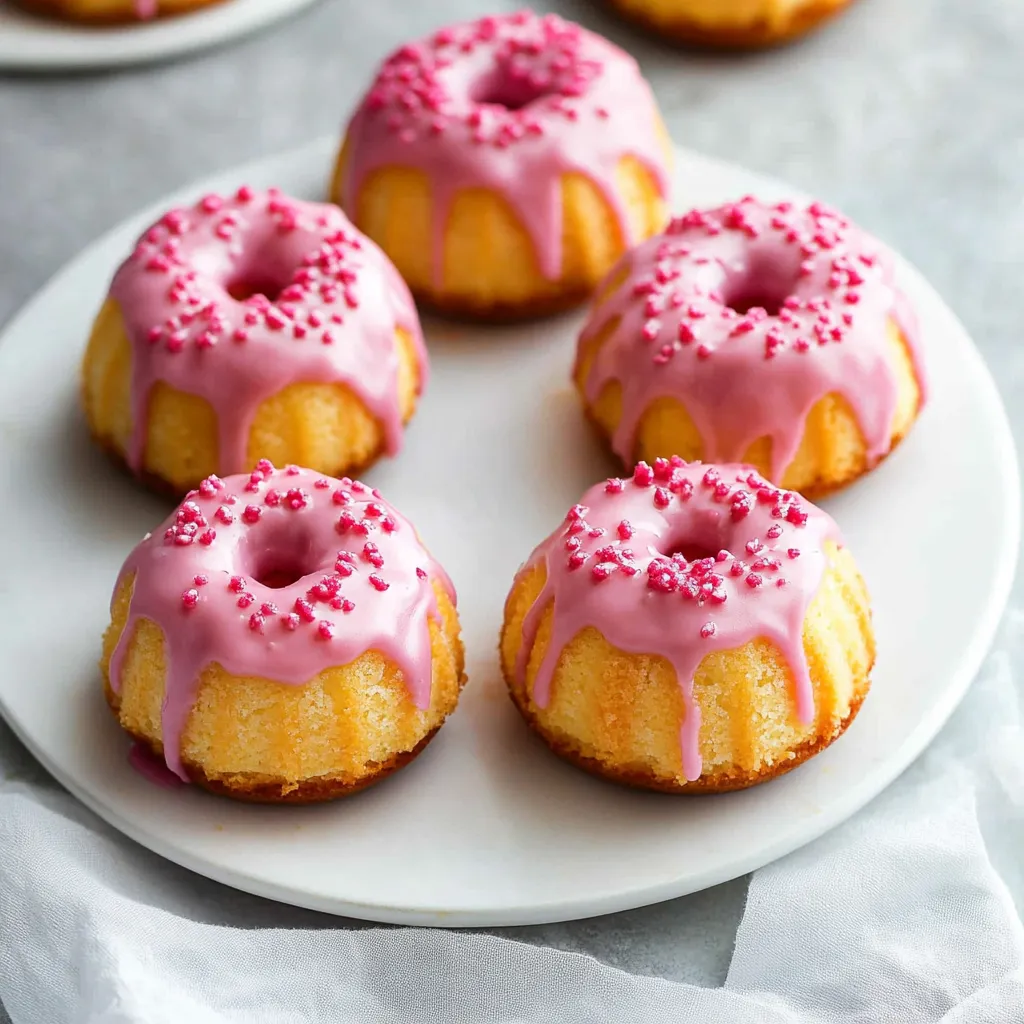
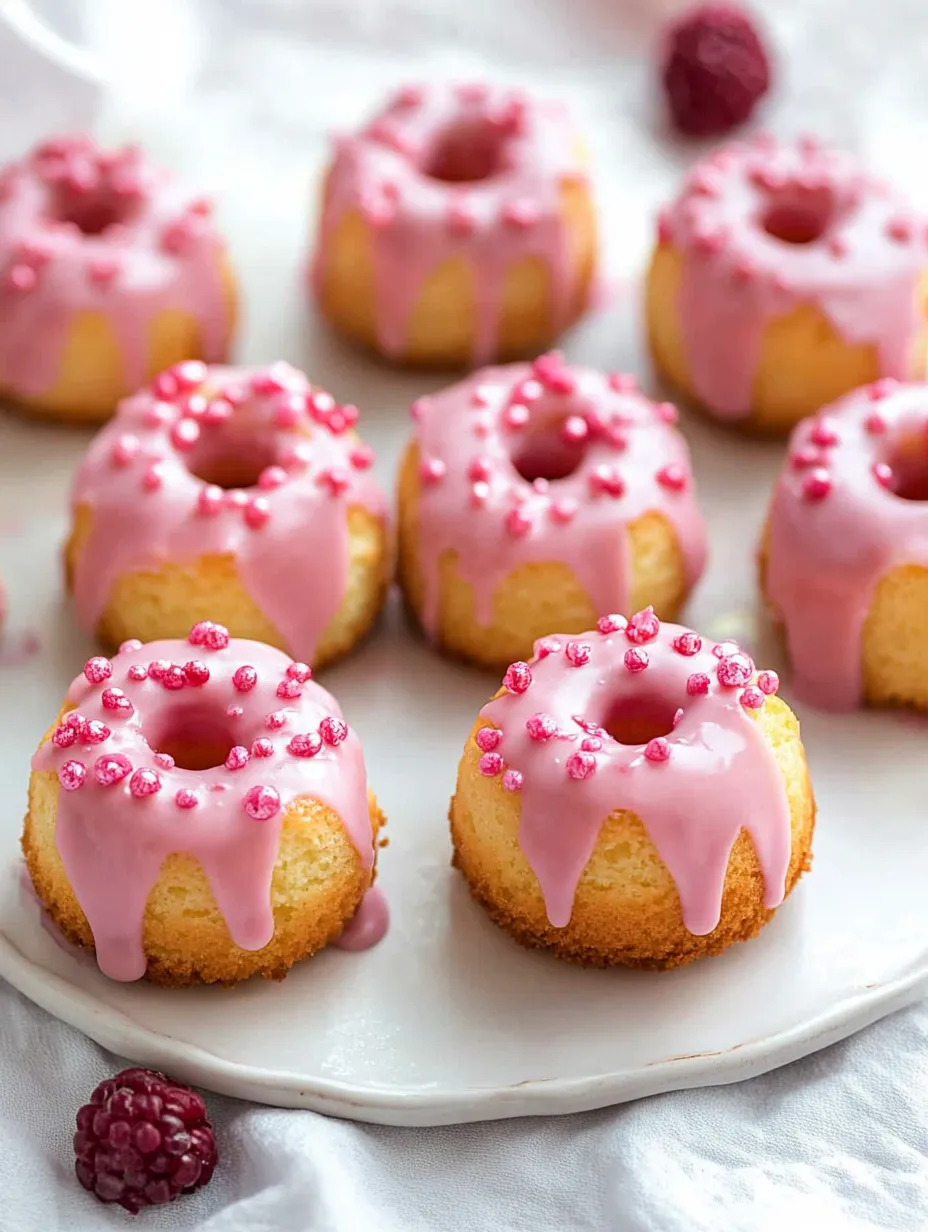
These Mini Vanilla Pound Cakes hit the sweet spot between simple and stunning as a Valentine's treat. Each little cake shows off a buttery goodness that'll win hearts. Cut one open to find a tight golden inside dotted with tiny vanilla specks, all topped with a pretty pink raspberry glaze that adds just enough fruity zip.
I took these to my friend's bridal shower last week and watched everyone's faces light up when they saw these cute little treats. The bride almost cried when she realized each cake was just the right size to share with her husband-to-be during their morning coffee ritual.
Key Ingredients and Smart Picking Tips
- Butter - Go for the European kind with extra fat for a richer taste. Let it sit out exactly 60 minutes before you start for just the right softness
- Sour Cream - Never use low-fat here; you need all that creaminess to get the texture right and help everything rise
- Vanilla Bean - Pick ones that bend easily instead of snap. Those tiny black dots pack big flavor punches that make these cakes stand out
- Eggs - They mix in better at room temp. If you forget to take them out early, just pop them in warm water for 10 minutes
These things might look basic, but they work together like magic. After making tons of batches, I can tell you that spending extra on good vanilla beans really does make these taste way better.
Making It Step By Step
- 1. Getting Ready
- Coat your mini Bundt pan completely - don't miss any spots. Even with non-stick pans, this extra step makes sure they pop out perfectly. Put your rack in the middle of the oven and heat it to 350°F. The heat needs to spread evenly for the cakes to bake right.
- 2. Starting The Mix
- Put your room-temp butter and sugar in the bowl and beat them until they look fluffy and get lighter colored - about 3-4 minutes. This isn't just mixing stuff together; it's building the foundation for how your cake feels in your mouth.
- 3. Growing The Batter
- Drop in eggs one by one, letting each one blend in completely before adding another. Being patient here keeps everything smooth. Scrape down the sides often - those butter clumps at the bottom need to join in too.
- 4. Adding Wet Stuff
- Mix in your vanilla extract, vanilla bean bits, and sour cream until they're just combined. The mix might look a bit lumpy now - don't worry, it'll smooth out when you add flour.
- 5. Finishing The Batter
- Slowly add your dry ingredients, mixing on low just until they disappear. Don't mix too much - stop as soon as you can't see flour anymore. Your batter should look thick and creamy.
- 6. Pouring And Baking
- Fill each cup about 2/3 full - they need space to grow. Tap the pan gently on the counter to pop air bubbles. Bake for 20-25 minutes, or until a toothpick comes out with just a few moist crumbs stuck to it.
 Pin it
After baking hundreds of pound cakes, I can't say enough about getting the pan ready right. My grandma showed me how to brush every little groove with melted butter, then dust with flour. Her trick works every single time.
How To Get That Perfect Lift
What makes these mini cakes so pretty is how evenly they rise. Unlike fluffy cakes, pound cakes need to climb slowly to get that signature dense texture. Don't open the oven while they're baking - each time you peek, heat escapes.
Getting The Glaze Just Right
That raspberry topping isn't just for looks - it adds crucial flavor. Fresh berries make a much better color and taste than any food coloring. I blend them up and strain out the seeds, so it pours smoothly over all those pretty ridges.
Dressing Them Up
Though these look great with just the glaze, sometimes you want to go all out. Try adding some sparkly edible dust or small royal icing hearts for Valentine's Day. Let the cake's beautiful shape guide how you decorate.
Keeping Them Fresh
These small cakes actually taste better after sitting for a day as the flavors mix together. Keep them under a cake cover at room temp for up to 3 days, or freeze them without glaze for up to 3 months.
 Pin it
Understanding The Moisture Magic
Getting the wetness just right in these mini cakes matters a lot for making them perfect. Since they're smaller than big pound cakes, they can dry out faster because they have more outside surface. The sour cream does an important job here - its fat and tang soften the flour proteins while adding moisture that stays put during baking. After trying tons of different amounts, I found that mixing 1/4 cup sour cream with 1 cup flour gives you that sweet spot between richness and structure.
Different Pans You Can Try
While mini Bundt pans create those pretty ridged shapes, this recipe works great in other small containers too. Mini loaf pans make cute rectangular cakes perfect for giving as gifts, and muffin tins work for single servings. Just watch your baking time - smaller ones might need only 15-18 minutes, while one big loaf needs about 45-50 minutes. I've noticed dark metal pans make a slightly crunchier outside, while light-colored ones give you a softer crust.
Ways To Switch Up The Flavor
That vanilla base opens the door to lots of tasty changes. Add a teaspoon of citrus zest for a fresh spring vibe, or swirl in some cinnamon-sugar for a cozy winter treat. My favorite twist is adding 1/4 teaspoon of almond extract - it boosts the buttery richness and adds a nice subtle complexity.
Prep Ahead And Storage Tricks
These cakes are perfect for making before your event. Wrap each unglazed cake in plastic wrap, then foil, and freeze for up to 3 months. Thaw them in the fridge overnight, then bring to room temp before adding glaze. You can even make the glaze a week ahead and keep it in the fridge - just warm it a bit and stir before using.
Pro Baker's Best Advice
- Check your oven's real temperature with a separate thermometer - even a 25°F difference can mess up these delicate cakes
- When cutting open vanilla beans, hold your knife at a 45-degree angle to get the most seeds out
- For picture-perfect glazing, put your cakes on a wire rack over parchment paper before pouring
 Pin it
Closing Thoughts
I still remember the first garden party where I served these - seeing everyone's face light up when they got their own personal cake made all the careful work worthwhile. That's what's so magical about tiny desserts - they make each person feel special.
Frequently Asked Questions
- → Can I make these ahead?
- You bet - just pop unfrosted cakes in the freezer for up to 3 months
- → No mini bundt pan?
- Don't worry - mini loaf pans work fine or try one 9x5 inch loaf pan
- → No vanilla bean?
- Just toss in another 1/2 teaspoon of vanilla extract instead
- → Why room temperature ingredients?
- This helps everything mix properly and gives you the best cake texture
- → Can I change the icing color?
- Try different berries or add food coloring to get various pink tones