 Pin it
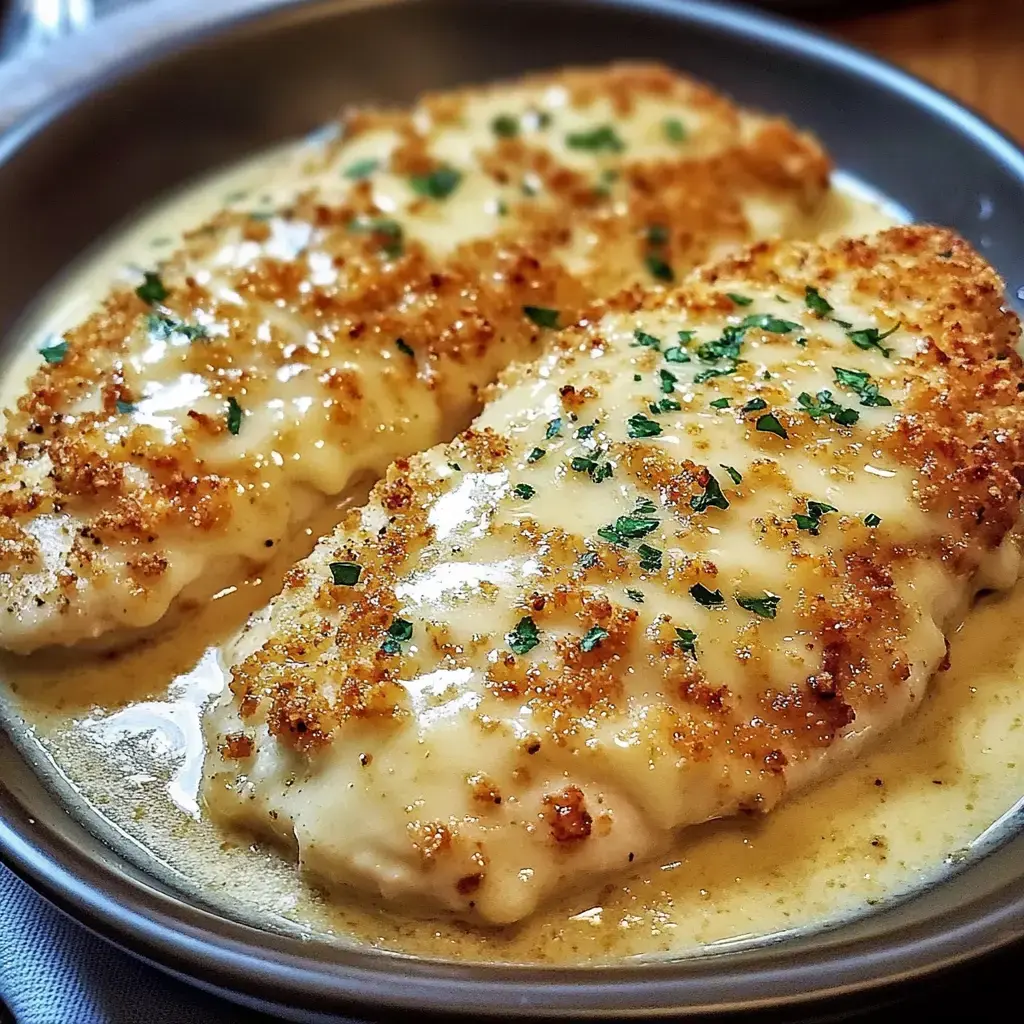
When I worked at the steakhouse in town, I couldn’t get enough of their legendary parmesan crusted chicken. After loads of trial runs at home, I finally nailed it. Now I get all those restaurant vibes without leaving my kitchen—super juicy chicken covered in a layer of toasty, cheesy goodness that makes dinner go quiet. Best thing? You’ll have this ready before you’d even decide what to wear out, and honestly, it’s tastier made from scratch.
Why Everybody Loves This
Whenever I whip up this chicken, everyone heads to the kitchen because it just smells so good. The chicken stays crazy juicy and the parmesan-garlic topping turns crisp and golden right under the broiler. People ask for this during crazy work weeks, but it also totally impresses whenever company drops by. You get that combo of super fast cooking and professional flair that makes this a mainstay in my go-to meals.
You’ll Want These Ingredients
- Main Player: Grab four plump chicken breasts. I always flatten them to the perfect thickness with a mallet—trust me, fresh is worth it over frozen ones.
- Foundational Flavors: Go with garlic powder, salt, paprika, and pepper—they’re the dream team for building up tons of savory flavor.
- Golden Touch: Just a little splash of olive oil scores you that awesome golden sear.
- Creamy Magic: Mix mayo and ranch for the creamy vibes, add freshly grated parmesan for sharpness, toss in real garlic (not the kind from a jar), plus some Italian seasoning for a herby kick.
- Crunch Factor: Panko crumbs stay crunchier than the regular ones and melted butter helps them come out extra toasty.
Kick Things Off
- Flat Is Best
- Get out some plastic wrap or a sturdy bag and give your chicken a good pounding. Shoot for around half an inch thick so every piece cooks just right and stays juicy. Take it easy—rushing here can make your chicken fall apart and cook unevenly.
- Add Flavor
- Hit both sides with plenty of garlic powder, paprika, pepper, and salt. Really rub those in—they’re what brings all the flavor. Let the chicken chill with its seasonings while your pan heats.
- Set Up the Tools
- Preheat your oven to 400°F and check that your skillet can handle both stove and oven duty. Trust me, not every pan is built for the full ride.
 Pin it
The Fun Part: Cooking
Heat up your skillet with olive oil on medium-high till it’s hot enough for a sizzle when you lay down the chicken. Give each chicken breast about four minutes per side so they get that picture-perfect golden color. Watch for the edges to change shade—that’s when you know to turn them over. Once both sides look just right, get the skillet into your hot oven. Let the chicken finish for another 12 minutes. The oven takes it all the way to juicy and done. I always check with a meat thermometer for 165°F, so I don’t have to guess.
Time for the Iconic Topping
While your chicken gets cozy in the oven, mix up that famous parmesan spread. Stir together mayo, ranch, shredded parmesan, minced fresh garlic, and Italian seasoning in a bowl. It should taste bold because it’s spreading over everything soon. Sometimes I add a handful of mozzarella—why not, right? Ranch brings some zing, mayo adds rich vibes, parmesan keeps things salty and sharp, and the garlic makes the magic happen.
Stack Up the Crunchy Layer
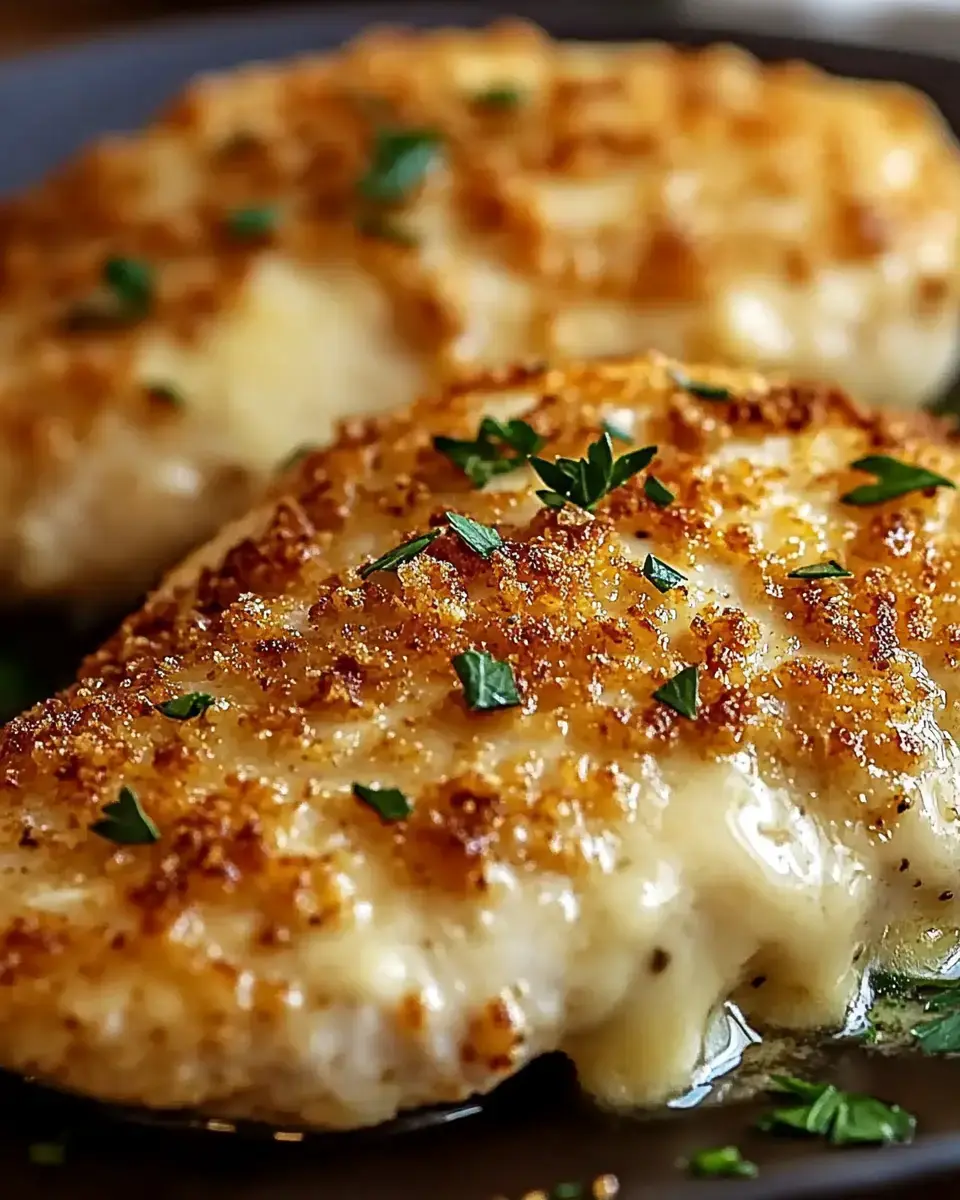
Here’s where things get tasty—building that crunchy blanket. Toss panko crumbs with another scoop of parmesan and lots of melted butter in a bowl. The butter really matters—it makes the topping go perfectly golden under the broiler. When the chicken’s perfectly cooked, take it out and slather each piece with the creamy parmesan topping. Don’t hold back; every bite should be covered. Now sprinkle that buttery breadcrumb mix on top and let it fall wherever it wants. This way you get a mix of creamy and crispy with every forkful.
Serve It with Style
Now it’s showtime. Stand by the broiler and watch as the topping bubbles up and becomes golden brown in just a couple quick minutes. Stay close—you’ll want to catch it before it goes too far. I like to throw some fresh chopped parsley over everything right before serving. It looks pretty and gives a burst of green flavor. Try it alongside a pile of mashed potatoes to soak up extra sauce, toss it on some buttery noodles, or balance things out with a zingy green salad. Sometimes I slice the breasts to show off that steamy center—makes everyone extra hungry at the table.
 Pin it
Pro Tips for Awesome Results
After making this for tons of meals, I’ve picked up some tricks that never fail. Always flatten your chicken—uneven pieces end up dry or underdone. Use your meat thermometer every time, so you’re never left guessing. Want to switch it up? Try gruyere or cheddar for a new take on cheesy flavor. Spice lovers can stir cayenne into the topping or add a splash of hot sauce to the creamy layer. Leftovers store great in the fridge for three days. Skip the microwave—bring them back to life with a few minutes in a 350°F oven, so the crust stays crispy and the chicken stays juicy. That’s if you have any left; in my house, this stuff disappears quick.
Frequently Asked Questions
- → What's the point of pounding the chicken?
It keeps the meat even so everything cooks the same. Plus, thin pieces are quicker and stay moist.
- → Will chicken thighs work here?
Yep, swap in thighs if you want! Just check they’re at 165°F to be sure they’re cooked through.
- → How come you sear before you bake?
Searing helps the outside get brown and keeps juices in. That gives you more flavor too.
- → Is it okay to prep this ahead of time?
Totally! Get the chicken ready and store it before topping. Put the toppings on and broil when you’re ready to eat.
- → Why use both the oven and the broiler?
Baking cooks your chicken all the way, and the broiler toasts the top nice and crunchy without drying it out.
Conclusion
Whip up a tasty meal that tastes just like Longhorn’s with hardly any fuss. Golden crispy parmesan on top, juicy inside, and packed with flavor—all at home.
