
 Pin it
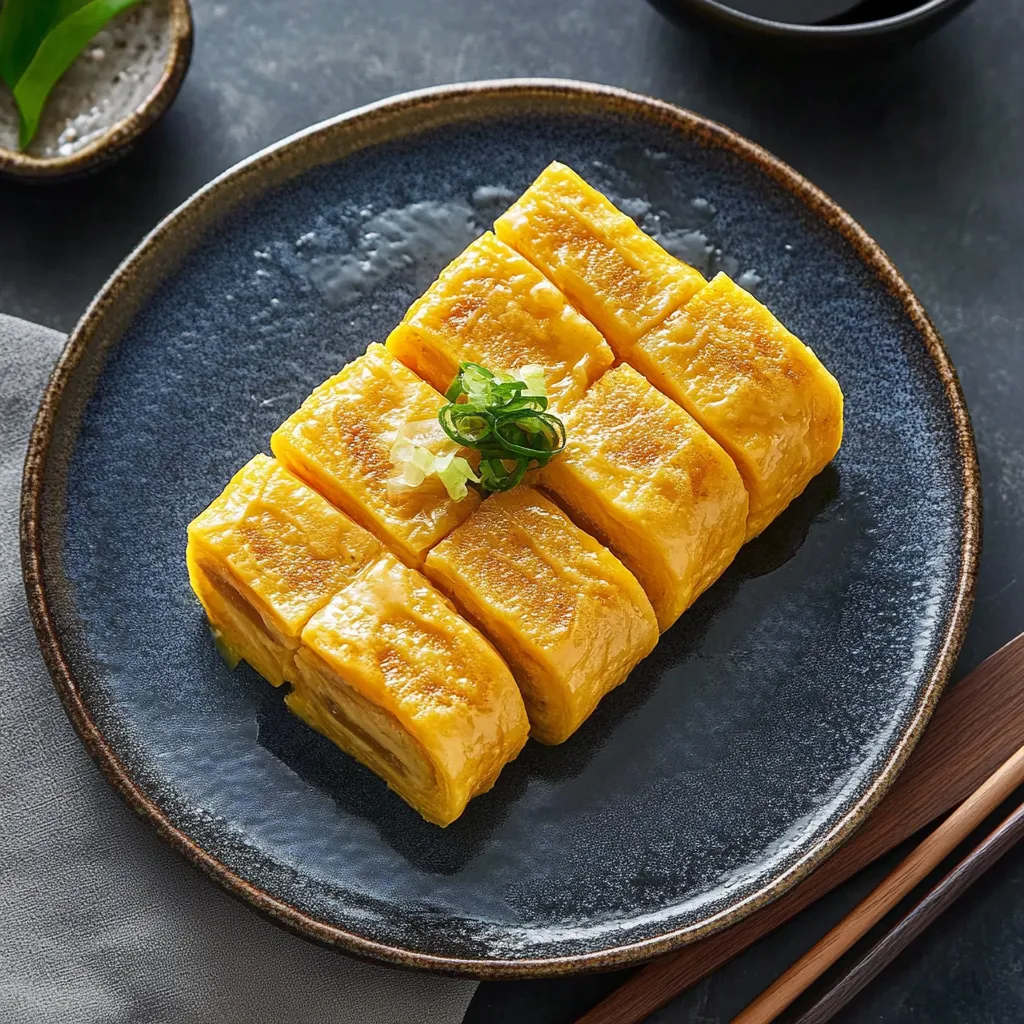
Making tamagoyaki is all about getting that perfect balance of heat, timing, and skill. After practicing this Japanese rolled omelet for years, I've found that what makes it special isn't just what goes into it, but the peaceful rhythm of building those beautiful golden layers. Every roll adds to the previous one, creating something that looks amazing and tastes even better.
I made this for a Japanese-themed breakfast last Sunday, and everyone couldn't take their eyes off how each layer came together. The trick? Knowing exactly how heat and timing work together to get those custardy, perfect layers.
Key Ingredients and Selection Advice
- Eggs: Let them reach room temperature for smoother mixing and cooking.
- Mirin: Grab a high-quality bottle for that true traditional taste.
- Dashi: Nothing beats making it yourself for clean flavor, though the instant stuff works when you're in a hurry.
- Soy Sauce: Go with Japanese varieties for that perfect umami and salt balance.
 Pin it
The Preparation Process
- Mix your eggs:
- Break eggs gently and stir them with chopsticks or a fork until barely mixed. Slowly add sugar, mirin, and soy sauce while cutting through the mixture.
- Run it through a strainer:
- Push the egg mix through a fine mesh sieve to get that ultra-smooth texture.
 Pin it
Getting Your Heat Just Right
The pan's temperature can make or break this dish. Go with medium-low heat to start and check by putting a tiny drop of egg mix in the pan. It should gently sizzle but not cook instantly. Tweak the heat as you go.
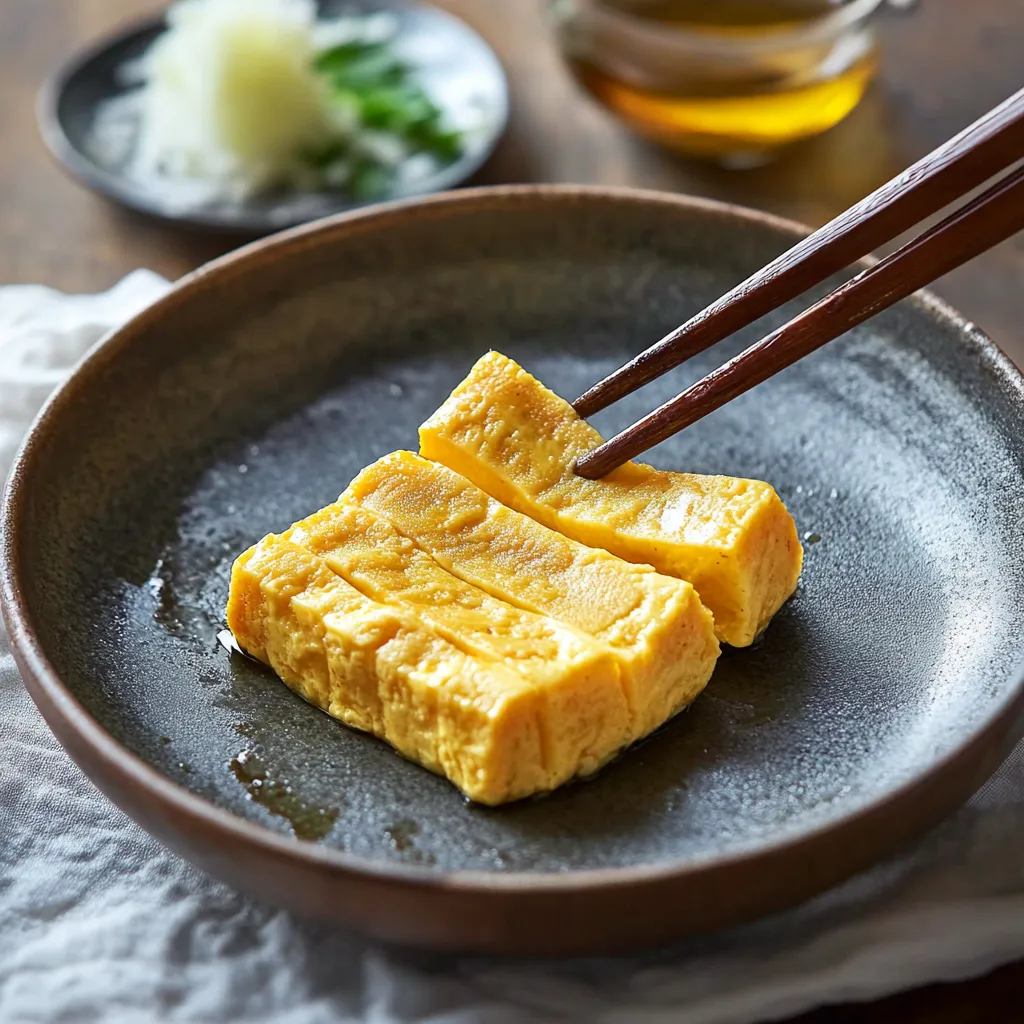
Creating One Layer At A Time
Add a thin coating of egg mix to your pan. When it starts to firm up, carefully lift an edge with chopsticks or a spatula and fold it over itself. Move the roll back to where you started and pour the next layer, making sure it connects smoothly with your first roll.
Pro Cooking Tricks
Cultural Background
In Japanese food culture, tamagoyaki goes beyond just being food. From home kitchens to fancy sushi spots, it's seen as a way to judge a chef's abilities, showing their attention to detail. Different regions make it their own way – some like it sweeter, others prefer it more savory.
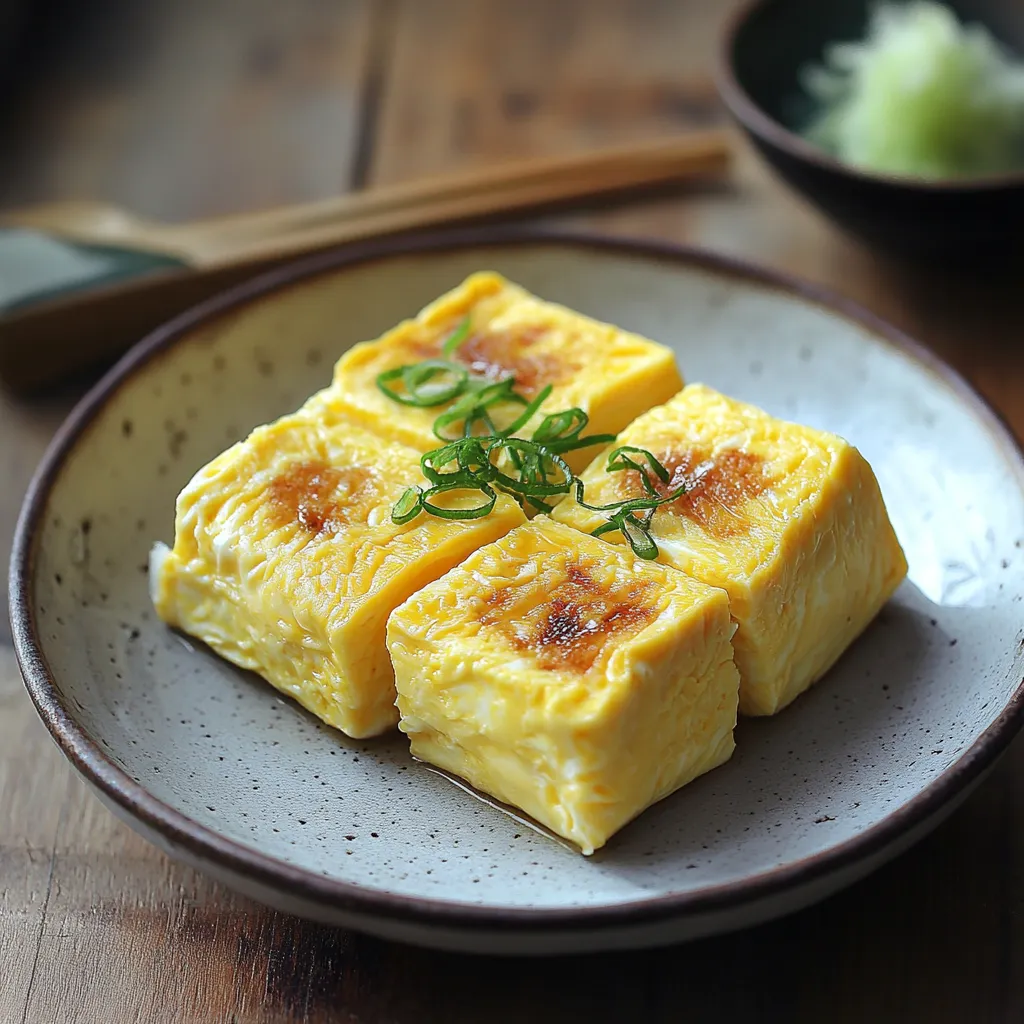
How To Serve And Present
- Pair with a bowl of rice, some miso soup, and pickled veggies for a classic Japanese breakfast.
- For something more current, cut thin slices and arrange them at an angle on a long plate with some grated daikon and a dash of soy sauce.
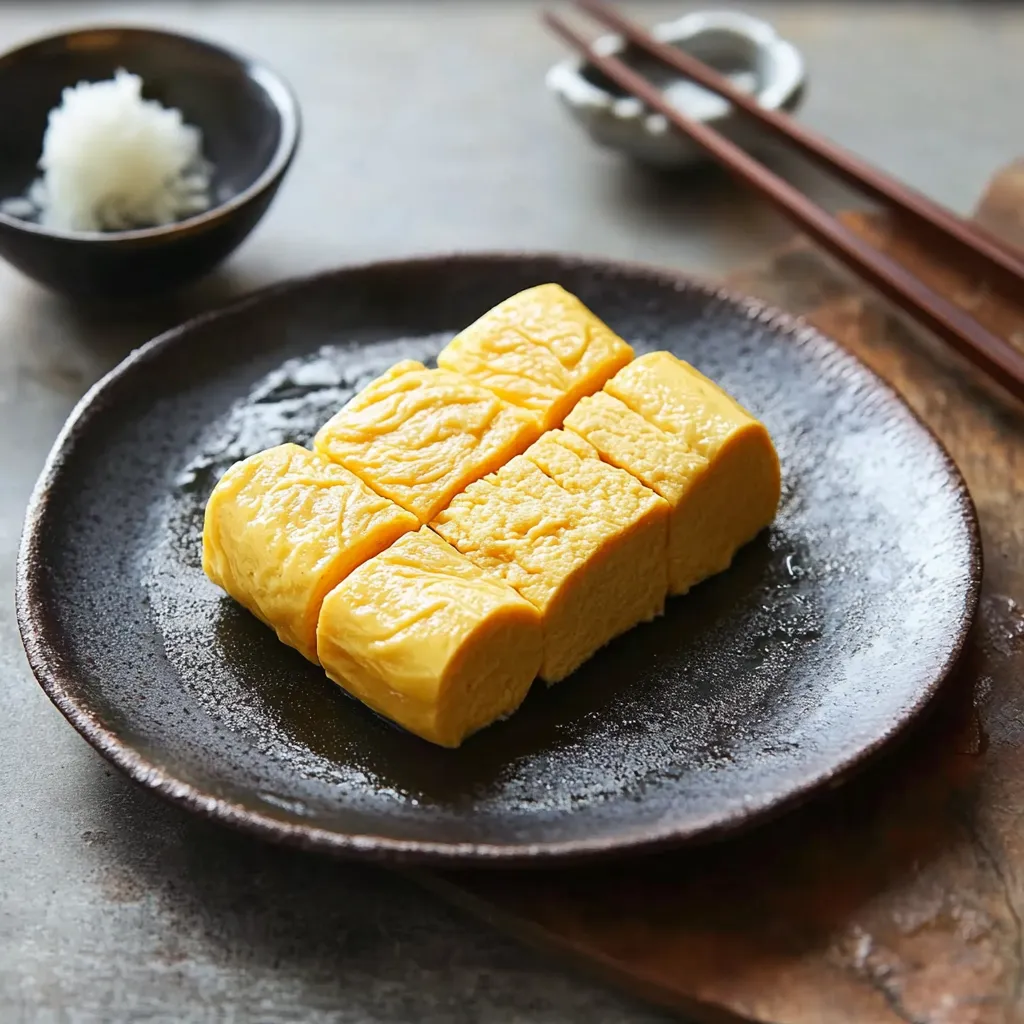
Perfecting Your Timing And Heat
Your pan should be cool enough to avoid browning but hot enough to set each layer quickly. Give each layer about 30-45 seconds to firm up, and let the finished roll sit for five minutes before slicing. Enjoy it warm or at room temp for the best taste and feel.
Ways To Change With The Seasons
- Spring: Toss in fresh herbs like shiso.
- Summer: Mix in chopped tomatoes or sweet corn kernels.
- Fall: Add some mushrooms or chrysanthemum greens.
- Winter: Mix in spinach or seaweed for deeper flavors.
Learning Opportunities
 Pin it
Making tamagoyaki helps you learn important cooking basics like handling heat, understanding how proteins set, and building muscle memory through repeating techniques. These skills will make you more confident and capable in all your cooking.
Stocking Your Japanese Ingredients
- Get yourself Japanese soy sauce, mirin, and sake for that real authentic flavor.
- Have kombu seaweed and katsuobushi flakes on hand to make your own dashi.
- Try different seaweeds to add as garnishes and flavor boosters.
Final Thoughts And Reflections
What makes tamagoyaki so special is how it combines simplicity with precision. Each roll adds more flavor and shows off the beauty of Japanese cooking. Whether you're making it for breakfast or mixing it into fusion dishes, tamagoyaki teaches you patience, technique, and how to appreciate simple ingredients.
I've made this countless times, and I've learned that tamagoyaki isn't just food - it's a way to understand cooking better. Getting good at this doesn't just add to your cooking skills, it helps you enjoy the peaceful process of making something truly special.
Frequently Asked Questions
- → Do I need a square pan for tamagoyaki?
- A rectangular pan is ideal, but a small round nonstick pan works fine too.
- → Can I leave out dashi from tamagoyaki?
- Yes! It won't be as umami-rich, but it’ll still taste delicious.
- → Why doesn’t my tamagoyaki stay yellow?
- Make sure the heat isn't too high, so the egg doesn’t brown while cooking.
- → How can I make it less sugary?
- Simply cut down or skip sugar for a less sweet option.
- → What’s the best way to keep leftovers?
- Put it in an airtight container in the fridge. Eat within 4 days, and let it come to room temp before serving.