
 Pin it
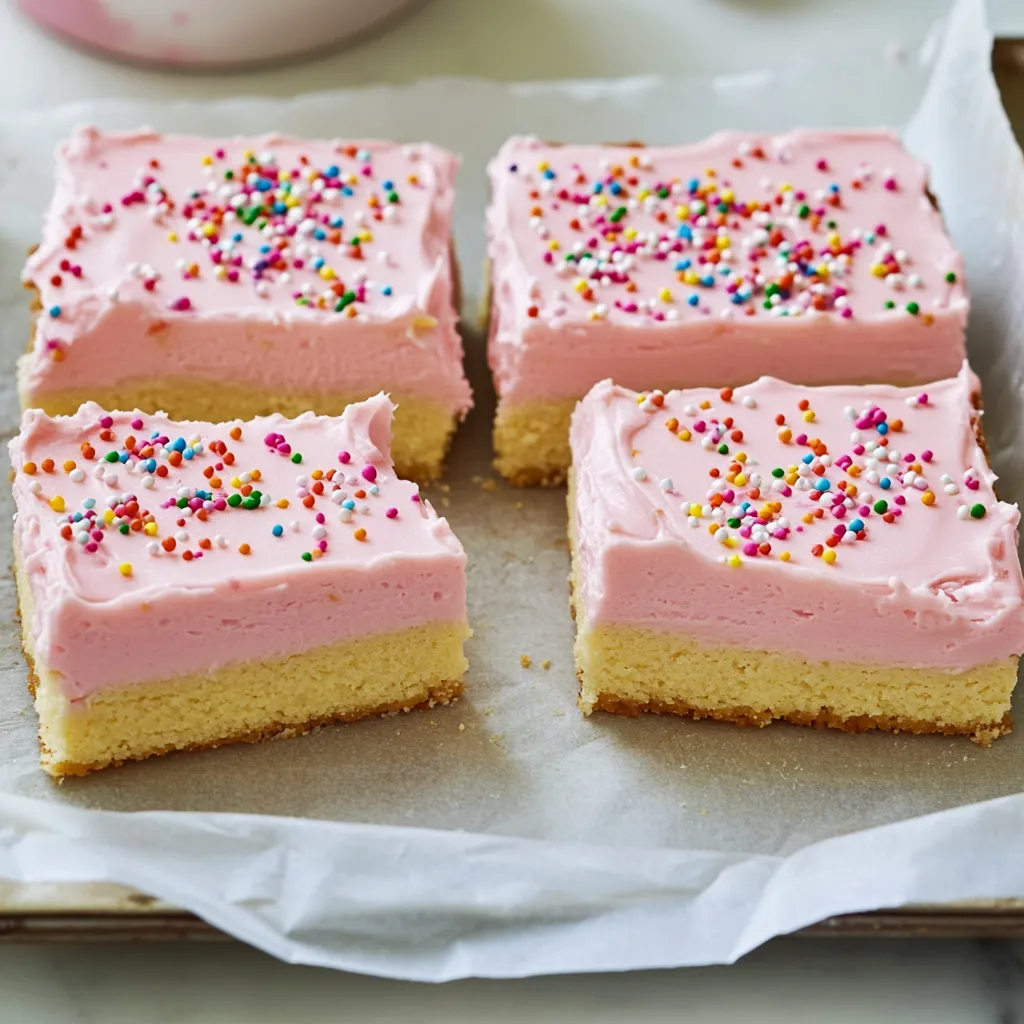
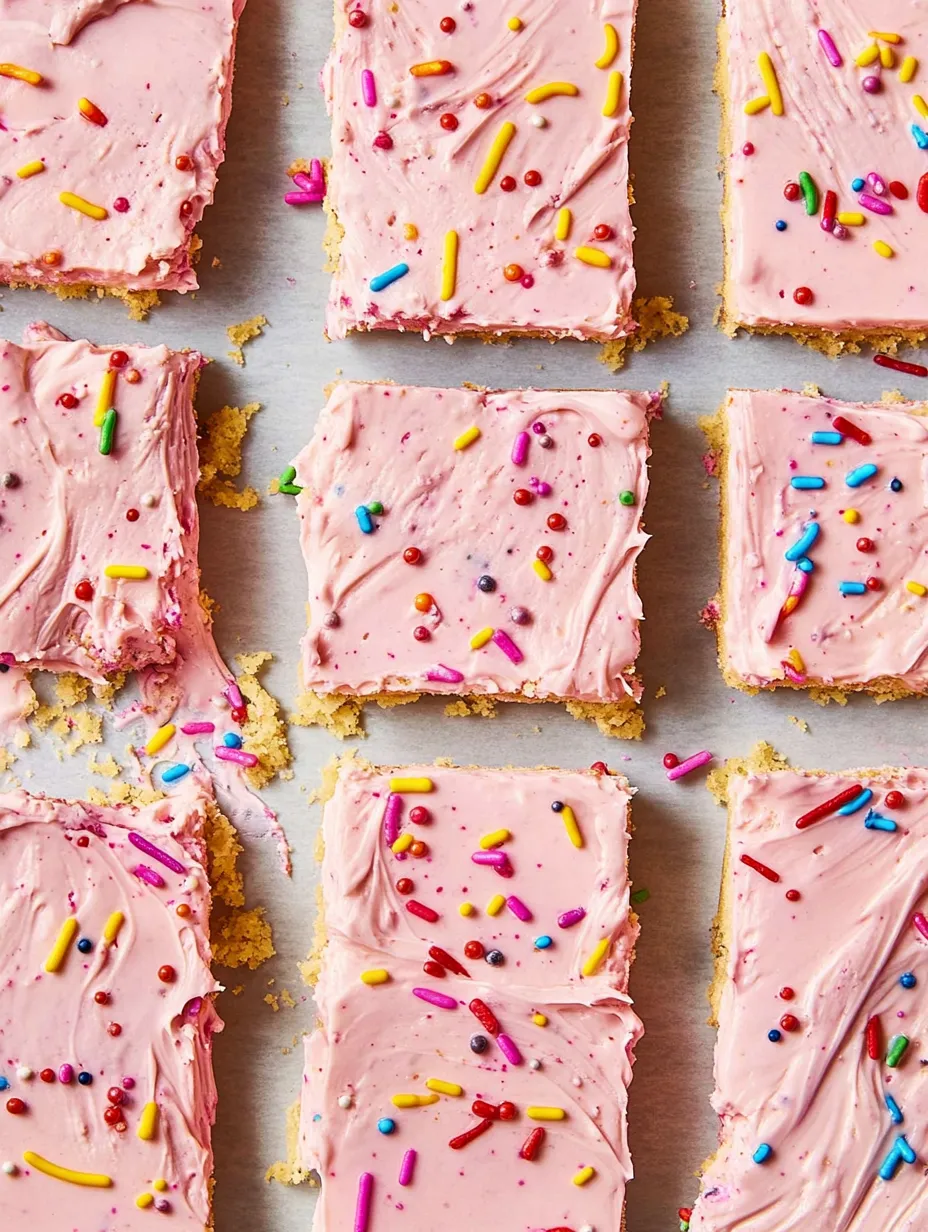
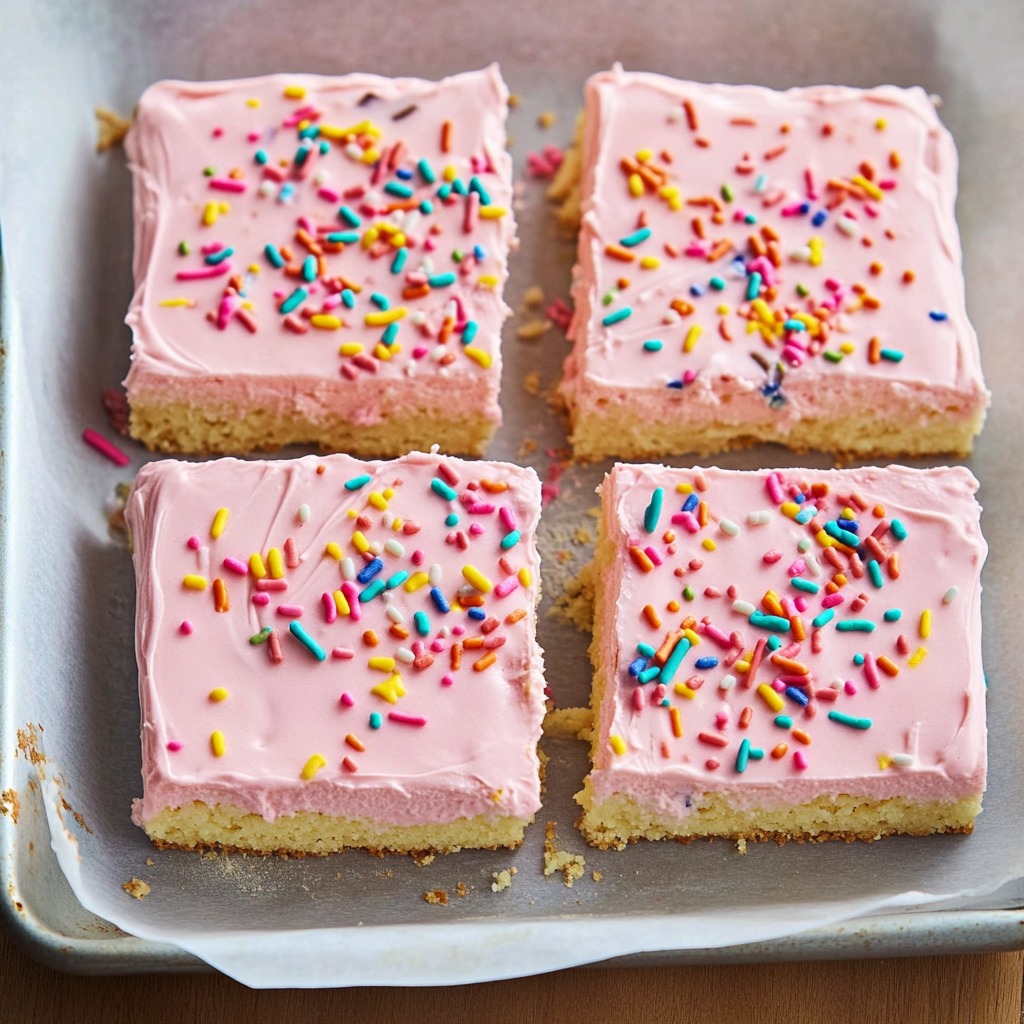
A mouthwatering Sour Cream Cookie Bar that takes ordinary sugar cookies to a whole new level. Each square features a soft, fluffy base with a tangy kick from sour cream, finished with luscious colorful icing and fun sprinkles - giving you the ultimate mix of flavor and texture.
I came up with this treat when looking for quick baking wins that don't cut corners on taste. Adding sour cream brings a wonderful softness that makes these bars stand out from regular sugar cookies.
Key Components
- Full-fat Sour Cream: Not cold
- Unsalted Butter: Softened
- All-Purpose Flour: For the base
- Large Egg: Not cold
- Fresh Lemon Juice: For brightness
- Pure Vanilla Extract: For depth
- Powdered Sugar: For the topping
- Rainbow Sprinkles: If you want
- Food Coloring: Your choice
STEP-BY-STEP PREPARATION
- 1. Initial Setup:
- Let butter, egg, and sour cream warm up - this really matters for good mixing. Heat your oven to 350°F. Put parchment in a 9x9-inch pan with extra hanging over sides so you can lift bars out later.
- 2. Cookie Base:
- Beat butter and sugar till fluffy and pale, around 3 minutes. Mix in sour cream, egg, lemon juice, and vanilla. Don't worry if it looks separated - that's fine. Add flour and stir just enough to mix everything.
- 3. Baking Process:
- Push the batter evenly into your lined pan, making sure to get the corners. Bake for 30-35 minutes until the edges turn golden and the top gets a light golden color. Let it cool completely on a rack.
- 4. Frosting Creation:
- Whip butter until smooth. Slowly add powdered sugar, vanilla, and salt. Add color if you want. Beat until it's airy and smooth. Spread on top of the cooled bars.
- 5. Final Touch:
- Add sprinkles right after frosting while it's still soft. Wait 30 minutes at room temp or pop in the fridge for 20 minutes to make cutting easier. Slice into 16 squares.
 Pin it
What makes these so good is definitely the sour cream. My grandma always told me, "A bit of tang makes everything more fun."
 Pin it
Keeping Fresh and Planning Ahead
Keep these treats in a sealed container at room temp for up to 3 days, with paper between layers so they don't stick together. For keeping longer, stick them in the fridge for up to a week or wrap each one in foil and freeze for up to 3 months. You can make the base a day early, but it's best to add the frosting the same day you'll eat them.
Serving Suggestions and Options
These squares taste best when they're not cold, with a perfectly soft bite. If they've been in the fridge, let them sit out for 15-20 minutes first. For get-togethers, stack them on a multi-level tray with different colored frostings and sprinkle combos. During special times of year, match your frosting and sprinkles to the holiday theme.
 Pin it
Fun Ways to Mix It Up
Change these treats for any event by switching up your frosting colors and sprinkle choices. Try adding a drop of almond or extra lemon flavor for something different. Make swirly patterns in the frosting, or split it into different colored sections for birthdays or team events. Dress them up with holiday sprinkles, edible sparkles, or your own special touches. The basic bar works as a blank canvas for whatever look you want.
Frequently Asked Questions
- → Why should ingredients be at room temperature?
- When ingredients aren't cold, they mix together much better, giving your squares a nicer, more consistent texture.
- → Can I make these before my event?
- Absolutely, you can bake them 2-3 days early and keep them in a sealed container.
- → What's the point of the parchment paper trick?
- It helps you lift out and cut the squares without messing them up or leaving crumbs everywhere.
- → Will these squares freeze well?
- They sure will - just freeze them without icing for up to 3 months, then add icing after they thaw.
- → Is it okay to make a bigger batch?
- Definitely - just use a 9x13-inch pan and bake them 5-10 minutes longer.