
 Pin it
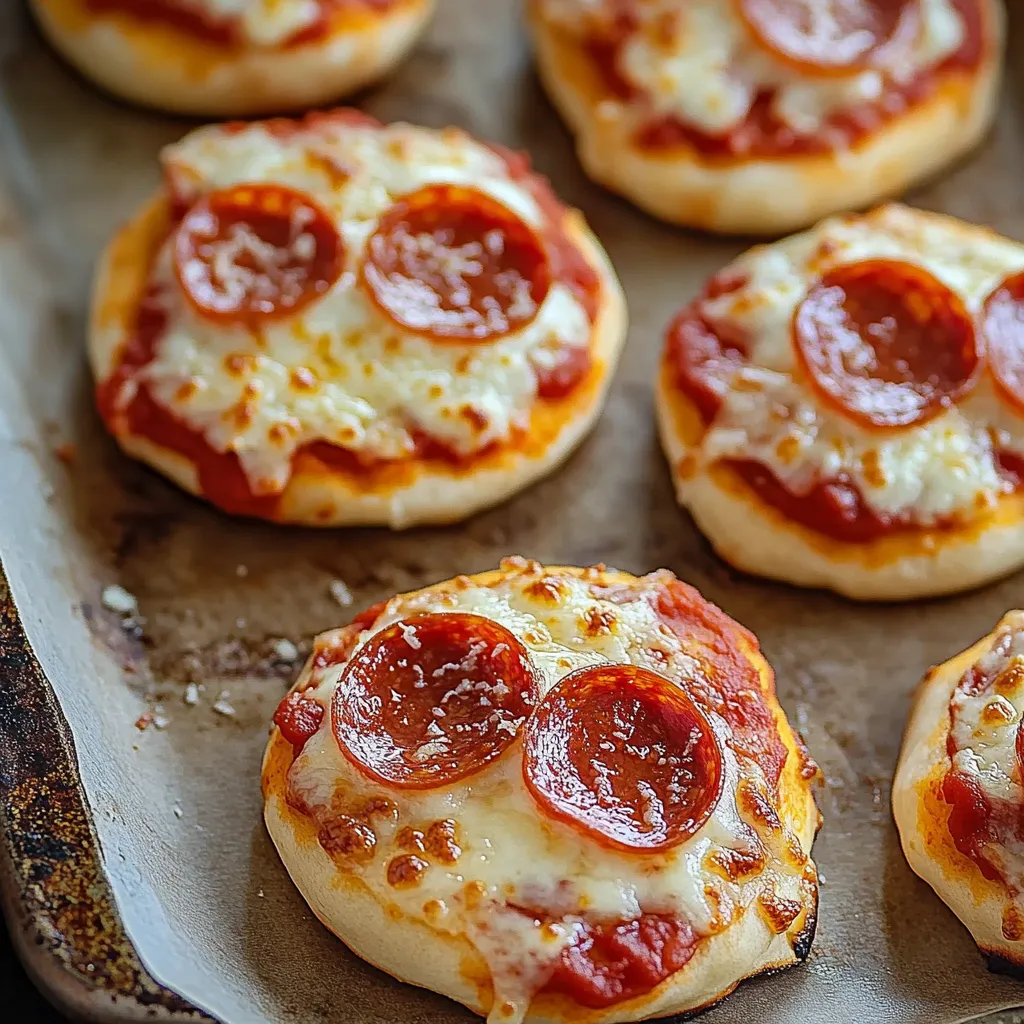
Turn plain yogurt dough into cute individual pizzas that fit perfectly in lunchboxes and work great as snacks after school. These tiny pizzas mix the simplicity of a 2-ingredient dough with traditional pizza toppings, making handy treats kids enjoy helping create and love to eat.
After making countless lunches over the years, I've learned that how you work the dough and cutting pieces the same size leads to pizzas that travel really well.
Key Ingredients
- Self-Rising Flour: Gives you a nice lift without needing yeast
- Full-Fat Greek Yogurt: Makes the best dough texture
- Quality Tomato Paste: Packs more flavor in a small amount
- Shredded Mozzarella: Grate it yourself for smoother melting
- Mini Pepperoni: Just the right size for small pizzas
- Italian Seasoning: Makes your sauce taste better
Step-By-Step Guide
- 1. Make Your Dough:
- Mix together 2 cups self-rising flour and 1 cup Greek yogurt until you get a rough dough. Dump it onto a lightly floured counter and knead for 5-7 minutes until it feels smooth. If it's too sticky, add a tablespoon of flour at a time. Let it sit for 5 minutes if it's fighting you when rolling.
- 2. Cut Into Shapes:
- Roll the dough about ¼-inch thick on a floured surface. Cut circles using a 3-inch cutter or the rim of a mug. Gently re-roll leftover pieces to make more circles. Put them on a baking sheet lined with parchment paper.
- 3. Add Your Toppings:
- Spread 1-2 teaspoons of tomato paste on each circle, leaving a little edge around the outside. Sprinkle ⅛ teaspoon Italian seasoning on each one. Top with 2 tablespoons of mozzarella and 3-4 mini pepperoni pieces.
- 4. Bake Them Up:
- Cook at 400°F for 12-14 minutes until the edges turn golden and the cheese melts with some light brown spots. Check underneath - they should be crispy and golden brown.
- 5. Cool Them Down:
- Let the pizzas cool on the baking sheet for 5 minutes, then move them to a wire rack. This keeps the bottoms from getting soggy and makes them just right for packing in lunches.
 Pin it
Fresh Storage Ideas
- 1. Short-Term Storage:
- Make sure pizzas cool all the way before putting them in lunchboxes or containers. Put parchment paper between layers so they don't stick together. Keep in the fridge up to 3 days. When packing for room temperature lunches, add an ice pack to keep them safe.
- 2. Long-Term Storage:
- Put cooled pizzas on a baking sheet without touching, freeze until hard (about 2 hours). Move them to freezer bags and push out as much air as you can. Write the date and what's inside on the bag. They'll keep up to 3 months. Thaw in the fridge overnight or warm them up straight from frozen.
 Pin it
Great Lunch Companions
- Sliced fresh veggies
- Small containers of fruit
- Greek yogurt cups
- Mix of nuts and dried fruit
- Baby carrots
- Cherry tomatoes
- String cheese sticks
- Hummus for dipping veggies
Tasty Twists
- BBQ sauce with chicken and cheddar
- Fresh basil with tomato slices
- Loaded veggie version
- Pineapple and ham combo
- Spiced up with taco flavoring
- Green pesto with melty cheese
- Creamy ricotta white pizza
 Pin it
These tiny pizzas show that homemade lunch options can be exciting and healthy. Whether you're making them for school lunches or afternoon snacks, they'll quickly become a staple in your meal planning. Just remember to cut them the same size and let them cool properly for the best on-the-go experience.
Frequently Asked Questions
- → Can I make these beforehand and pop them in the freezer?
- Definitely, you can freeze the fully cooked pies for up to 3 months. Just warm them up in your oven or microwave.
- → What other stuff can I put on top?
- Try some ham, veggies, different types of cheese, or keep them simple with just cheese.
- → Why use Greek yogurt for the dough?
- Greek yogurt makes the dough soft without needing yeast or waiting time.
- → Can I mix the dough ahead of time?
- Sure, just wrap it up and keep it in your fridge for up to 24 hours before using it.
- → How do I keep the bottoms from getting soggy?
- Don't go overboard with tomato paste and make sure your oven is hot before you put them in.