
 Pin it
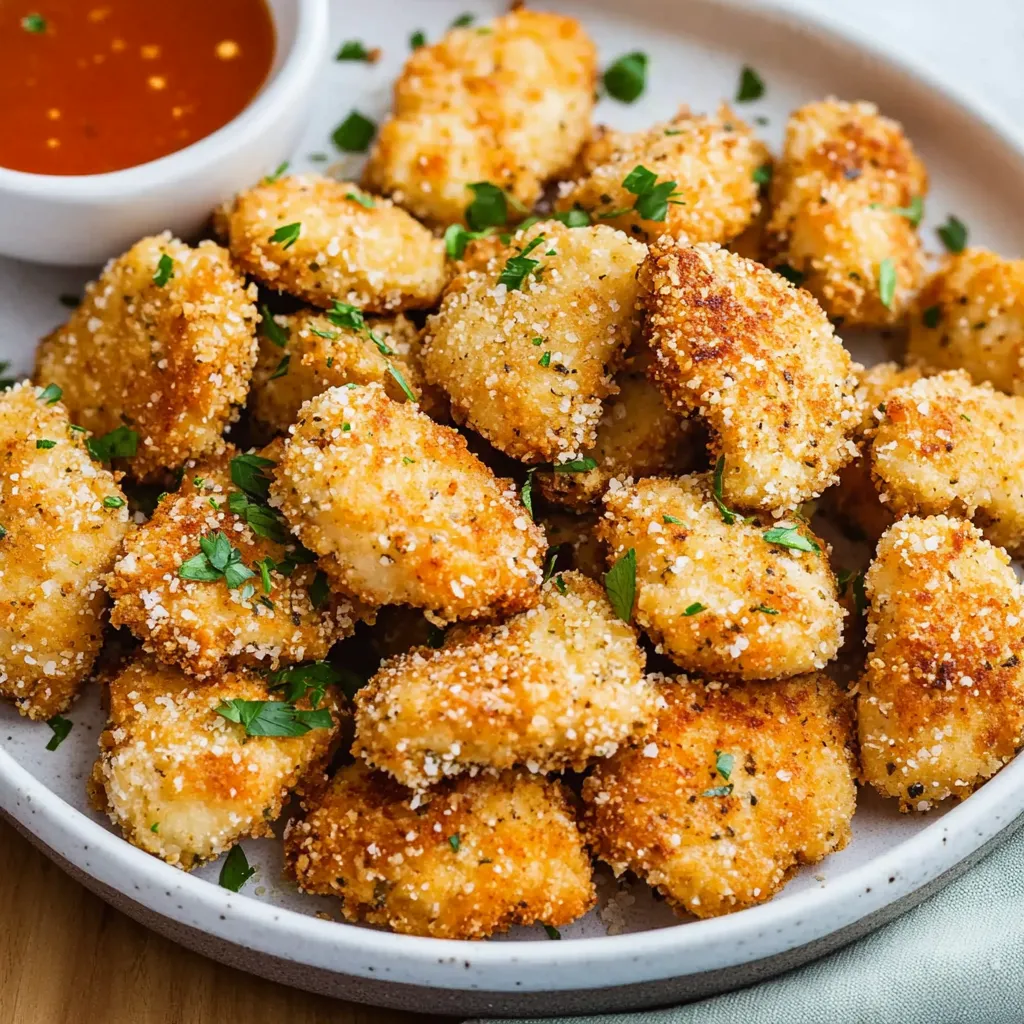
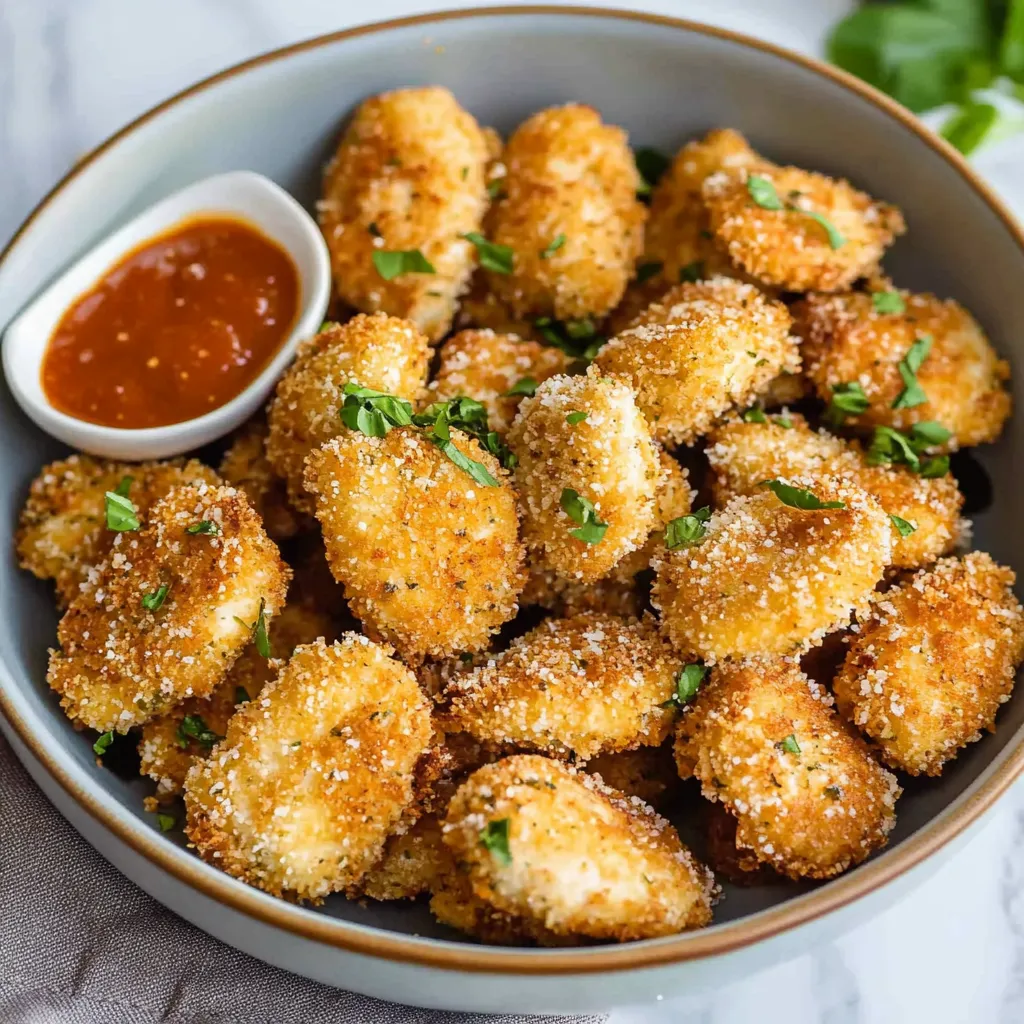
Skip the fast food line - these DIY parmesan chicken nuggets will transform your mealtime forever. Through many tries to nail that crunchy outer layer at home, I've discovered that combining butter, real garlic, and parmesan creates bites that totally outshine anything boxed. And knowing all the ingredients makes sharing them with your loved ones much more rewarding.
Yesterday I cooked these for my nieces and nephews, and instead of begging for takeout, they wanted extra helpings. What worked? The garlicky butter mix and nailing the breading technique. Sometimes the easiest components create the tastiest dishes.
Essential Ingredients and Their Impact
- Chicken: Either thighs or breasts work well. Just cut them to matching sizes for even cooking. I lean toward thighs since they don't dry out as easily
- Butter: Use the real stuff, not substitutes, for that golden finish. Melt it gently to keep it together
- Fresh Garlic: Cut it yourself - the jarred kind doesn't pack the same flavor kick
- Breadcrumbs: Standard or panko are both fine. I actually mix them for ideal texture
- Parmesan: Grate it fresh for best results. The container stuff doesn't brown or melt properly
- Fresh Parsley: Brings brightness and a hint of flavor that the dried version can't match
Step-by-Step Nugget Creation
- Step 1:
- Set up your workspace with bowls in order and keep a clean plate nearby for the coated pieces. Put parchment on your baking tray for easy cleanup, and grab paper towels to dry the chicken.
- Step 2:
- Gently melt your butter and throw in the minced garlic while it's warm. Mix well so flavors combine and keep it slightly warm so it stays liquid.
- Step 3:
- Combine your breadcrumbs and parmesan, using your fingers to break any lumps. Add your spices and adjust salt to taste.
- Step 4:
- Use one hand to dunk chicken in the butter mix, then the other to roll it in breadcrumbs. Press lightly so coating sticks well.
 Pin it
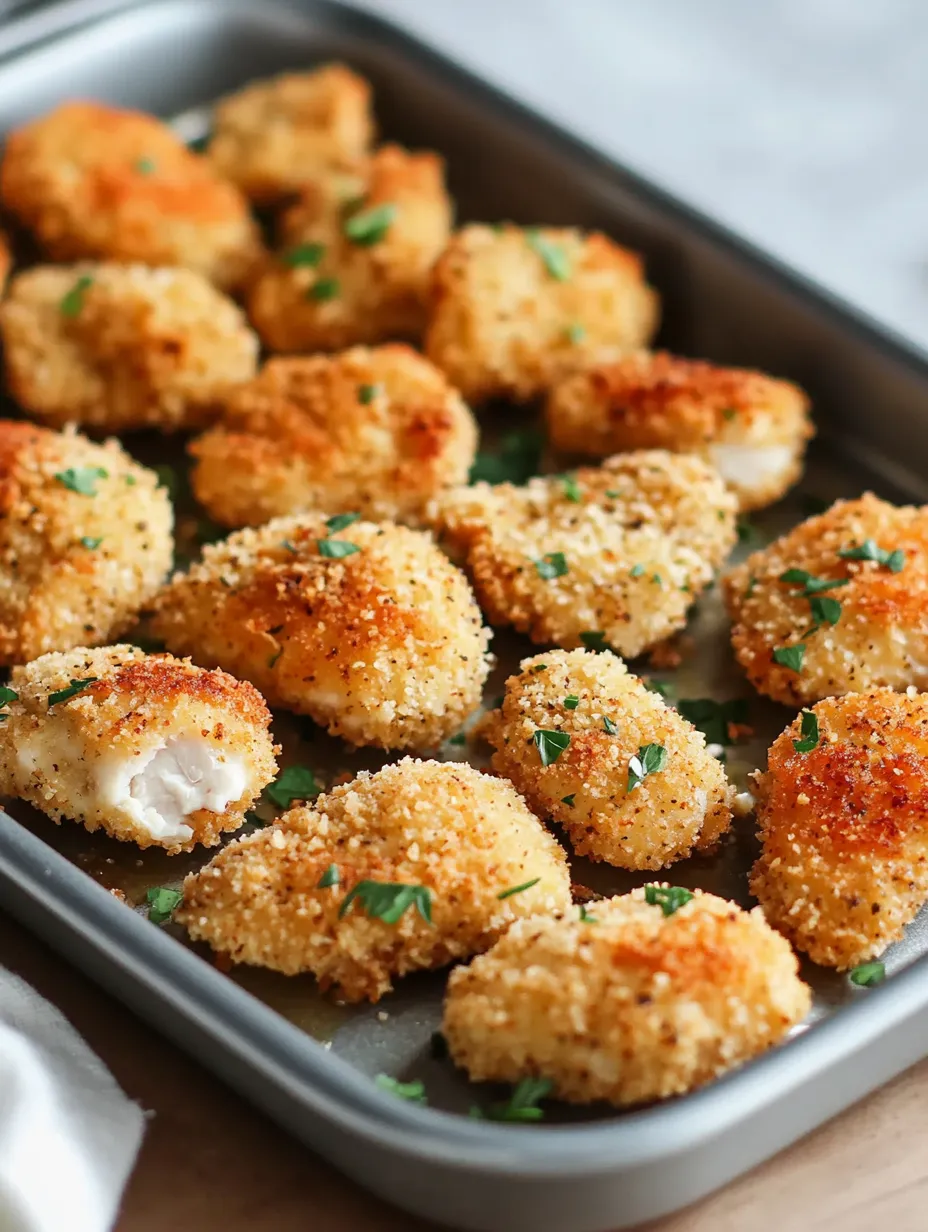
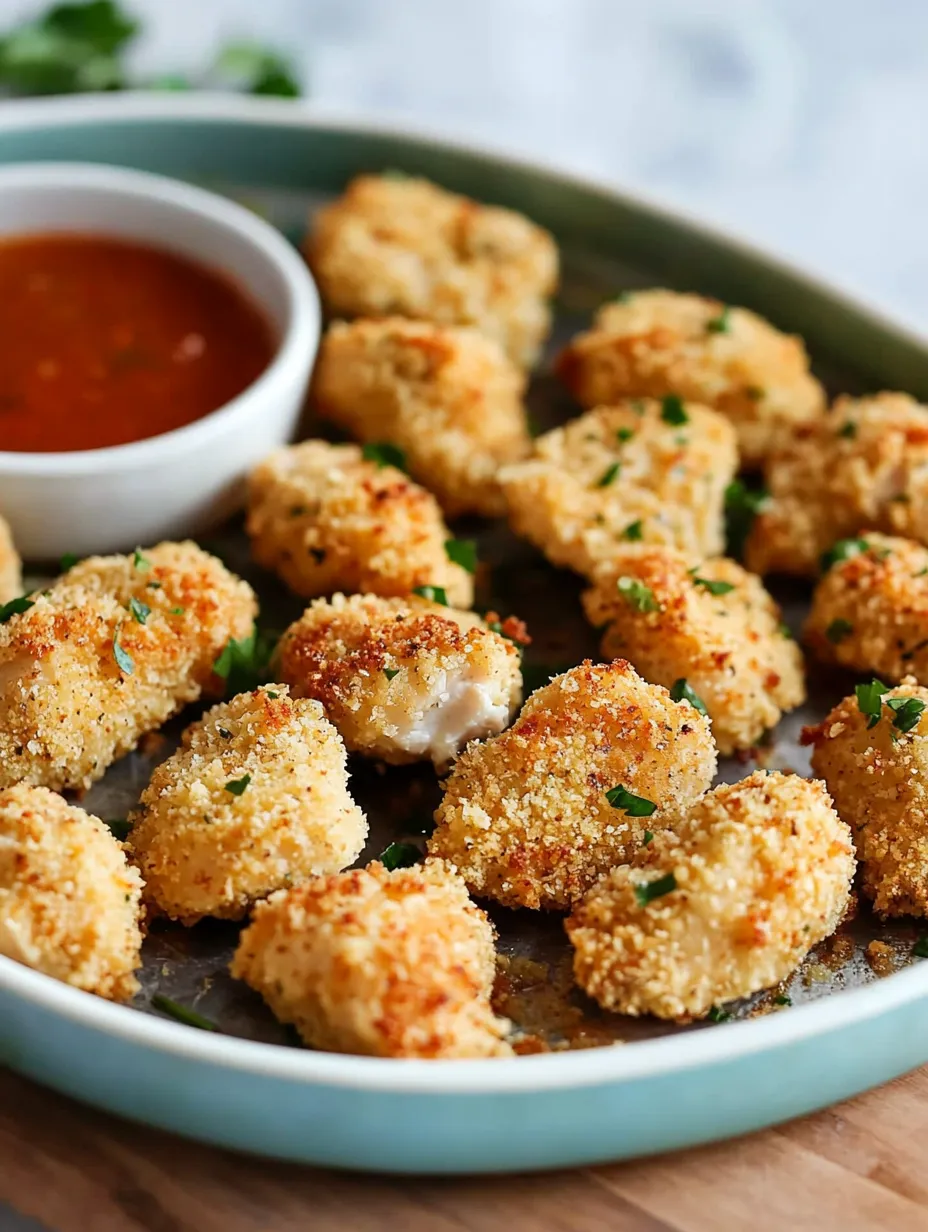
Perfecting Your Baking Technique
- Heat your oven to 450°F and arrange nuggets with gaps between them on your tray.
- Pour any extra garlic butter on top of them.
- Cook for 15 minutes until they turn golden at the edges. Make sure they reach 165°F inside.
- Let them sit for 3-5 minutes after cooking to stay juicy.
Keeping and Enjoying Leftovers
These bites can taste great the next day with proper storage. Keep them sealed tight in the fridge, then warm them in an oven or air fryer - skip the microwave unless you want mushy coating. They're pretty tasty cold too, cut up and tossed into a fresh salad.
Tasty Dipping Options
- Mix mayo with pesto for a fast herby sauce
- Blend honey with Dijon for sweet-tangy flavor
- Combine ranch with buffalo sauce - odd combo but tastes fantastic
Prep Ahead Strategies
You can coat these up to 24 hours early - just wrap them in the fridge. The breading actually grips better when it sits awhile. Don't forget to take them out about 15 minutes before cooking.
 Pin it
Crowd-Pleasing Potential
They're ideal for gatherings since you can prepare them early and heat as guests arrive. I usually count on 6-8 pieces per person for snacking, or more if they're the main dish.
Pro Tricks for Excellent Results
- Add spices to the raw chicken before coating for deeper taste
- Start fresh with coating mix if it gets sticky or lumpy
- A light spray of cooking oil before baking helps them turn golden
- Cool them on a rack instead of paper towels to maintain crispness
 Pin it
Lasting Impressions and Family Bonds
These nuggets have grown beyond just food in our home - they've become a tradition. From showing my kids basic kitchen skills to bringing batches to gatherings and game nights, they've been part of so many good times. I love seeing how everyone puts their own twist on them. Cooking isn't just about food - it's about making memories, sharing care, and feeding both stomach and heart. These simple nuggets show that basic recipes often bring the most happiness to our dinner tables.
Frequently Asked Questions
- → What’s the purpose of patting the chicken dry?
- Dry chicken lets the coating stick better and gets the outside extra crunchy.
- → Can I swap in chicken thighs?
- Sure thing! Thighs or breasts can both be cut into small, bite-sized pieces.
- → Why isn’t my breading crispy?
- Double-check your oven is hot enough and don’t let pieces touch. Air flow makes them crispier.
- → How do I prep these in advance?
- They taste best fresh, but reheating them in the oven brings back the crunch.
- → Can I store extras in the freezer?
- Absolutely. Freeze after baking and reheat straight from frozen for an easy meal.