 Pin it
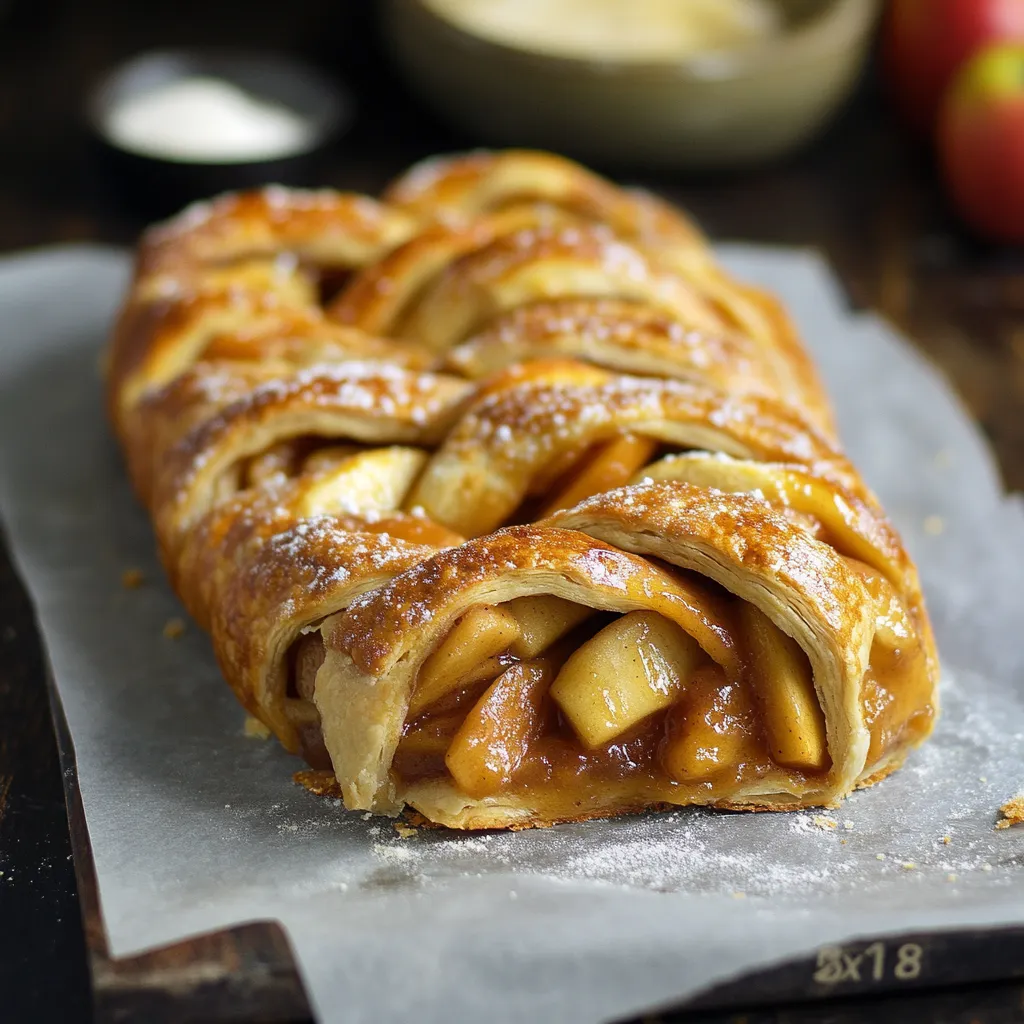
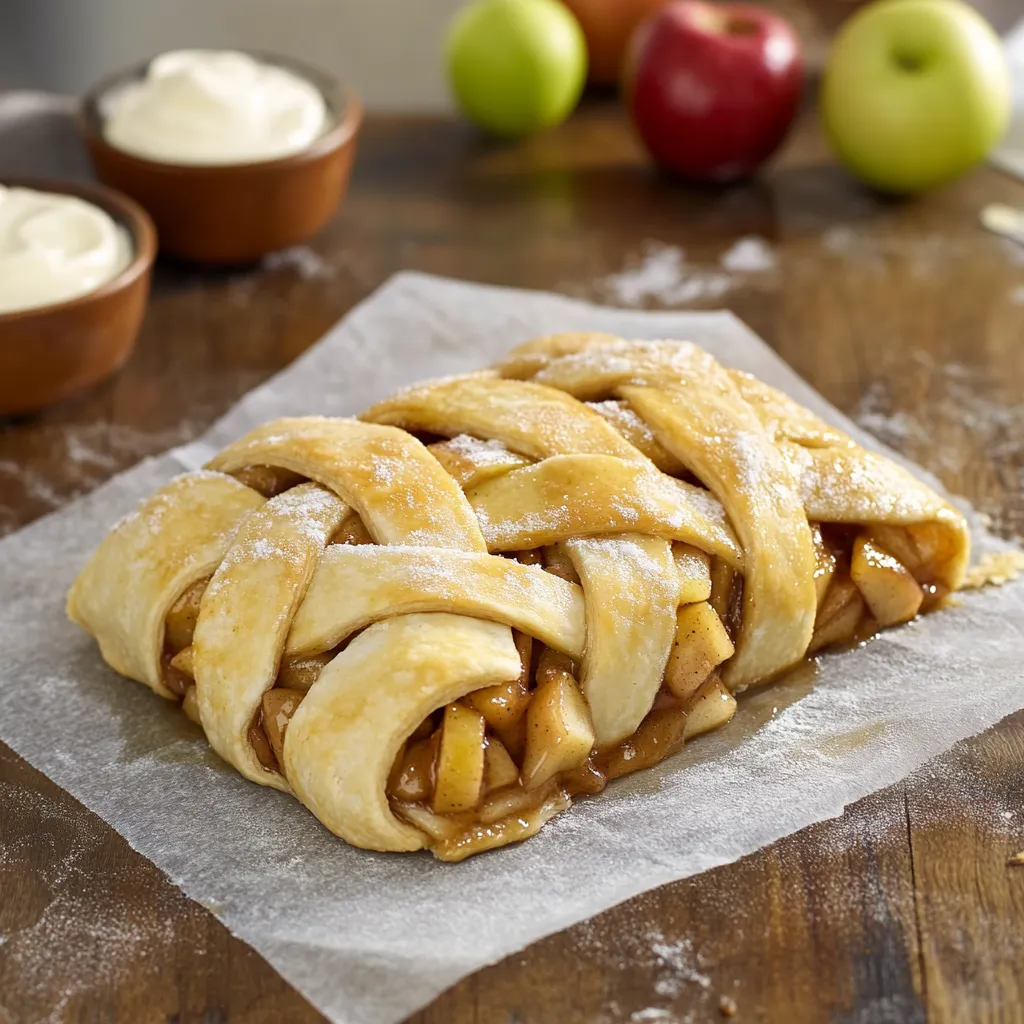
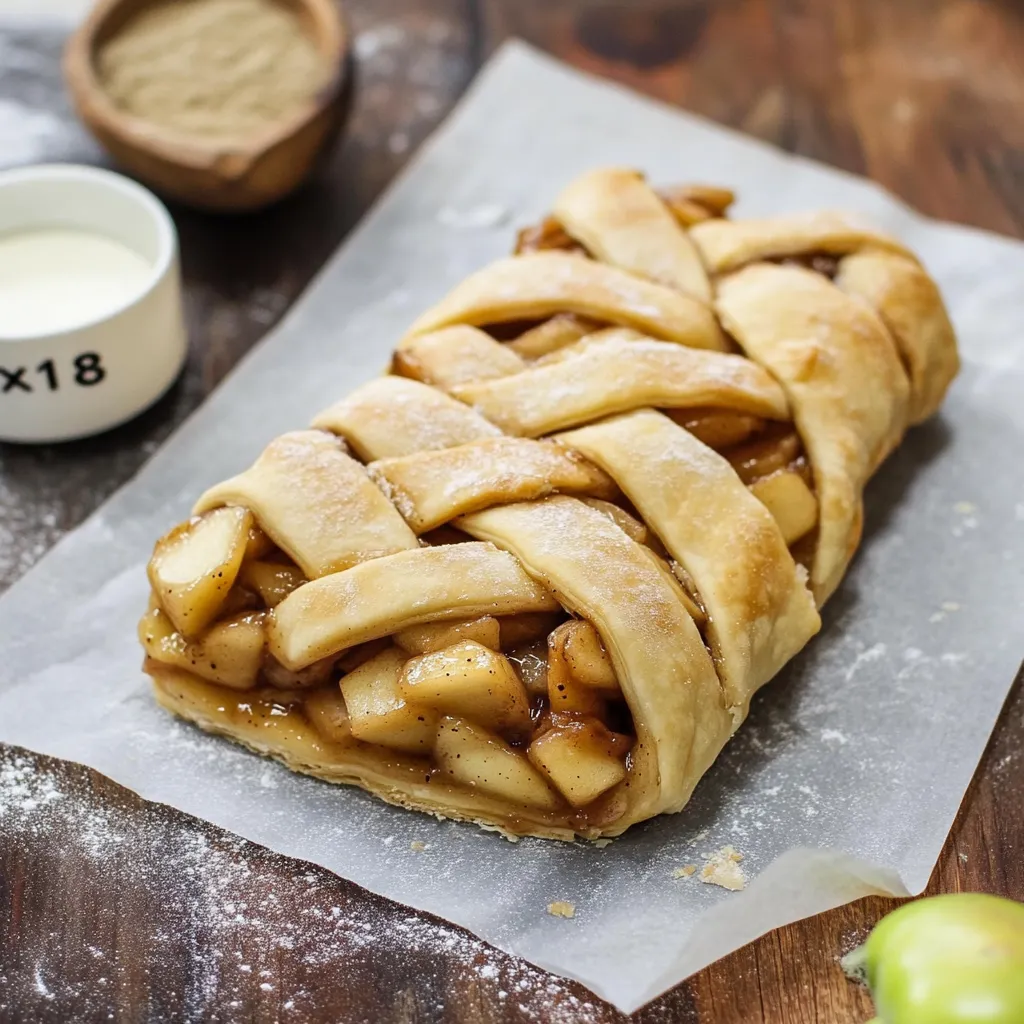
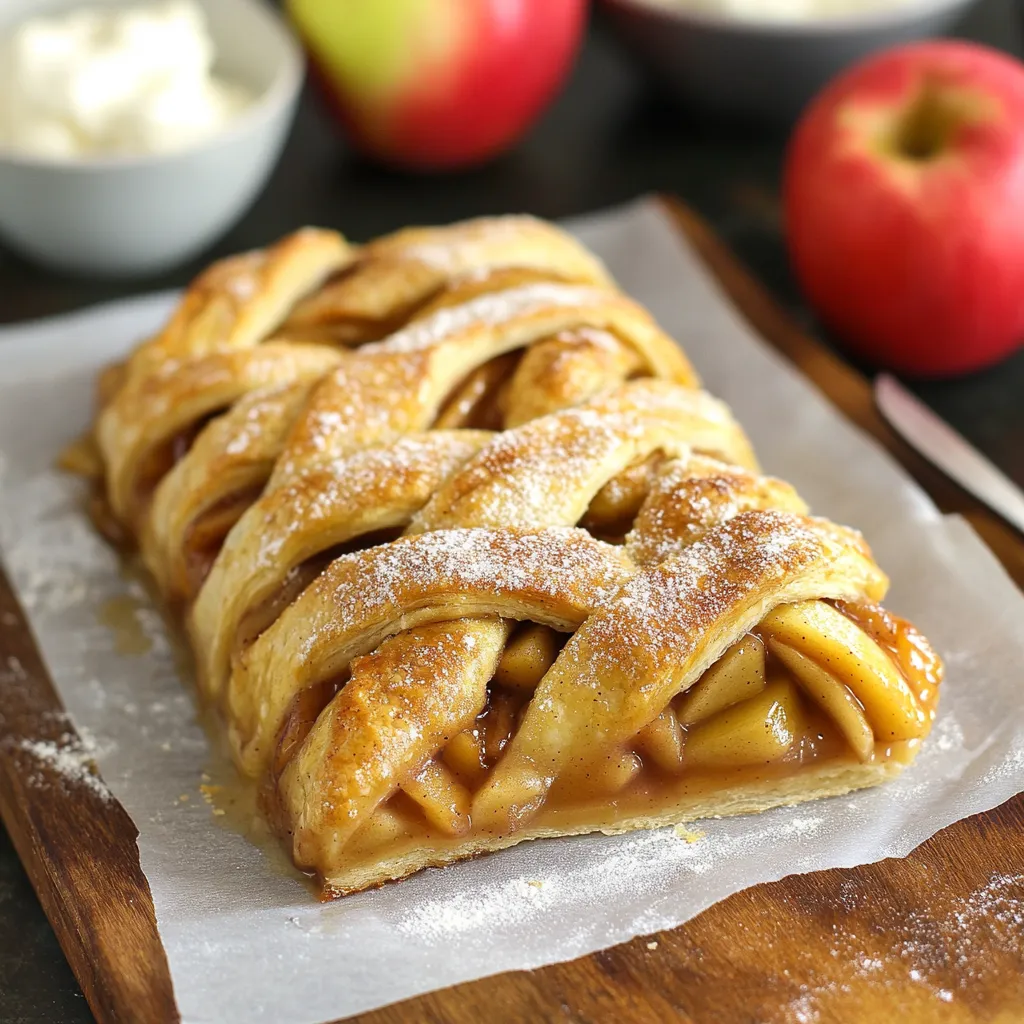
The braided apple pie takes ordinary apple pie to a new level, creating an eye-catching dessert that's both amazingly tasty and beautiful to look at. With its crisp, butter-rich crust woven together over spiced apples, you get an amazing mix of textures and autumn flavors in every bite. It's the perfect blend of old-fashioned comfort food with a fancy, modern look.
I've brought this pie to so many family events and people always gasp when they see it. My niece even wanted it for her birthday instead of cake last year - that shows just how special this treat has become to everyone in our family.
Key Ingredients and Smart Choices:
- Apples - Go for crisp, sweet-tart kinds like Honeycrisp or Granny Smith. They stay firm while baking and their tang cuts through the sweetness nicely
- Cornstarch AND flour - These work together perfectly; cornstarch makes the filling clear while flour keeps it stable
- Brown sugar - Gives a rich, almost caramel-like taste that works wonders with the apples
- Butter - Always pick unsalted so you can control the salt yourself; good butter makes for a richer filling
- Coarse sugar - This finishing touch adds a wonderful crunch and makes the pie sparkle beautifully
 Pin it
Simple Step-by-Step Directions:
- Getting Your Filling Just Right
- Let your butter come to room temp for better melting
Slice all apples to the same 1/4-inch thickness so they cook evenly
Mix gently but often while cooking to stop anything from sticking
The moment your apples start getting juicy is when to add your thickeners - Creating the Braid Pattern
- Your dough should be cool but bendable; if it gets too soft, pop it in the fridge for 15 minutes
Get strips the same width by measuring with a ruler
Don't dawdle when braiding or your dough will get too warm
Don't worry if some filling spills out - it adds to the homemade look - Baking it Beautifully
- Put your rack in the middle of the oven for the best heat flow
Turn your baking sheet around halfway through for even browning
You'll know it's done when it's golden and the filling bubbles
Let it cool all the way on a wire rack so the bottom stays crisp
 Pin it
Last autumn, I tried adding just a tiny bit of cardamom to my spice mix and it totally changed the game. My grandma, who's been making pies for over 60 years, now can't stop using it and says it reminds her of what her mom used to bake in their old farmhouse.
Peeling and slicing apples for this pie has become something we look forward to every fall. The wonderful smell of apples and spices always brings everyone into the kitchen, all hoping they'll get the first piece.
I'm so interested in how pie fillings thicken - I've figured out through lots of tries that letting the filling cool completely means you'll get cleaner slices and better texture.
Handy Baking Tricks:
- Stick the ready-to-bake pie in the freezer for 15 minutes to help the braid keep its shape
- Get your egg wash into every little gap for the most beautiful golden color
- Don't throw away your apple scraps - use them to make a quick fruity tea
Making this braided apple pie taught me that sometimes the best recipes come from putting a new spin on old favorites. While it might look complicated, making this pie is actually really relaxing, and seeing how it turns out makes all the effort worthwhile. The happy looks on people's faces when they see and taste it make every careful twist and precise cut count.
Tasty Combos and Ways to Serve:
Sure, vanilla ice cream works great, but I've found some surprising matches that really make this pie special. Try pouring warm salted caramel sauce over the top for an amazing mix of hot and cold, crunchy and smooth. For something different, serve it with a piece of sharp cheddar cheese - this sweet-meets-savory combo is big in New England and worth trying. My brother-in-law rolled his eyes when I suggested it, but now he won't eat his apple pie any other way.
Changing with the Seasons:
I love tweaking this recipe as the year goes on. In early fall, when apples first show up at our local farm, I go easy on the spices to let their fresh taste shine. By winter, I add more warming spices and a bit extra brown sugar for a cozier flavor that feels right on cold days. During holiday time, adding a splash of bourbon to the filling brings a grown-up warmth that always gets compliments at family dinners.
Fixing Common Problems:
After years of making this pie, I've run into and fixed lots of issues that might come up. If your dough gets too warm while you're braiding, just take a break and chill it for 15 minutes - cold dough is much easier to handle. Got filling that seems too wet? Just add another teaspoon of cornstarch to avoid a soggy crust. And when your braid doesn't look perfect, remember that homemade charm often tastes better than perfection. My messiest-looking pies always get the most praise, maybe because they clearly show they were made with love.
Making the Recipe Yours:
What's great about this pie is how easily you can change it up. I've seen friends add their own touches - some mix in dried cranberries for extra tang, others throw in toasted nuts for crunch. My aunt once added thin pear slices to her apple mix, creating something so good everyone asked for her secret. Feel free to try different apple types or spice blends until you find what works best for you.
Picking the Best Apples:
Your pie's success really comes down to the apples you choose. I've learned to pick ones that feel heavy, which means they're full of juice. When mixing varieties, I try to balance textures and flavors - maybe firm Granny Smiths for structure with sweeter Honeycrisps for tastiness. Stay away from apples with bruises, as those spots will turn mushy. A farmer at my local market taught me to gently press the bottom of each apple - if it gives even a little, it won't bake well.
Getting Ready to Bake:
Being organized makes this recipe so much easier. I've worked out a system that keeps everything moving smoothly. The evening before, I get all my stuff together to make sure I'm not missing anything important. I also prepare my egg wash and measure my dry ingredients ahead of time. This prep turns what might seem like a big project into a peaceful baking session. There's something really calming about peeling and slicing apples when you're not in a rush.
 Pin it
Making Lasting Family Moments:
This pie has grown into something bigger than just dessert for us - it's how we make memories. My teenage daughter now joins me in the kitchen, learning how to braid dough and pick the right spices. We share stories, laugh together, and sometimes mess up (like when we forgot to set the timer and had to trust our noses to save the pie). These kitchen moments, working together, have become just as precious as the pie itself.
Old Meets New:
While this braided version might seem different from regular apple pie, it still captures what makes the classic so special, just with an extra touch of wow. The familiar smells of butter, apples, and cinnamon still fill the kitchen, but the fancy look makes it feel extra special. Many of my friends have started making this pie for their own family get-togethers, each adding something unique to create their own traditions.
Keeping It Fresh:
Storing your pie right means every piece stays as good as the first. If you'll eat it within two days, keep it at room temp under a dome to maintain that perfect crust. For longer storage, wrap single slices in parchment before freezing - this way you can thaw just what you need. To warm it up, put a slice in a 300°F oven for 10-15 minutes to bring back the flaky crust. Here's a clever trick from my friend who's a pastry chef: put a few apple slices in the oven alongside your pie while reheating to bring back that fresh-baked smell.
Not Just for Dessert:
This pie isn't just for after dinner. I've served it for brunch with sharp cheese and hot coffee, where it stands up as a fancy offering. Leftover pieces (if you're lucky enough to have any) make an amazing breakfast when warmed slightly and topped with some Greek yogurt. The protein from the yogurt balances the pie's sweetness for a surprisingly filling morning meal that even my health-conscious sister gives a thumbs up.
Frequently Asked Questions
- → Can I swap out the store-bought crust?
- Absolutely, use your favorite homemade crust if you prefer.
- → Why combine different apples?
- A mix of apple types enhances the flavor and creates a better balance in the filling.
- → Is it okay to prep ahead?
- Sure, make the filling a day early and keep it in the fridge until ready to use.
- → Why do I need to cool the filling first?
- Cooling stops the crust's butter from melting too soon, keeping the braid intact.
- → What’s the best way to store leftovers?
- Keep it covered at room temperature for two days, or refrigerate for up to four days.
