 Pin it
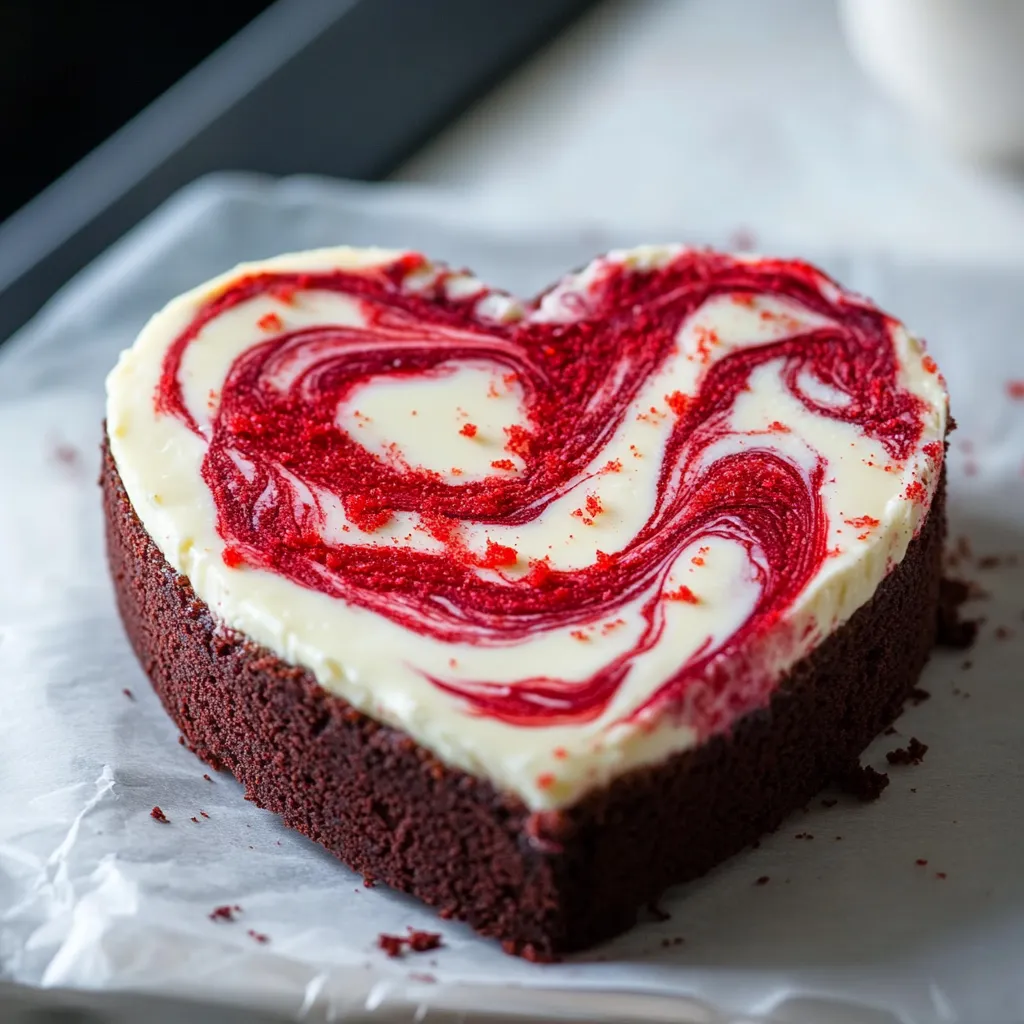
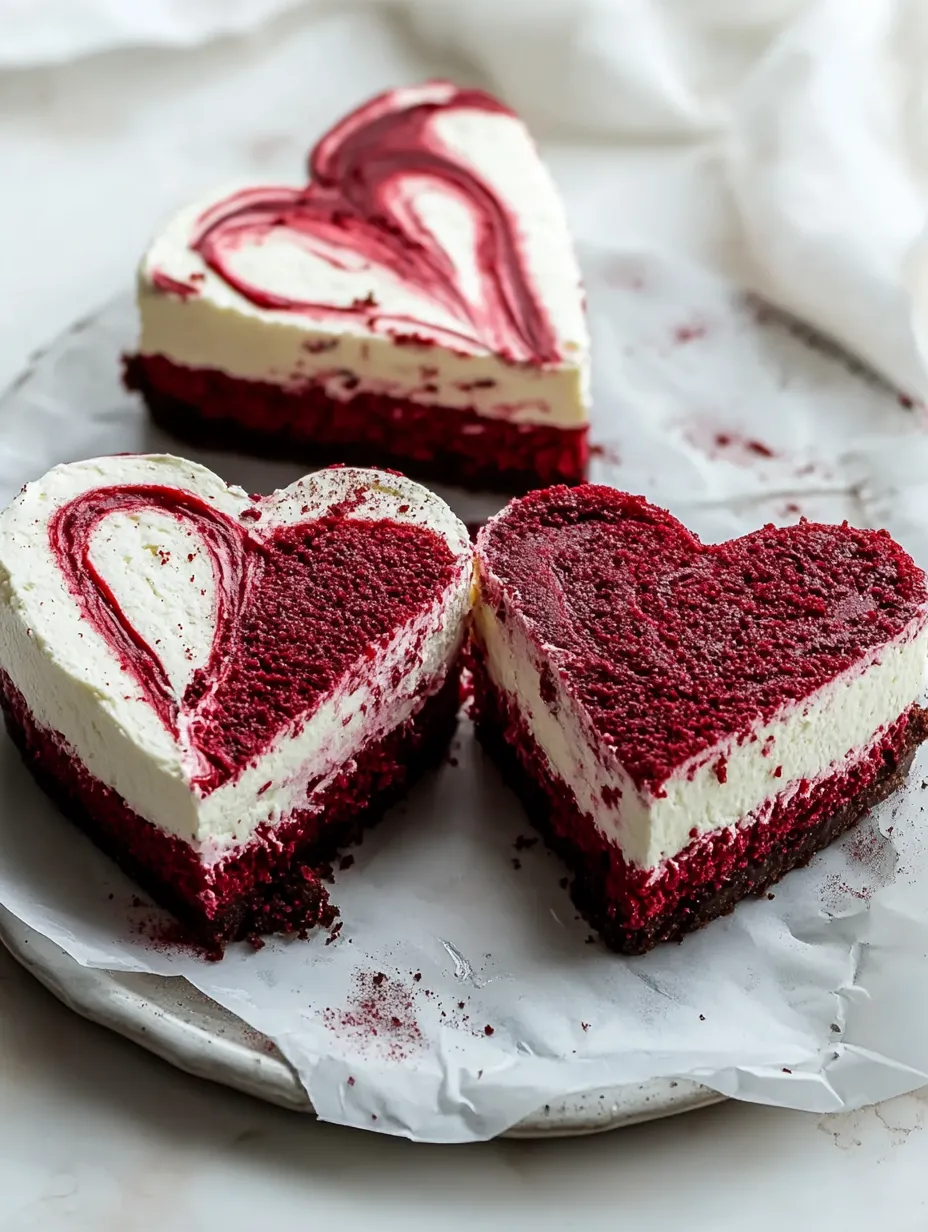
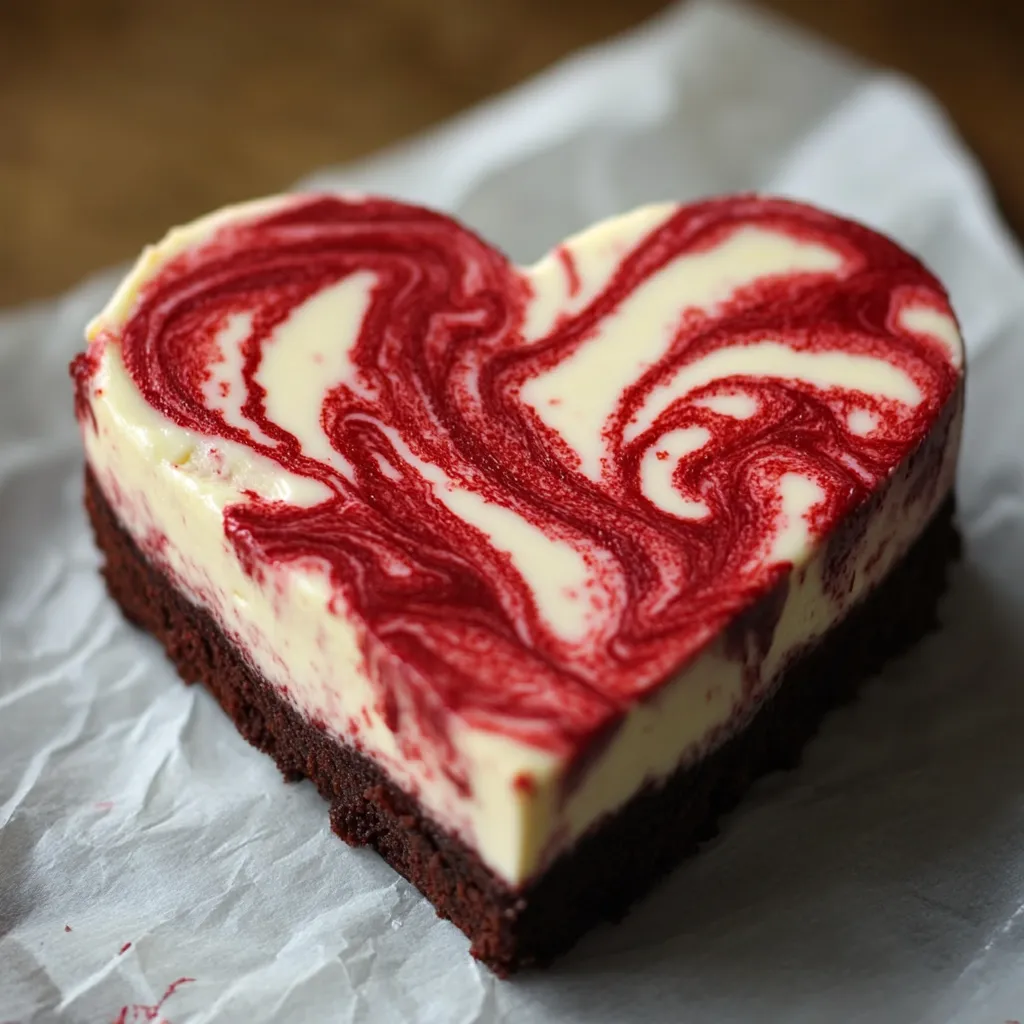
This stunning Red Velvet Cheesecake blends two classic treats into one eye-catching dessert. Each portion showcases beautiful contrasting layers - a vibrant crimson cake bottom topped with velvety smooth cheesecake, resulting in a mouthwatering treat that's as gorgeous to look at as it is to eat.
I'll never forget when I baked this cheesecake for my daughter's birthday party. The moment I sliced into it, everyone's amazed reactions made all the careful work totally worth it. The beautiful contrast between the bright red base and snow-white cheesecake top has guests grabbing their cameras before they even taste it.
Key Ingredients
- Cream Cheese: Full-fat and softened completely for smoothness. Philadelphia works best in my experience
- Unsalted Butter: Go for European-style for extra richness
- Large Eggs: Let them sit out until not cold anymore
- Semisweet Chocolate: Use good quality bars cut into small pieces
- All-Purpose Flour: Scoop with a spoon then level off for right amount
- Pure Vanilla Extract: Skip the fake stuff for best taste
- Red Food Coloring: The gel type gives bright color without thinning the batter
- Greek Yogurt: Use the full-fat kind for moisture and tang
MAKING IT STEP BY STEP
- 1. Getting Ready:
- Set your oven rack in the middle and heat to 325°F. Make sure everything's at room temp. Grease a 9-inch springform pan and put parchment on the bottom. Wrap the outside twice with heavy foil. Set up your kitchen with different areas: one for melting, one for mixing, and one for putting it all together. Measure everything before you start.
- 2. Making The Red Layer:
- Put a bowl over simmering water. Melt your butter and chocolate in it, stirring now and then until smooth. While that's happening, mix your dry stuff in another bowl. In your mixer, beat butter and sugar until fluffy (takes about 3-4 minutes). Add eggs one by one, cleaning the sides of the bowl as you go.
- 3. Finishing The Cake Batter:
- Add dry stuff and buttermilk back and forth to your mix, starting and ending with dry. Mix just enough each time. Put in vanilla and add red coloring bit by bit until you get a nice deep red. Scrape down the bowl so everything's mixed right.
- 4. Creating The Cheesecake Mix:
- Beat your cream cheese until it's super smooth with no lumps (about 3-4 minutes). Slowly add sugar while mixing. Put in eggs one at a time, mixing completely after each. Add vanilla and lemon zest. Mix until silky but don't overdo it.
- 5. Putting It Together And Baking:
- Pour red cake mix into your pan and smooth it out. Carefully pour cheesecake mix on top. Put the springform pan in a bigger roasting pan and add hot water halfway up the sides. Bake for 1 hour 15 minutes until the edges are firm but middle still jiggles slightly.
 Pin it
EXTRA BAKING WISDOM
- Why Texture Matters:
- When I was learning pastry making, my teacher taught me that great cheesecake texture comes from taking your time. Having ingredients at room temp, mixing gently, and cooling properly all create that amazing smoothness. I still hear him saying "A rushed dessert never tastes right."
- Why Water Baths Work:
- I learned about water bath science after many failed cheesecakes. The moist heat stops cracks and helps everything bake evenly. Now I always use one - it's like giving your cake a protective bubble while it bakes.
- Getting Temperatures Right:
- Watching my grandma taught me about temperature. She'd touch the cream cheese packages, and if they felt cool, she'd wait longer. This little bit of patience means everything blends together perfectly for that dreamy smooth texture we all want.
Important Reminders
- Keep that oven door closed while baking or you'll get cracks
- Your cheesecake should still jiggle slightly in the middle when done
- Let it cool down slowly to avoid cracks on top
- Don't skip letting ingredients warm up to room temperature
The best part for our family is always that magical moment when we cut the first slice. Seeing my daughter's face light up at those perfect red and white layers makes all the careful work so worthwhile. It's become our go-to dessert for all special occasions.
 Pin it
Smart Cooking Tricks
- Use two layers of heavy-duty foil to keep water from sneaking into your pan
- Cut slices with cold cream cheese for clean edges
- Wait till the red layer firms up a bit before adding the cheesecake mix
- Store a vanilla bean in your sugar container for better flavor
- Always pick gel food coloring for strong color without making batter runny
I've learned that making this Red Velvet Cheesecake shows how mixing traditional desserts in new ways can create something truly special. Whether you're hosting a holiday dinner, celebrating a birthday, or just want to treat yourself, this dessert always brings smiles around the table. The secret isn't just in what goes into it, but the care you take with each step. My grandma always told me, "You can't rush a good cheesecake" - and that's so true when you see those perfect, beautiful slices.
Frequently Asked Questions
- → Can I make this ahead of time?
- Absolutely, you can prep it up to 3 days early and keep it in the fridge. Just wait to cut the hearts until you're ready to serve.
- → What can I do with the leftover scraps?
- Don't waste those tasty bits! Munch on them plain or sprinkle them over a bowl of ice cream.
- → Can I freeze this dessert?
- For sure, you can freeze the whole thing or just some hearts for up to 2 months. Just let them thaw in your fridge overnight.
- → Why add greek yogurt to the cheesecake?
- The yogurt gives it a nice tang and makes the texture even creamier and smoother.
- → Can I use different food coloring?
- Sure thing, but gel colors work way better for getting that deep red without making the batter too runny.
