
 Pin it
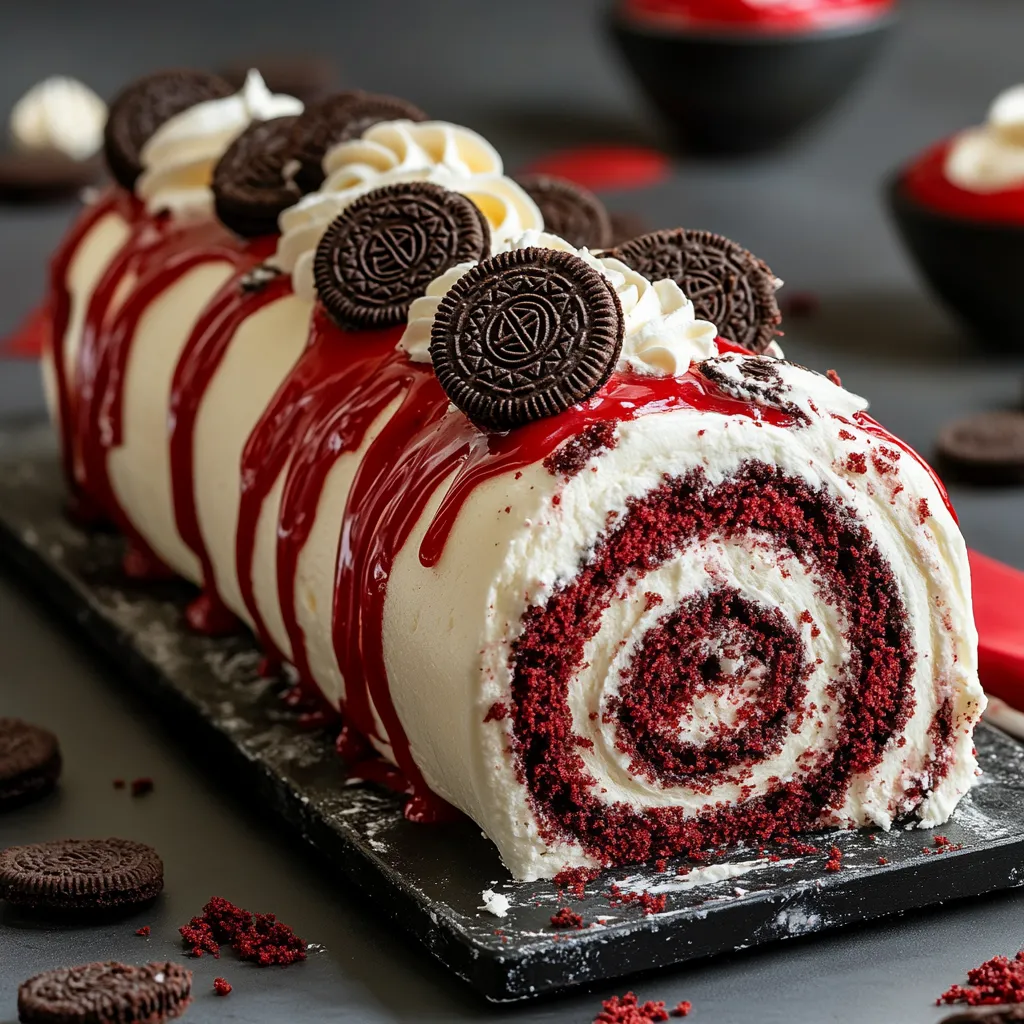
A Red Velvet Oreo Cake Roll blends two favorite tastes into one eye-catching sweet treat. This head-turning dessert wraps a soft, ruby-colored cake around a cookies-and-cream middle, all covered in thick chocolate ganache. Every slice shows off a gorgeous red swirl that makes this treat look just as amazing as it tastes.
The first time I whipped this up for my kid's birthday party, I couldn't forget how everyone's jaws dropped when they saw the inside. That stark contrast between the bright red cake and the white filling really gets people talking.
Key Ingredients:
- All-purpose flour - grab unbleached for the softest cake texture
- Dutch-process cocoa powder - makes a deeper color and smoother chocolate taste than regular cocoa
- Buttermilk - keeps the cake soft and boosts the red color
- Red food coloring - go with gel types for the brightest red without making the batter runny
- Cream cheese - stick with Philly brand for the best filling texture
- Oreos - the original kind works better than Double Stuf for the right cookie-to-cream balance
- Heavy cream - needs to be at least 36% fat to make your ganache turn out velvety
Step-By-Step Guide:
- Set Up Before Starting
- Get everything out to warm up to room temp
- Grab a clean dish towel and dust it with powdered sugar
- Make sure your oven rack sits in the middle
- Double check that your jelly roll pan has no moisture or crumbs
- Get The Cake Batter Right
- Whip eggs and sugar until they drop from the mixer in thick streams
- Mix in dry stuff gently using a figure-eight motion
- Stop right when the streaks vanish to keep the cake tender
- Make sure batter reaches all four corners of your pan
- Roll It Like A Pro
- Don't wait - roll while the cake's still hot
- Press firmly but don't squash it
- Keep it snug without strangling it
- Let it cool completely in the towel to lock in the shape
- Make A Tasty Filling
- Beat the cream cheese until it's completely lump-free before adding anything else
- Break Oreos into different-sized pieces for fun texture
- Don't spread filling too close to the edges
- Leave some empty space around the border
- Put It All Together
- Open the cake slowly to avoid breaks
- Roll it back up with steady hands
- Cool it down before adding ganache
- Pour the ganache when it's just the right thickness
 Pin it
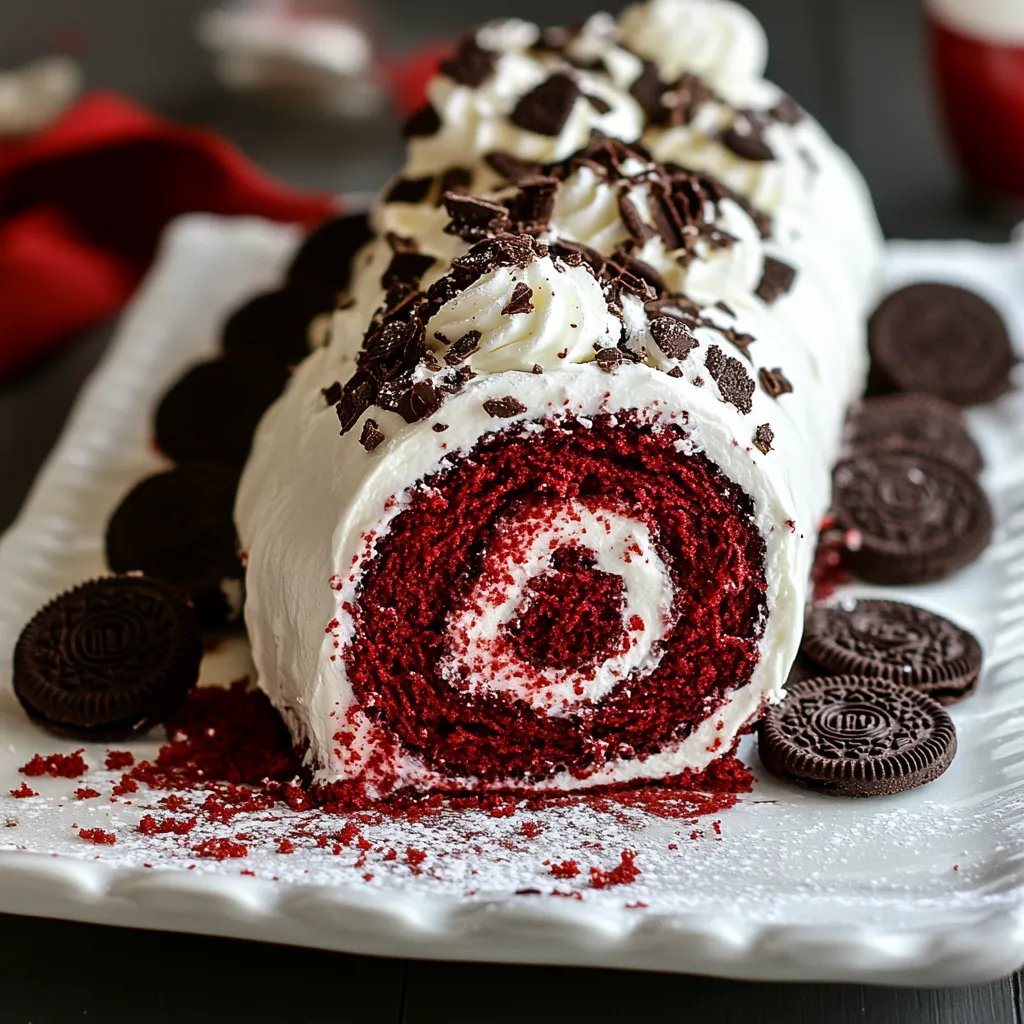
My grandma always told me that you can't rush a good cake roll. She was spot on - trying to hurry through any part can leave you with cracks or a messy spiral. I've learned that going slow, especially during that first hot roll-up, really pays off when you show it off.
More Thoughts:
This mix of red velvet and Oreos feels modern but actually comes from old-school American dessert roots. My folks really go crazy for this version because it's got that fancy spiral cake vibe but uses everyone's go-to sandwich cookie. When my little nephew had his first bite, he called it "the best cake ever" - pretty big talk from an eight-year-old who turns his nose up at most foods!
I've made tons of cake rolls over the years, but this red velvet one still tops my list. It's that rare sweet that looks super fancy but everybody loves to eat it, making it just right for everything from Christmas dinner to summer birthday parties.
 Pin it
Fancy Holiday Touches:
Switch up this cake roll throughout the year to match different holidays. For Christmas, toss in some mint Oreos and top with smashed candy canes. During Halloween, drizzle with orange-tinted white chocolate and use black Oreos. Spring parties look great with little edible flowers and white chocolate curls on top. You can tweak this basic recipe to fit any time of year.
Why Your Roll Works:
Getting a cake roll just right comes down to moisture. Too dry and it breaks, too wet and it sticks. The mix of oil and buttermilk in this recipe hits the sweet spot for rolling. When you whip the eggs properly, they build a cake that's both strong and bendy. That's why it matters so much to beat those eggs until they're really pale and thick.
Do-Ahead Game Plan:
This dessert actually tastes better when you make it a day early. The flavors mix together, and the filling firms up nicely. You can make the whole roll without the chocolate coating up to two days before your event if you wrap it well in the fridge. Just add the ganache topping within a day of serving so it looks fresh and glossy.
Fixing Common Problems:
Got cracks in your cake? Don't worry. Small cracks can hide under the cream cheese filling, and bigger ones disappear under ganache. If your chocolate coating looks too thick, warm it up with quick 5-second zaps in the microwave. Too runny? Just let it sit on the counter, giving it a stir now and then until it thickens up.
Ways To Serve It:
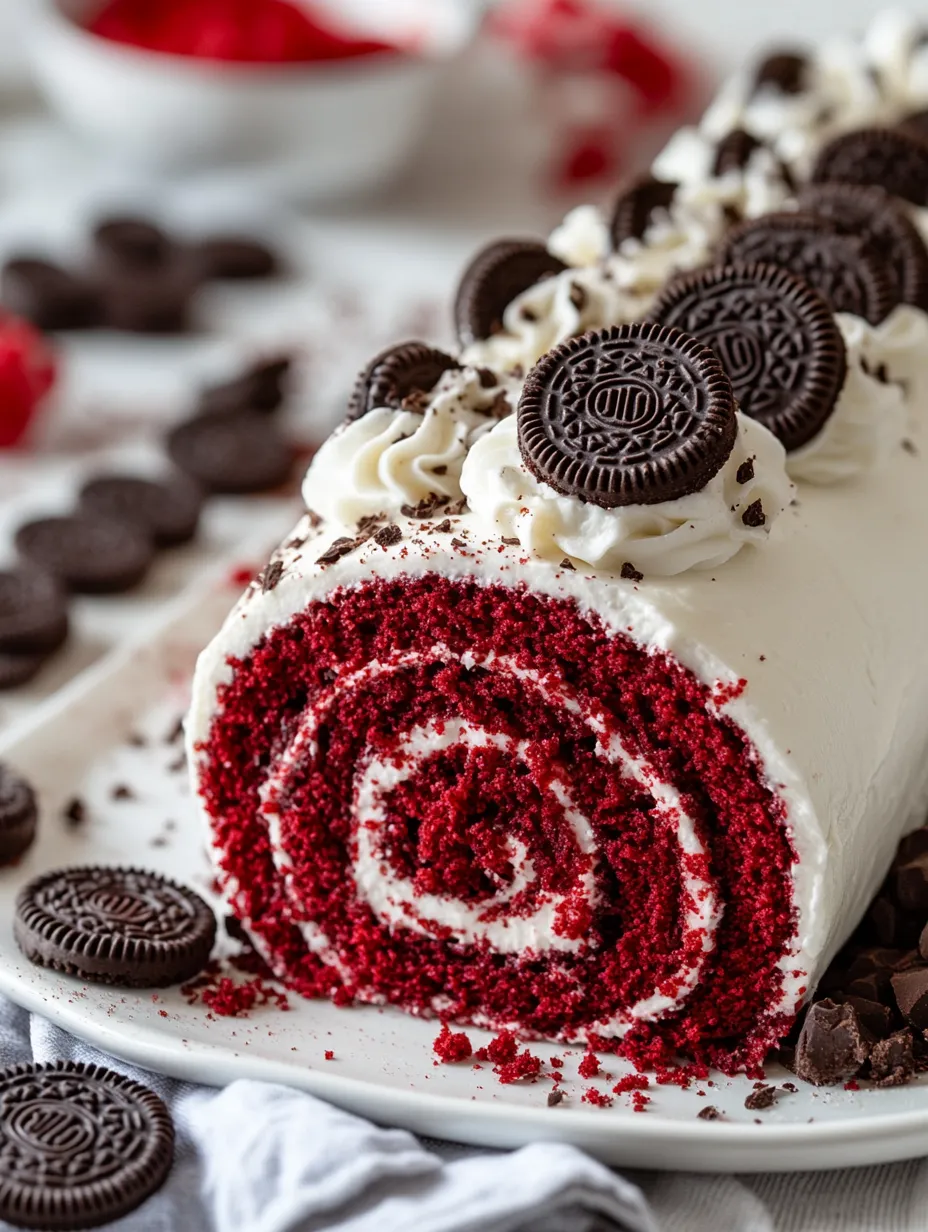
Slice with a warm, sharp knife for the cleanest edges. Stand each piece on its side to show off the swirl inside. A light dust of powdered sugar or a fresh raspberry on top adds a nice touch. For fancy occasions, add a scoop of real vanilla ice cream or some fresh whipped cream alongside.
 Pin it
Keeping It Fresh:
Store your cake roll in the fridge in a sealed container. If you need to keep it longer than three days, wrap single slices in plastic and freeze them. Let frozen pieces thaw overnight in the fridge for the best texture. Don't thaw them on the counter, or the filling might get too soft and squishy.
Try Different Flavors:
The classic Oreo filling tastes great, but you can play around with other cookie types too. Give mint Oreos a try for a cool twist, or golden Oreos for a milder taste. Some of my relatives like it better with chocolate cream cheese filling instead of vanilla, which really makes the red velvet flavor stand out more.
Picture-Perfect Slices:
Getting those Instagram-worthy slices comes down to temperature. Make sure the cake is cold but not frozen solid. Use a big, sharp knife dipped in hot water and wiped off between cuts. Slice down in one smooth move instead of sawing back and forth.
The Final Touch:
A smooth ganache coating turns this from homemade to bakery-quality. Getting the temperature right is crucial - both the cake and chocolate need to be just right. The ganache should pour easily but not run off in thin streams. Try a test drip on the side of your bowl or some parchment paper before covering the whole cake. When done right, ganache adds class and keeps your cake roll moist and tasty.
From all my baking adventures, this Red Velvet Oreo Cake Roll always gets the biggest reaction. It mixes the comfort of Oreo cookies with the fancy feel of a spiral cake, creating something truly memorable. Whether you're baking for a holiday, birthday, or just because it's Tuesday, it'll likely become a recipe you'll want to make again and again.
Frequently Asked Questions
- → Can I prepare this roll a few days early?
- Absolutely! This tasty roll keeps well in the fridge for up to 3 days. It'll actually taste even better after sitting overnight.
- → My cake split while rolling it up. What went wrong?
- Make sure you roll it up while it's still warm to stop cracks from forming. Don't stress if there are small breaks though. The filling and chocolate topping will hide them nicely.
- → Is it OK to freeze this dessert?
- You bet! It freezes well for up to 2 months. Just wrap it tightly in plastic and let it thaw in your fridge overnight before serving.
- → Do I have to add the red coloring?
- Nope, it's not mandatory. Your cake will taste just as good without it, though it won't have that signature red look.
- → Can I swap out Oreos for other cookies?
- Sure thing! Oreos work great, but feel free to try different cream-filled cookies to create your own unique flavor.