
 Pin it
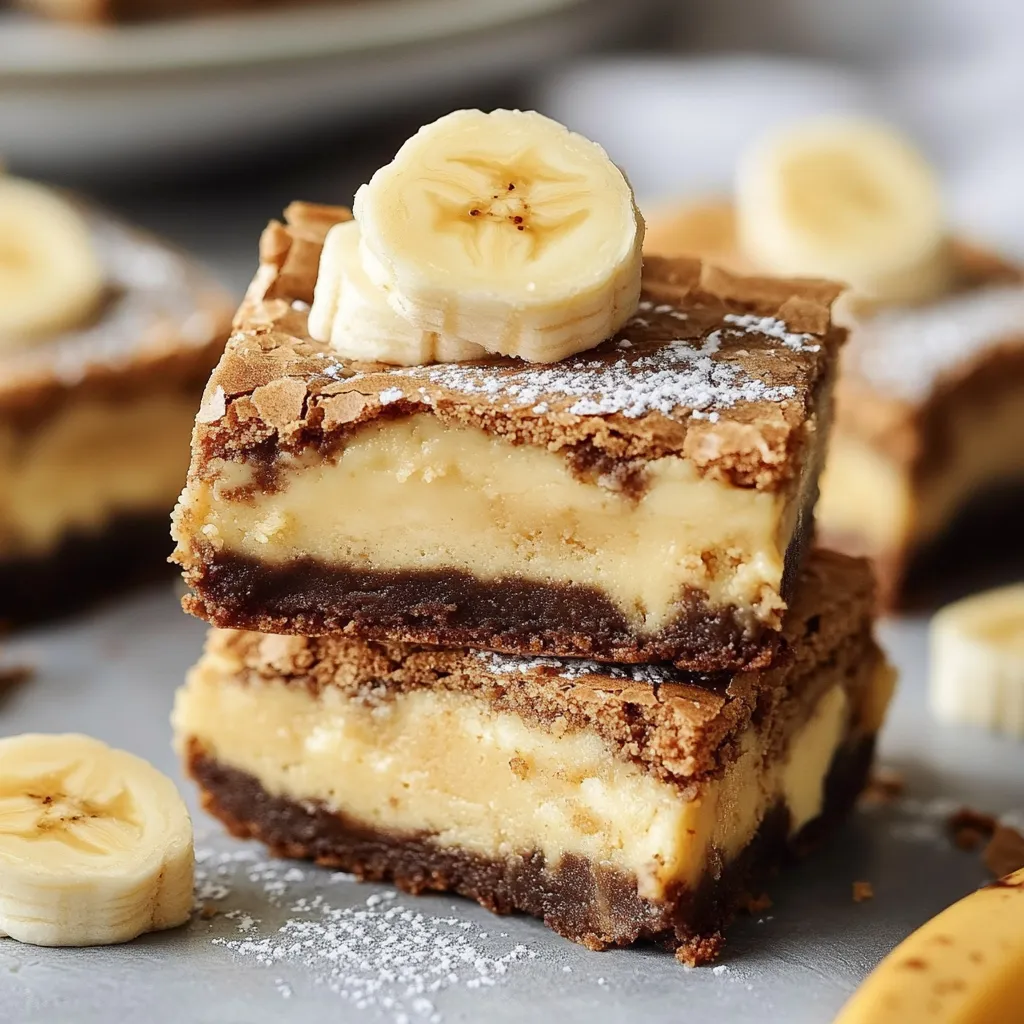
Take a bite of these rich brownies that blend all the familiar tastes of traditional banana pudding. These treats mix the gooey goodness of brownies with smooth homemade vanilla pudding, sweet ripe bananas, and crunchy vanilla wafers. Whenever I bake a batch, my kitchen smells like sweet vanilla and caramelized bananas, taking me back to hot summer days enjoying banana pudding at my grandma's place.
I took these to our family picnic last week, and even my picky nephew who hates fruit couldn't stop eating them. What's my trick? The bananas keep everything super moist while the pudding adds that creamy touch that's impossible to resist.
Key Ingredients and Smart Shopping Advice
- Bananas - Go for ones with dark spots all over for maximum sweetness. I've noticed that bananas you might think are too soft for snacking work perfectly in this recipe
- Vanilla Wafer Cookies - Make sure they're fresh from the package. Old cookies will turn soggy fast. I usually grab two boxes because I can't stop munching while I cook
- Brown Sugar - Both light and dark versions work great, though dark gives more caramel notes. Toss in a bread slice when storing to keep it soft
- Butter - Stick with unsalted so you can add just the right amount of salt. Having it sit out until soft makes the smoothest pudding
- Vanilla Extract - Real vanilla (not imitation) really shines in both the pudding and brownie parts
After trying this recipe countless times, I've learned that getting the banana amount just right matters tons - too much makes them cakey, not enough and you'll miss that classic banana pudding taste.
Step-by-Step Cooking Guide
- 1. Pudding Preparation
- First, make your vanilla pudding by heating milk in a thick-bottomed pot over medium heat. Mix sugar, flour, and egg yolk in another bowl until light yellow. Slowly pour the hot milk into this mix while constantly stirring - I once rushed this and ended up with egg bits everywhere. Pour everything back into the pot and stir non-stop until it gets thick enough to leave a trail on the back of your spoon, usually about 5-7 minutes.
- 2. Brownie Base Creation
- While your pudding cools down, start on the brownie mix. Melt the butter just until it's liquid but not super hot. Stir in both sugars until everything looks well mixed. Now comes the fun part - add your mashed spotty bananas and watch the texture change completely. Add the egg yolk and vanilla, stirring until it looks shiny and smooth.
- 3. Dry Ingredient Integration
- Run your flour, baking powder, and salt through a sifter to get rid of lumps. This step isn't just for show - it helps everything mix evenly. Fold these dry ingredients into your wet mix with a light touch, stopping as soon as you don't see any flour streaks. Too much mixing will make your brownies tough instead of fudgy.
- 4. Layering Process
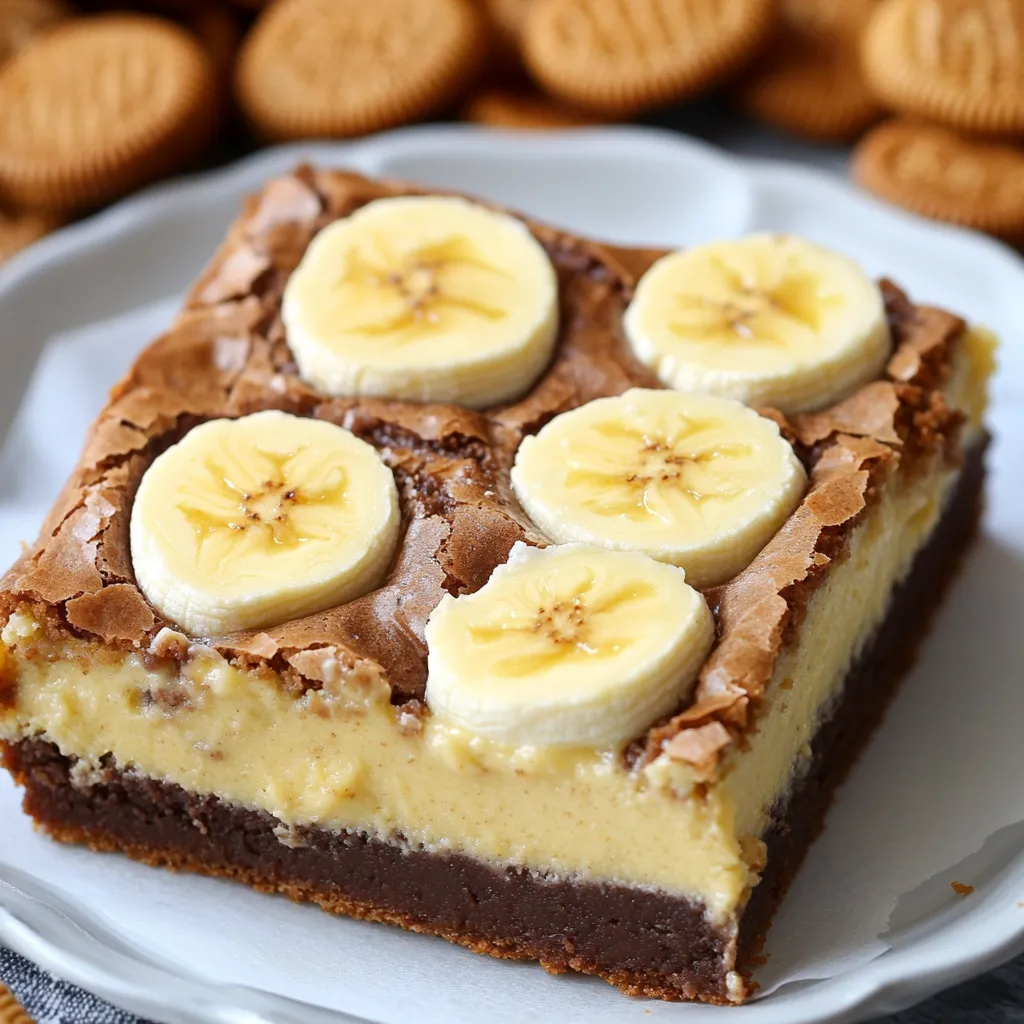
- Time to build those tasty layers. Spread half the brownie mix in your prepared pan - I use a spoon back to smooth it out evenly. Press a layer of vanilla wafers into this base to create that classic banana pudding feel.
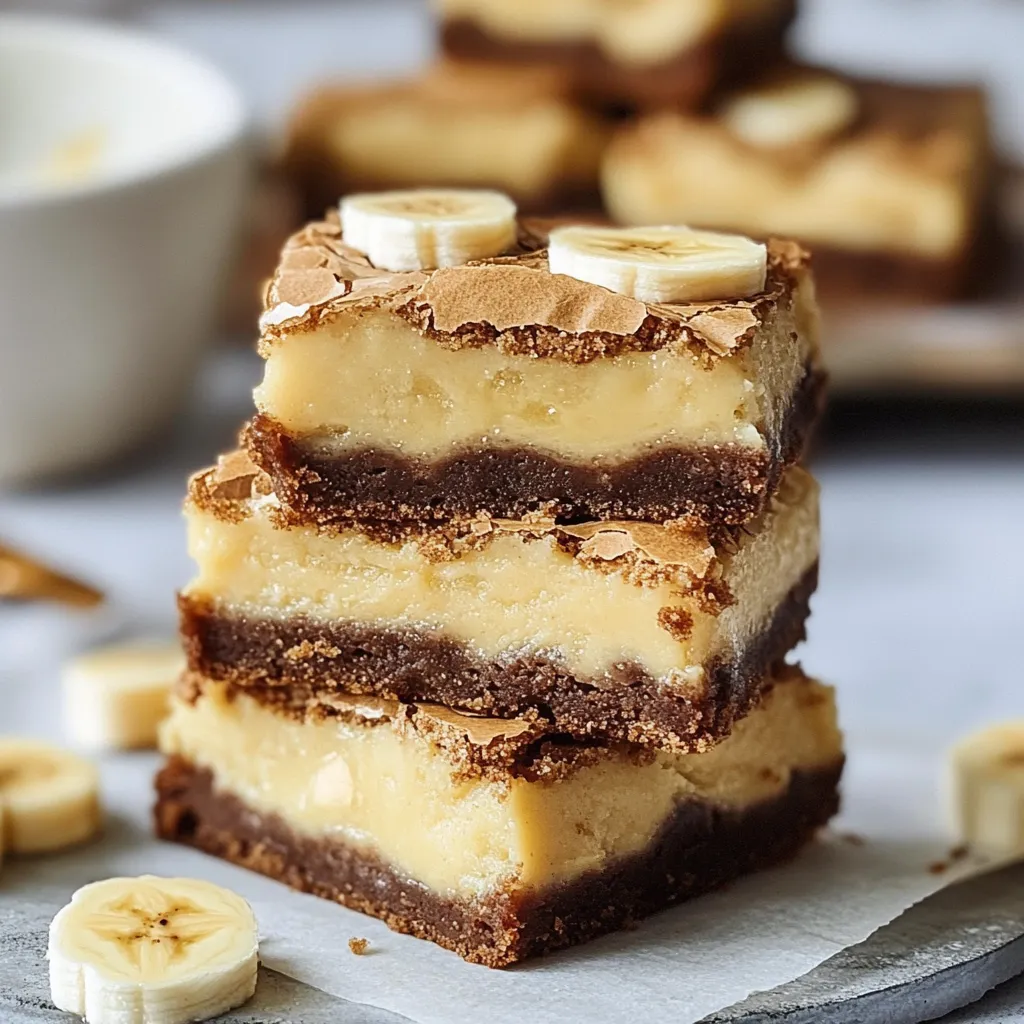
- 5. Final Assembly
- Drop spoonfuls of your leftover brownie mix and cooled pudding in a checkerboard pattern. Use a knife tip to make swirly patterns - I find that drawing figure-eights creates the prettiest marble effect.
 Pin it
While testing different versions, my kid suggested sprinkling crushed wafers on top before baking for extra crunch. She was totally right - sometimes the best cooking ideas come from kids!
 Pin it
Smart Oven Management
Getting your oven temperature right makes all the difference. I keep a thermometer in there to check it's really hitting 350°F. When you pull them out, the middle should wobble slightly - don't worry, it'll firm up as it cools down.
Getting That Perfect Bite
The toothpick test works differently with these treats because of the pudding swirls. Look for moist crumbs from brownie areas, while pudding parts will stay creamy on your tester.
Keeping Them Fresh
These actually taste even better the day after baking, once all the flavors have mixed together. Keep them in a sealed container at room temp for up to 3 days.
Pro Baking Secrets
- Always use parchment paper in your pan with extra hanging over the sides for easy lifting. I learned this the hard way after ruining the first brownie trying to dig it out
- Eggs mix in better when they're not cold from the fridge. I pop mine in warm water for 5 minutes if I forget to take them out earlier
- Don't overdo the swirling - a few gentle passes create prettier distinct layers than mixing too much
 Pin it
Wrapping Up
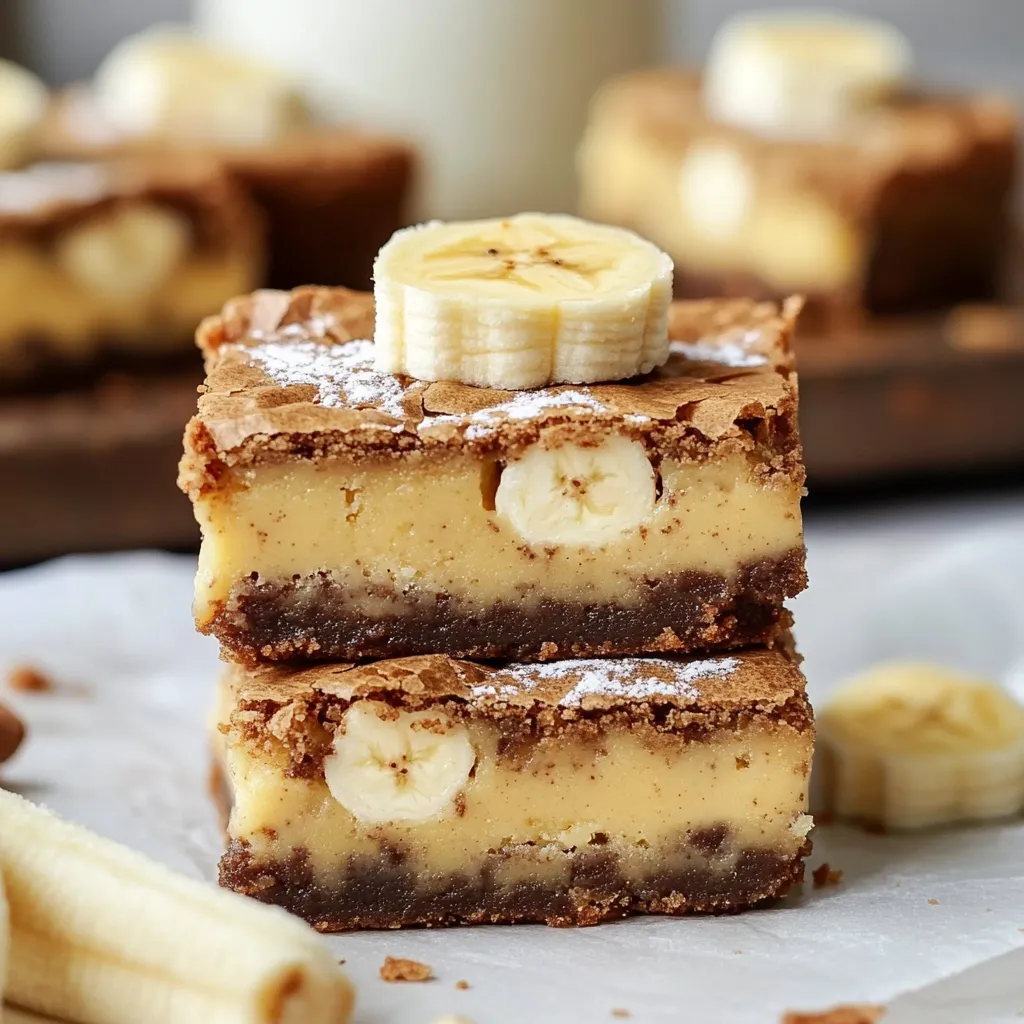
These Banana Pudding Brownies give you two amazing treats in one - fudgy, rich brownies plus the comfort of creamy banana pudding. They've become my favorite thing to bring to parties and family dinners, not just because they taste amazing, but because they make everyone smile with that first nostalgic bite. I learn something new each time I make them, but the magic of combining these two classics never fails to wow everyone.
Frequently Asked Questions
- → Why measure flour properly?
- Bad measuring makes brownies dry - grab a spoon-level tool or kitchen scale
- → Can I use store-bought pudding?
- Homemade tastes best but quick-mix pudding works when you're rushed
- → How ripe should bananas be?
- Go for extra ripe bananas with brown spots for strongest flavor
- → Can I freeze these?
- Sure, they'll keep frozen up to 1 month in sealed containers
- → Why aren't my brownies fudgy?
- You probably added too much flour - watch your measurements carefully