
 Pin it
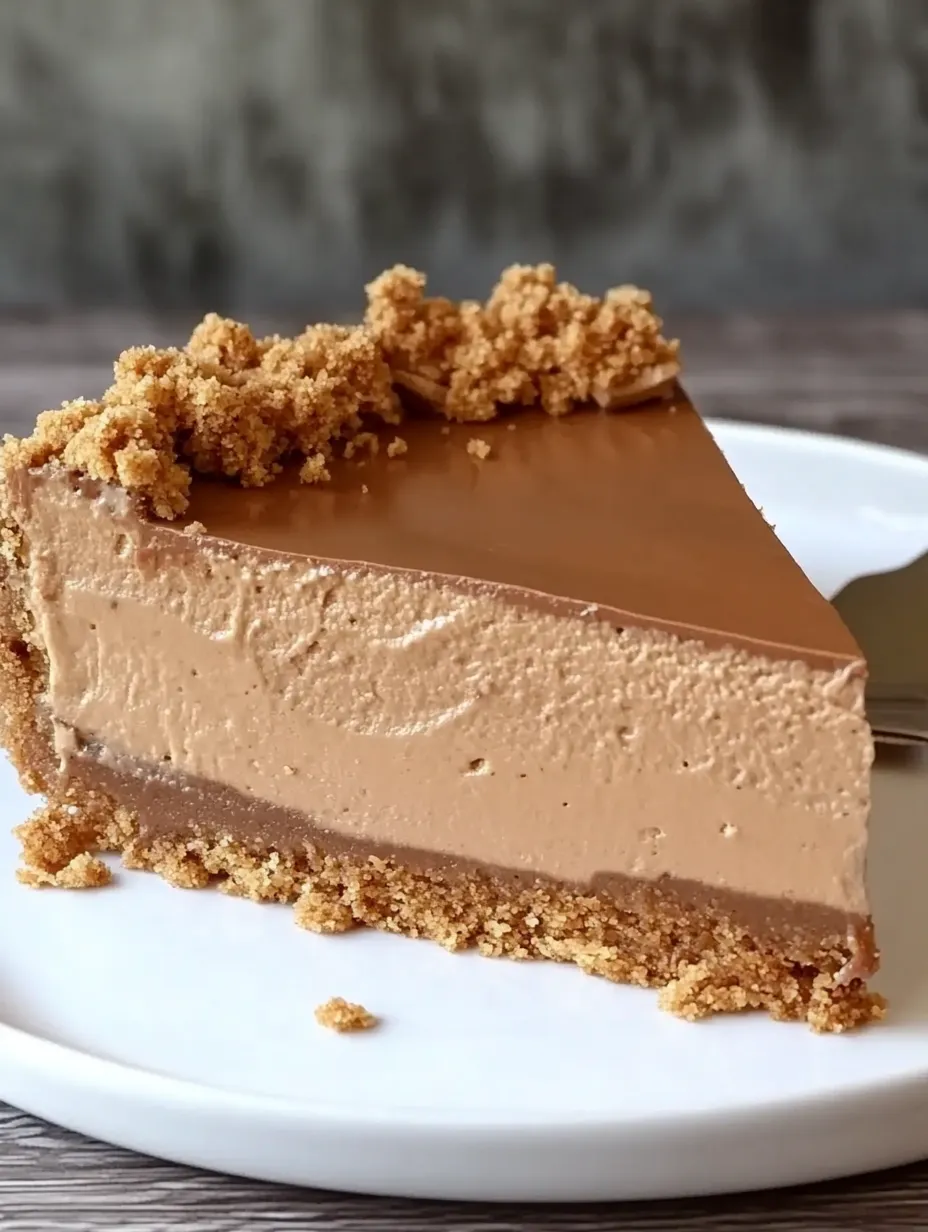
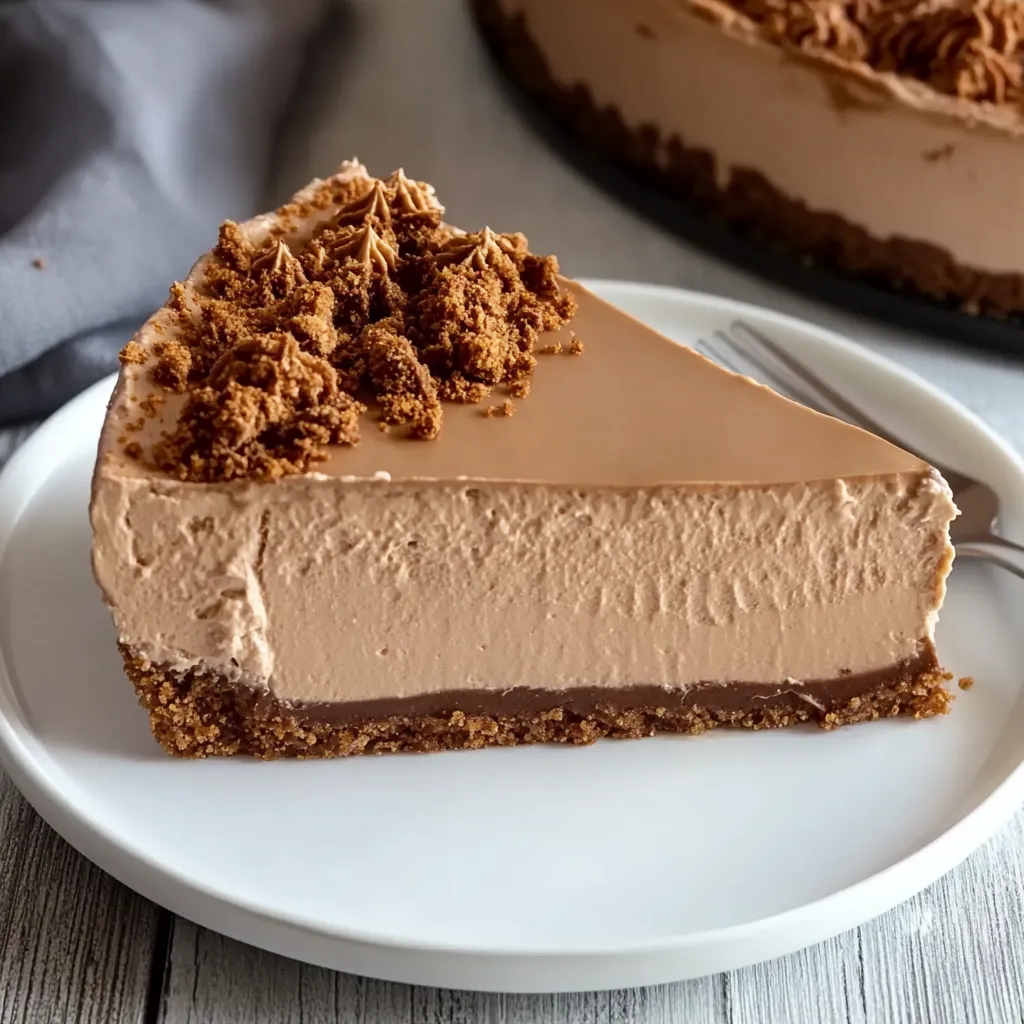
This decadent no-bake cheesecake combines creamy Nutella and sweet Biscoff into one mouthwatering dessert. It starts with a crunchy Lotus cookie crust, then features a velvety Nutella cheesecake layer, and finishes with a dreamy Biscoff spread topping. You'll fall in love with how the rich hazelnut, caramel, and chocolatey notes blend together in each bite.
I brought this to our family reunion last week and couldn't believe the response. My uncle Tom, who always passes on sweets, ended up asking for another piece! There's something truly special about how the Biscoff and Nutella work together in this dessert.
Key Components:
- Lotus Biscuits - The caramel-spice taste makes them irreplaceable in this recipe; don't swap them out
- Cream Cheese - Go for the full-fat kind and let it sit out for about 2 hours until properly softened
- Double Cream - Its richness helps your cheesecake stay firm and sliceable
- Nutella - Stick with the real thing for that classic chocolate-hazelnut taste and smooth texture
- Biscoff Spread - Adds that unmistakable caramelized flavor that makes this dessert special
- Butter - Pick unsalted since the Lotus cookies already have some salt in them
Step-By-Step Guide:
- Making A Solid Foundation
- Grind cookies until they're powder-like for the strongest base
- Pack down firmly using a drinking glass with a flat bottom
- Let it cool completely in the fridge so it won't fall apart
- Don't forget to press the edges well for even thickness
- Creating The Perfect Filling
- Whip your cream just until firm peaks form but stop before it looks dry
- Make sure cream cheese has no lumps before you add anything else
- Use gentle motions when combining to keep air bubbles intact
- Sample it before pouring to make sure the sweetness is right
- Getting Beautiful Layers
- Smooth each layer flat with a bendy spatula
- Give the pan a few light taps to release trapped air
- Wipe the edges with a napkin for that pro finish
- Refrigerate between adding layers for clean separation
 Pin it
I've been playing around with this Biscoff-Nutella combo for ages now. My little girl asks for this cheesecake on her birthday, Christmas, and pretty much any day ending in 'y'. I've found that letting it sit in the fridge overnight really brings all the flavors together.
The smooth filling reminds me of my grandma's old-fashioned cheesecakes but with a fun twist that makes it stand out. When you mix the Nutella with cream cheese, you get this incredible mousse-like texture that just melts in your mouth.
I've made tons of cheesecakes over the years, but this no-bake version has become my go-to when I want to wow guests. It shows you don't need fancy equipment or techniques to make something amazing. The way Biscoff and Nutella come together gives you something that feels new but somehow familiar too.
Managing Heat:
Getting your temps right matters a lot in this recipe. Your cream needs to be cold from the fridge to whip up nicely, but your cream cheese should be fully at room temp so it mixes smoothly. If your Nutella's too stiff, warm it up in the microwave for a few seconds. When you're ready to add the Biscoff topping, it should flow easily but can't be too hot or it'll melt your filling.
 Pin it
Playing With Crunch:
You can switch up the feel of your cheesecake by changing how you crush your cookies. Leave some bigger pieces for extra crunch in the base, or scatter some roughly broken bits between layers. Some friends of mine love it when there's more texture to bite into, while others prefer the contrast of a smooth filling against a crisp bottom.
Plan Ahead Tips:
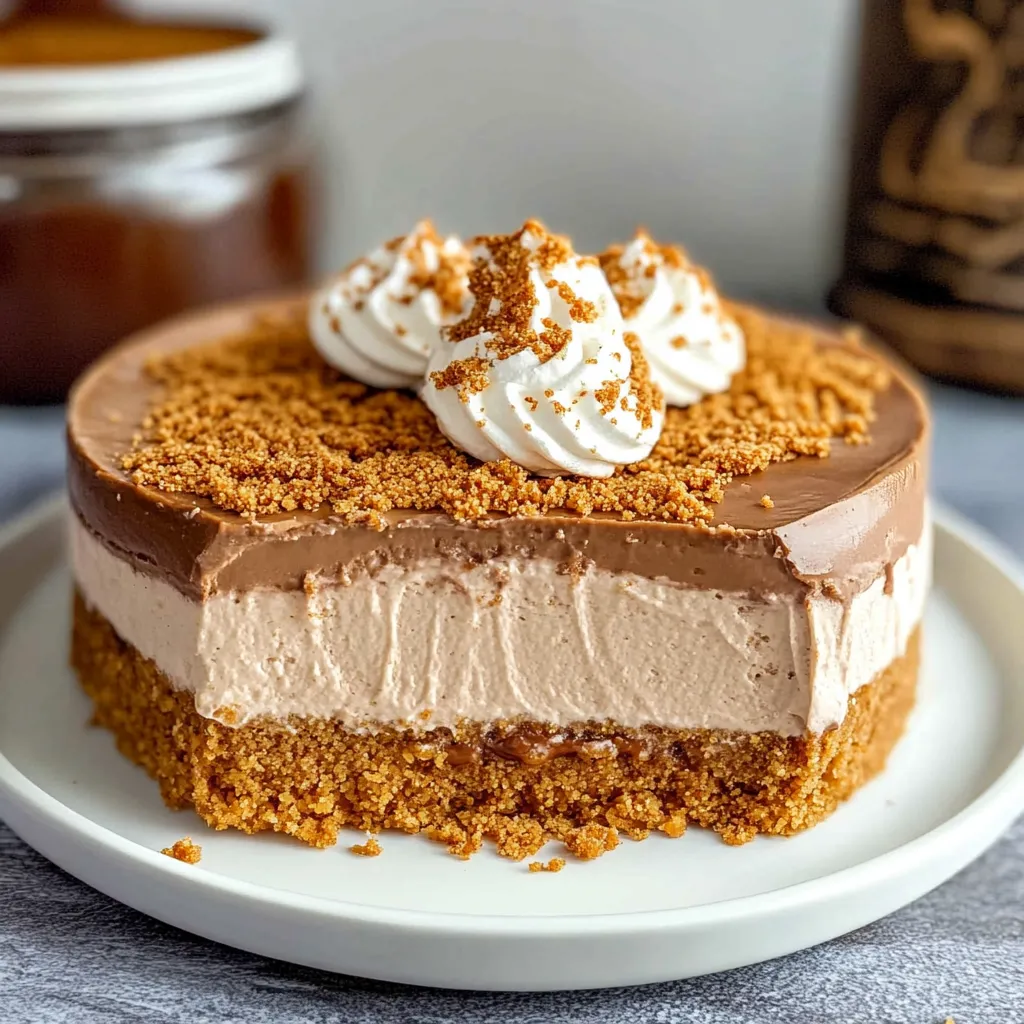
This cheesecake is your best friend when you need to work ahead. You can make it up to three days before your event and keep it covered in the fridge. Just save the top Biscoff layer and any decorations for the day you'll serve it. For really big events, you can even freeze the whole thing (without toppings) for up to a month ahead.
Presentation Ideas:
When it's time to eat, try setting up a fun topping bar. Put out some fresh berries, warm Nutella for drizzling, whipped cream, and extra crushed Lotus cookies. Let everyone dress up their own slice how they want. My favorite trick is serving it with a small scoop of vanilla ice cream - the cold-warm combo is amazing!
Fixing Common Problems:
If your filling seems too runny, you probably mixed too much or didn't whip the cream enough. Just chill it for half an hour before going on with the recipe. When your base falls apart during cutting, you didn't press it down hard enough. Next time, really pack it down firmly when you're making the base.
Keeping It Fresh:
Always store your cheesecake in a sealed container in the fridge to keep it tasting great. If you've cut into it, press a paper towel against the cut sides to soak up moisture and keep the filling from getting wet. To freeze leftovers, wrap each piece in plastic, then foil, and put them in a freezer bag with all the air pushed out.
Changing The Size:
You can easily make this recipe bigger or smaller. For single servings, use a muffin tin with paper liners. For a bigger crowd, multiply everything by 1.5 and use a 10-inch springform. Tiny versions make great party bites - just spread the mixture in a sheet pan and cut out circles with a small cookie cutter.
Seasonal Changes:
In summer, try adding a layer of fresh raspberries between your filling and topping. During winter holidays, mix in a bit of cinnamon or nutmeg with the cookie base. For fancy parties, add some gold leaf or chocolate curls on top to make it extra special.
 Pin it
Lighter Alternatives:
While this is definitely a treat-yourself dessert, you can tweak it for different needs. Try reduced-fat cream cheese and whipping cream for a slightly lighter version. If you've got guests who can't have gluten, swap out the Lotus cookies for a gluten-free option. Just make sure you keep the same amounts so your cheesecake sets properly.
Every time I make this cheesecake, people beg for the recipe. There's something about the mix of Biscoff and Nutella that feels like a hug in dessert form - fancy enough for special occasions but comforting enough for any day. Just remember to give it plenty of time to chill, and you'll get those perfect, Instagram-worthy slices every time.
Frequently Asked Questions
- → Can I prepare this cake days before serving?
- Absolutely! You can make this cake up to 2 days early and keep it in your fridge.
- → My cake isn't firming up properly. What went wrong?
- Be sure to beat the cream until it forms stiff peaks and use only full-fat cream cheese. Don't skip the 6-hour minimum cooling time.
- → Is this cake good for freezing?
- You bet, it stays good frozen for up to 3 months. Just let it thaw overnight in your fridge before you serve it.
- → Can I swap out the cookies in the base?
- Though Biscoff cookies give the best taste, you can try graham crackers or digestive biscuits too.
- → Why should my cream cheese be at room temperature?
- Cream cheese at room temperature mixes much better, helping you avoid lumps in your cake filling.