
 Pin it
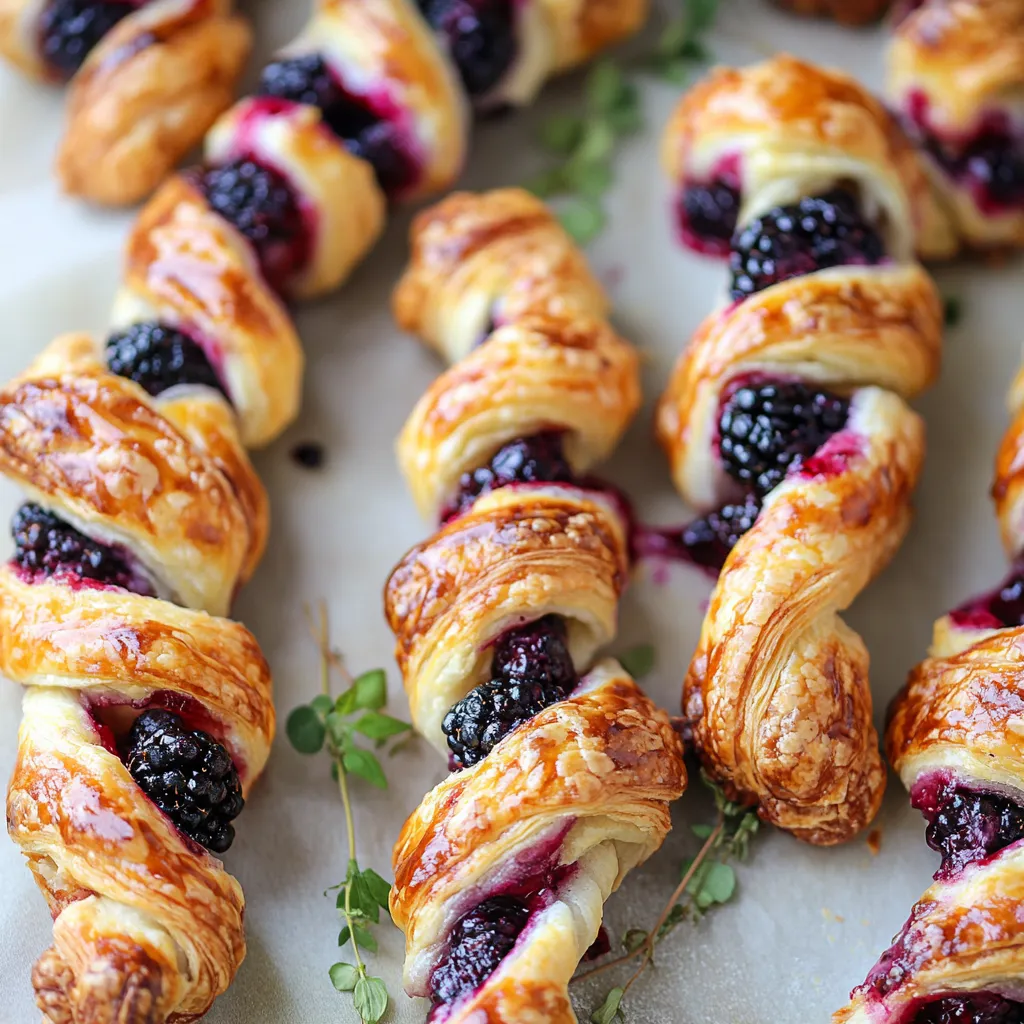
The beautiful blend of blackberry goat cheese puff pastry twists combines buttery flaky dough, sharp cheese, and juicy berries in wonderful balance. These easy yet fancy finger foods hit that sweet spot between casual and elegant, making them great for everything from big holiday parties to quick get-togethers with friends.
I've brought these to so many parties, and they're always gone first. As soon as that crispy pastry lands on the plate, people can't help noticing those pretty spirals and the purple berry color running through them.
Key Ingredients
- Fresh blackberries: Pick ones that look juicy and dark purple - stay away from berries with whitish or reddish spots
- Goat cheese: Make sure it's not cold from the fridge for easy mixing - I really like the clean taste of Vermont Creamery
- Puff pastry: It should be fully thawed but still cool - don't let it sit out too long
- Local honey: Gives a natural sweetness - the darker kinds work amazingly with blackberries
- Ground cinnamon: Must smell strong and spicy - toss it if it's been sitting around longer than 6 months
 Pin it
Simple Preparation Guide
- Step 1:
- Start by cooking up your blackberry jam. Mix your fresh berries, honey, cinnamon, and water in a thick-bottomed pot. A heavier pan helps stop the mix from burning as it cooks down.
- Step 2:
- Let the mixture come to a soft boil on medium heat, giving it a stir now and then. As the berries soften, push them with your spoon to break them up. This usually takes around 10-12 minutes.
- Step 3:
- Turn the heat down and let it simmer, stirring more often as it gets thicker. You'll know it's done when you can coat the back of a spoon and run your finger through it leaving a clear line.
- Step 4:
- While your jam cools down, get your workspace ready with a parchment-lined baking sheet and a lightly floured counter. Only take the puff pastry out of the fridge when you're all set to use it.
- Step 5:
- In a bowl, mix your room-temperature goat cheese with 1 cup of the cooled blackberry jam. Stir it carefully but fully until the color looks even. It should be easy to spread but not runny.
- Step 6:
- Gently open your puff pastry on the floured counter. Using a flat spatula, spread the blackberry-cheese mix evenly across, leaving about 1/2 inch around the edges.
- Step 7:
- Fold the dough in half lengthwise, pushing down softly to close it. Use a sharp knife or pizza cutter to cut it into 1/2-inch strips. The smoother your cuts, the prettier your finished twists.
- Step 8:
- Grab each strip by the ends, twist it several times, and place on your prepared baking sheet. Make sure to leave room between them since they'll grow bigger while baking.
 Pin it
When I make these twists, I think about my grandma making pie dough - there's something peaceful about carefully twisting each piece, turning simple stuff into something really special.
Brilliant Party Planning
In my family where everyone loves hosting parties, I learned that getting the timing right is crucial with puff pastry apps. These twists have become what I always make for last-minute gatherings because they're fancy but easy. I usually make the jam a couple days early, so putting them together is quick when people are about to show up.
Watch Your Temperature
After lots of tries, I've figured out the tricks to working with puff pastry: Keep it cool but not frozen. Work in a cool room. Put the twisted pastries in the fridge for 15 minutes before baking. Make sure your oven is hot before putting them in.
 Pin it
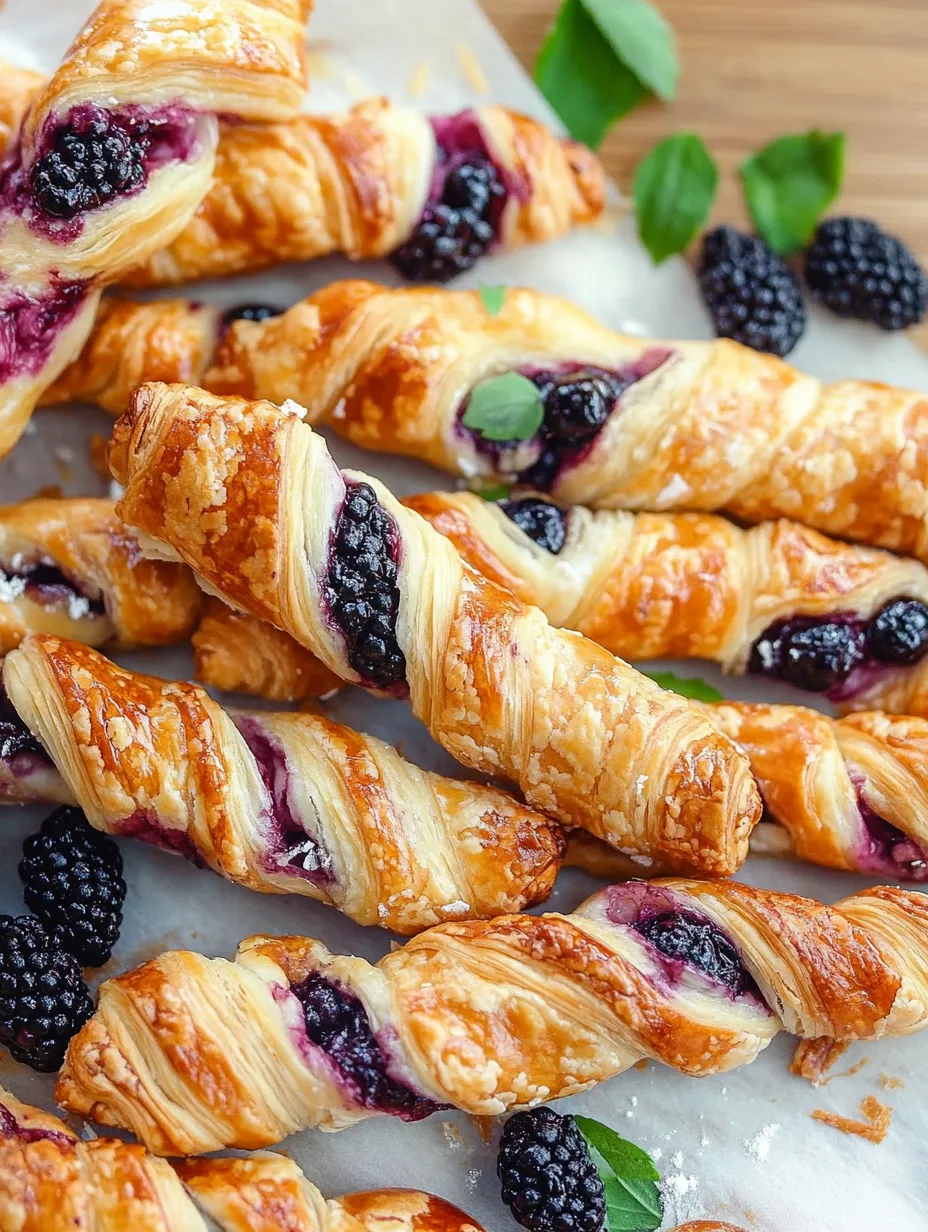
Twisting Like A Pro
Getting those gorgeous spirals comes down to how you do it: Hold both ends not too tight but firmly enough. Twist in opposite ways. Put them on the baking sheet without pulling. Don't stress if they're not all identical - that just adds character.
Fun Flavor Swaps
While blackberry and goat cheese is a winning combo, I've tried other seasonal options too: Spring calls for strawberry and mascarpone. Summer is perfect for peach and ricotta. Fall works great with fig and blue cheese. Winter feels cozy with cranberry and brie.
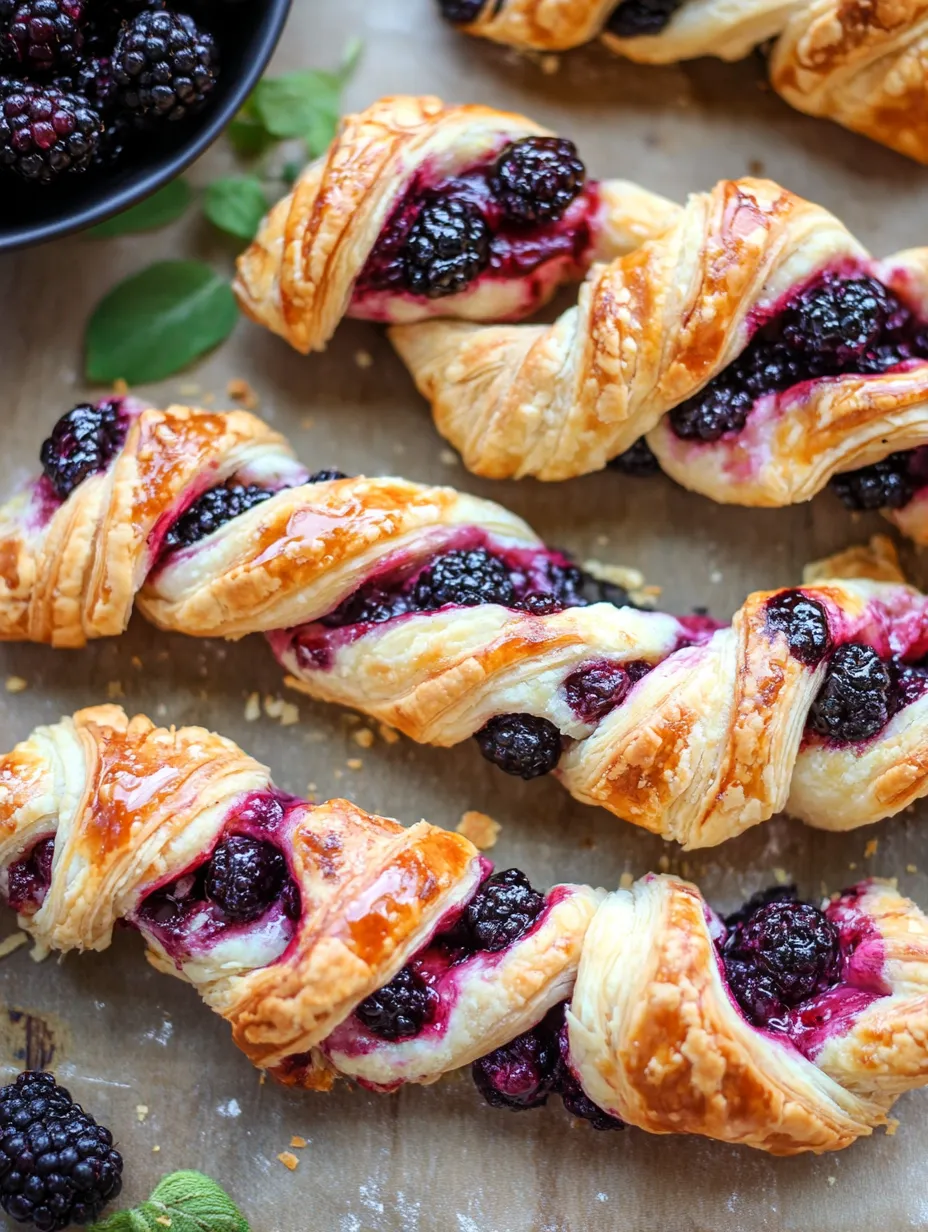
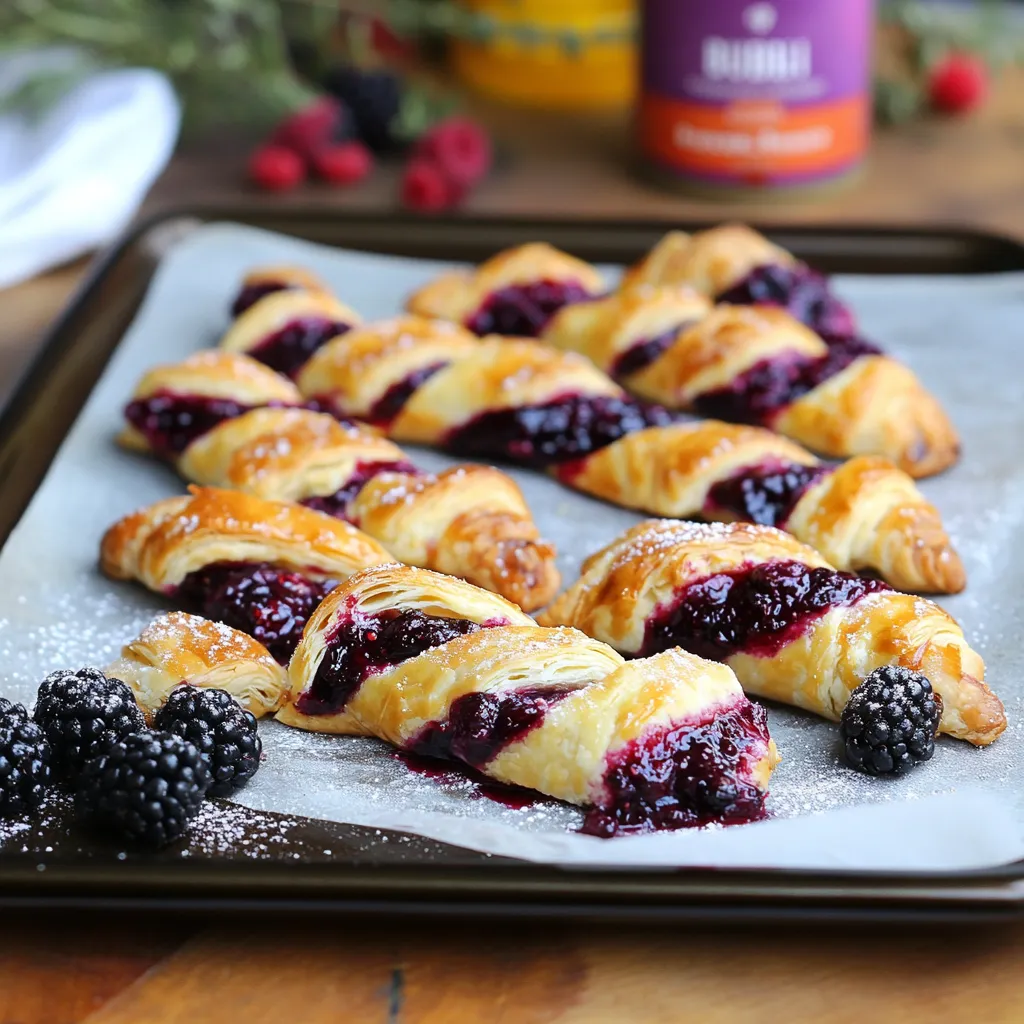
How To Serve Them
Make a fancy appetizer display by adding these twists with: Some fresh herbs scattered around. A small bowl of honey for dipping. A handful of fresh blackberries. A few soft cheeses on the side.
 Pin it
After making these twists for years, I've noticed they're more than just food - they get people talking. Guests always cluster around, asking how I made them and sharing their own baking stories. These moments of connecting over food really make hosting worthwhile.
Making Them Look Amazing
Though these twists look great on their own, how you serve them makes a big difference: Lay them out on a wooden serving board. Tuck some fresh herb sprigs between them. Add small dishes of honey nearby. Stack some fresh berries around for height and color.
The Simple Twist Technique
After making countless batches, I've learned these pastries can work with so many different fillings. Once you know the basic twisting method, you can try endless flavor combos, each bringing something special to your table. Sometimes I'll make three or four different kinds for one party, creating a colorful display of flavors that always gets compliments.
Keeping Everything Cool
Getting puff pastry right means managing temperature from start to finish: Try to keep your kitchen under 75°F if possible. Use a marble surface if you have one. Chill your utensils beforehand. Work with small amounts of dough if making multiple flavors.
Tips From The Pros
"Your butter quality really matters - European-style makes better layers" - Chef Marie. "Pay attention to your dough - it'll feel different when it's getting too warm" - Chef Thomas. "Take your time with each twist - every turn creates those flaky layers" - Chef Sophie. "Put the egg wash on gently so you don't flatten the pastry" - Chef Jean.
Quick Problem Fixes
Even good bakers run into issues. Here's how to handle common problems: When pastry gets too soft: Pop it back in the fridge for 15 minutes. If filling leaks out: Use less filling next time and press edges firmly. When twists come undone: Twist them twice and pinch the ends. If they're browning too fast: Move the rack lower and turn the temperature down a bit.
 Pin it
Do-Ahead Tricks
For stress-free hosting: Make your jam up to a week ahead. Mix the cheese filling the day before. Cut and twist your pastries the morning of your party. You can even freeze the unbaked twists for up to 2 weeks.
Changing With The Seasons
Each time of year brings new flavor ideas: Early Spring works well with rhubarb and cream cheese. Late Spring feels fresh with lavender honey and ricotta. Summer shines with wild blueberry and lemon mascarpone. Fall is cozy with spiced pear and gorgonzola. Winter warms up with blood orange and vanilla goat cheese.
After bringing these twists to everything from casual Sunday brunches to fancy evening parties, I've found their best quality is how flexible they are. You can dress them up or down, go sweet or savory, and they always add a touch of class to any gathering.
Just remember, they don't need to look exactly the same - each twist has its own unique spiral pattern. It's these little differences that make homemade treats feel special and welcoming.
Frequently Asked Questions
- → Can I use a store-bought jam?
- Definitely! You'll need about a cup of blackberry jam to skip making your own.
- → Is it possible to prep these early?
- Yes! Shape and freeze them prior to baking. Just bake frozen and add 5-7 minutes.
- → What’s the best way to store extras?
- Keep them airtight at room temperature for 2 days or refrigerate for up to 4.
- → Can I swap out blackberries?
- Sure! Replace them with raspberries or a berry mix for variety.
- → What alternatives work for goat cheese?
- Try mascarpone or cream cheese for a similar creamy texture and mild taste.