
 Pin it
The mix of flaky, buttery crust with those sweet-tart cherries makes a treat you won't be able to resist. And guess what? They're way easier to make than regular pie! These bars blend old-fashioned homemade charm with grab-and-go convenience. Take them to parties, pack them for picnics, or enjoy them with your morning coffee. The light almond glaze on top takes these from just tasty to absolutely amazing.
Cherry season in my grandma's kitchen brings back such sweet memories. The whole house would smell amazing as she baked these bars, often using cherries from her garden. Our family has passed this recipe down for generations, showing up at countless gatherings. While we've made it a bit simpler over time, it still has that same homey taste that brings comfort with every bite.
Key Ingredients
- Butter: Grab unsalted butter and make sure it's properly softened. Room temp butter makes your crust taste better and feel just right.
- Cherry Pie Filling: Don't skimp here! Pick a good quality filling with whole, juicy cherries for the best flavor and texture in your bars.
- Almond Extract: Just a tiny bit makes a huge difference! It brings out the cherry flavor and adds depth that makes these bars extra special.
- All-Purpose Flour: This gives your bars their backbone. The flour creates that slightly crumbly, tender crust that makes these bars so good.
- Eggs: Let them come to room temperature before mixing. This helps them blend in better, giving you a smoother dough and softer bars.
Making truly awesome cherry pie bars comes down to a few simple tricks and a bit of patience. I'll walk you through each step so you end up with perfectly golden, cherry-packed treats that'll have everyone asking for seconds.
Step-By-Step Directions
- 1. Crust Preparation:
- First things first—your butter needs to be actually room temp! It should dent when you press it but not be melty or greasy. Mix this soft butter with your sugar and a bit of salt. Beat until it looks pale and fluffy—this takes about 5-7 minutes, so don't cut corners! This step gives you that perfectly tender crust. Next, add your room temp eggs one at a time, making sure each one mixes in completely before adding another. This keeps your batter smooth.
- 2. Dough Management:
- Take 3 cups of your dough and press it into your parchment-lined pan. Use your fingers to spread it evenly across the bottom, making sure you get it into all the corners for an even thickness. Wrap up the leftover dough in plastic and pop it in the fridge while you work on the next steps. Chilling makes it easier to drop on top of the cherries later without getting sticky and hard to handle.
- 3. Cherry Layer:
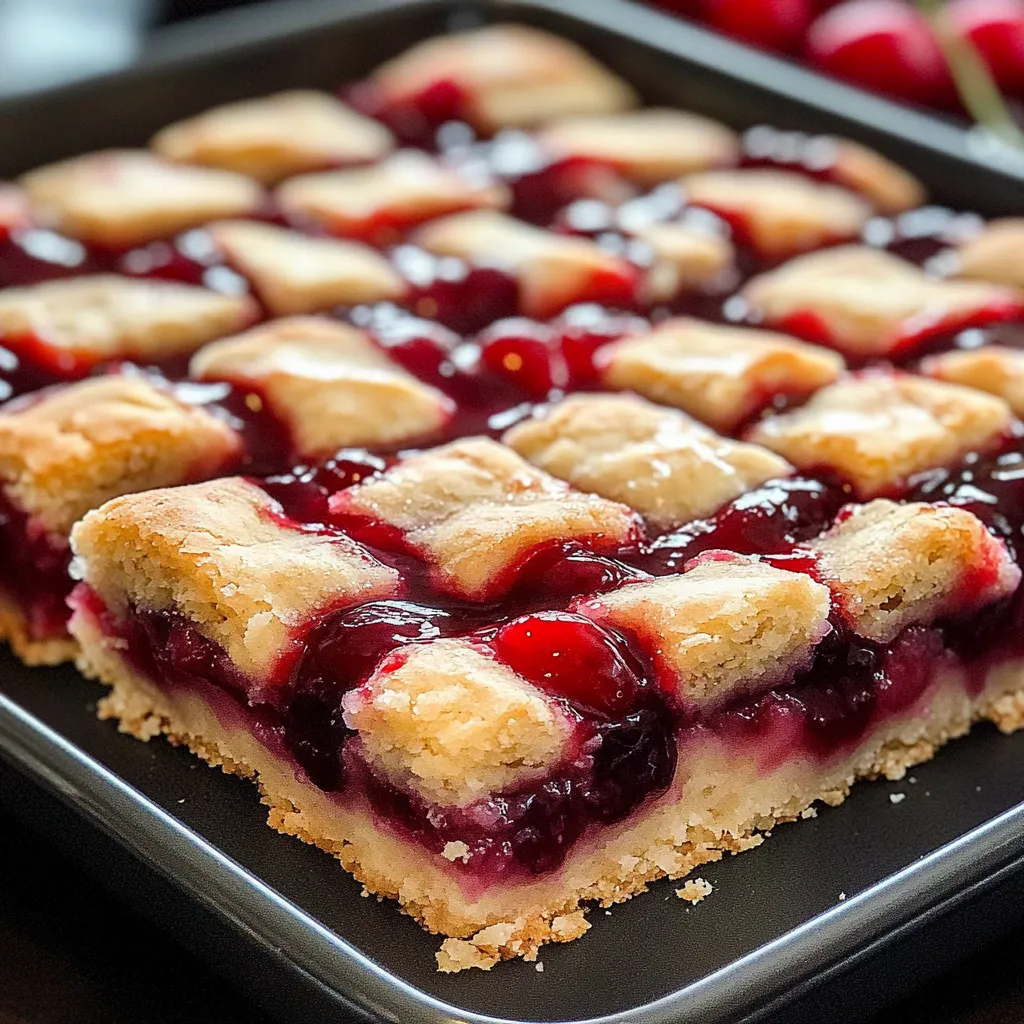
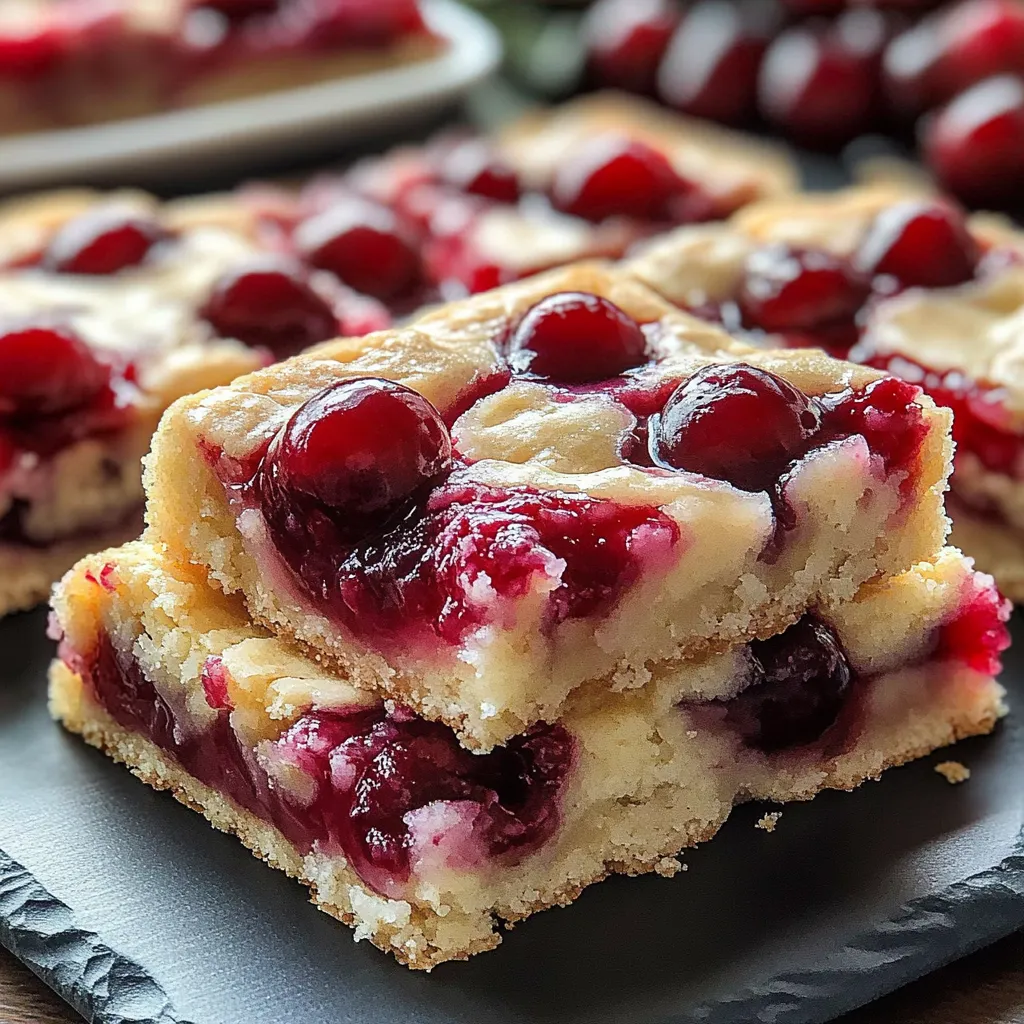
- Spread your cherry filling over the crust, but leave about half an inch around the edges. This keeps your edges clean and stops the filling from burning against the pan sides. If you're using canned filling, break up any big clumps of cherries so they spread more evenly. Now grab your chilled dough from the fridge. Use a spoon to drop small dollops randomly over the cherry layer. Don't try to cover everything—leave gaps so the bright red cherries can peek through. This looks prettier and gives your bars more texture contrast.
- 4. Baking Process:
- Put your oven rack in the middle position for even heat. Preheat to the exact temperature listed in the recipe, then put your pan in. Watch for the edges to turn golden brown. The middle might still look a bit puffy, which is fine—it means the filling is hot and the bottom crust is baking nicely. Don't leave them in too long! They'll keep setting up after you take them out. Once they're golden, take them out and put the pan right on a wire rack. This lets air flow under the pan so your bottom crust doesn't get soggy.
- 5. Glazing Technique:
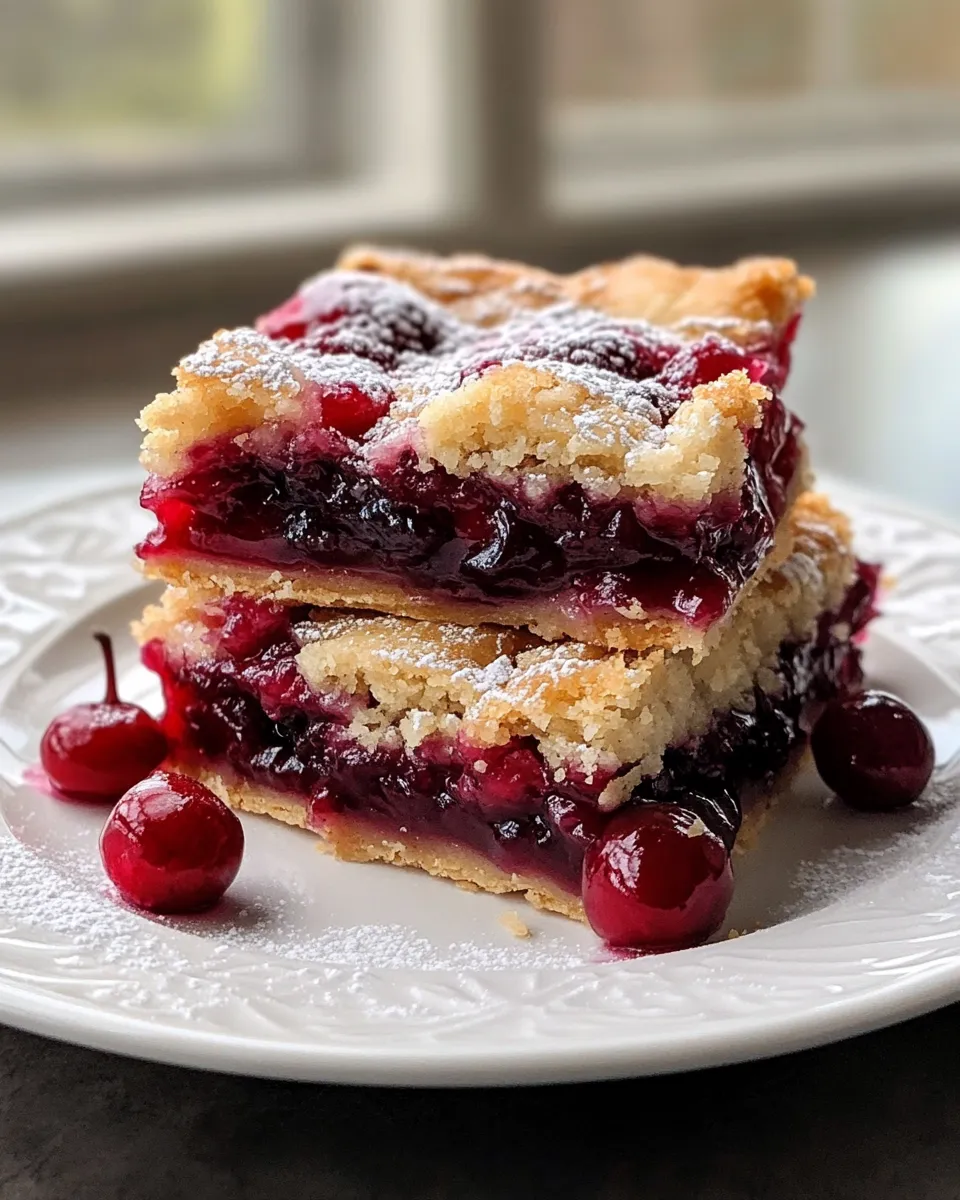
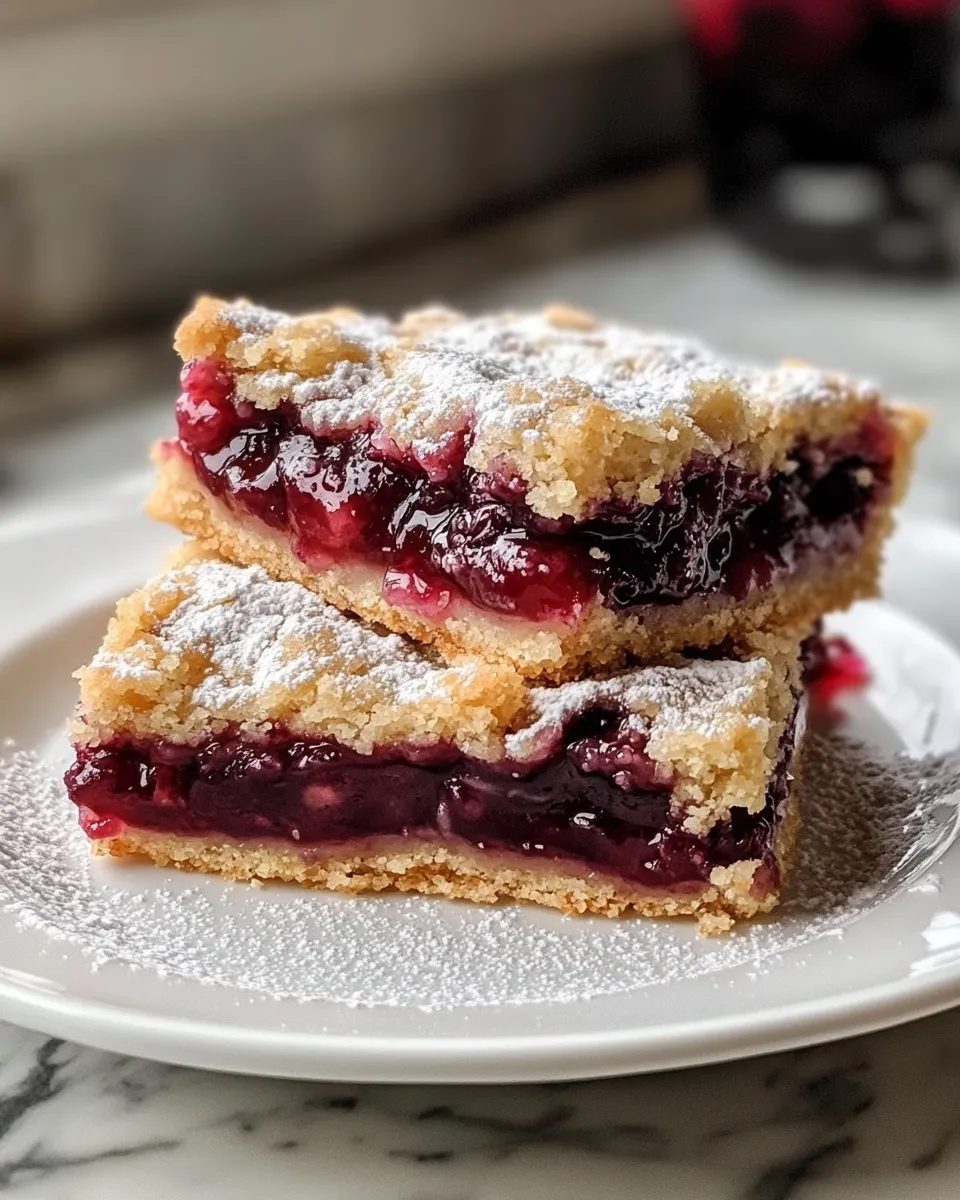
- Be patient! Wait until the bars are totally cool before adding the glaze. If they're still warm, your glaze will just melt and run off. In a small bowl, mix your powdered sugar with about 2 tablespoons of milk to start. Add more milk very slowly—literally drop by drop—while you stir. This careful approach gives you control over how thick your glaze becomes. Keep adding tiny amounts until it's just right: thick enough to ribbon off your spoon but not so thick it won't drizzle. You want it to sit prettily on top, not run straight off the bars.
 Pin it
After making countless batches of these bars over the years, I've learned that taking your time with two key steps makes all the difference: really creaming that butter well at the start, and having the patience to let everything cool completely after baking. These aren't just suggestions—they're what gives you that melt-in-your-mouth crust and perfectly set cherry filling that tastes like summer in every bite.
 Pin it
Keeping And Serving
Store your unglazed cherry pie bars in an airtight container at room temp, where they'll stay fresh for up to 5 days. If you're stacking them, put parchment paper between layers so they don't stick together. When it's really humid out, keep your container in the fridge to stop the bars from getting too soft. Want to save them longer? These freeze really well! Wrap each piece tightly in plastic wrap, then add a layer of foil to protect from freezer burn and smells. They'll keep for 2-3 months frozen. To thaw, just leave them in the fridge overnight. For the freshest look and taste, wait to add the almond glaze until right before you serve them.
Great Flavor Matches
Make these cherry pie bars even more special by serving them with something that brings out their flavor. They taste great slightly warm, which makes the filling extra gooey, or at room temp, which shows off their perfect texture. Try these tasty combos:
- Regular Vanilla Ice Cream
- Fresh Whipped Cream
- Hot Coffee or Tea
- Cold Milk
- Toasted Almonds on Top
Fun fact: these bars often taste even better the next day! Letting the flavors from the crust, cherries, and almond glaze hang out together overnight creates an even yummier taste experience.
Tasty Twists
One great thing about this recipe is how easy it is to change with the seasons. Feel free to get creative and switch things up throughout the year:
- Summer: Cook fresh cherries with sugar for the filling
- Fall: Swap in apple filling with a dash of cinnamon
- Winter: Sprinkle dark chocolate chips in with the cherries
- Spring: Add fresh lemon zest for a bright flavor
Temperature Matters
Getting the texture just right in these bars depends a lot on temperature. Room temp ingredients aren't just a suggestion—they're super important! Your butter needs to be properly softened so it creams well with the sugar, creating that light, fluffy mixture that makes a tender crust. If it's too cold, it won't cream properly and your bars will be dense. If it's too warm and greasy, your dough gets hard to work with and might make a tough crust. You want butter that's just soft enough to leave a slight dent when pressed, but not oily or melty. Also, let your baked bars cool completely before cutting them. Trying to slice warm bars makes a messy, crumbly mess. Cooling lets them firm up so you can get nice, clean slices that look as good as they taste.
These cherry pie bars have become our family's favorite dessert for so many gatherings. They sit right in that sweet spot between classic cherry pie comfort and modern day convenience. Every time I bake them, I think of those sunny afternoons in Grandma's kitchen where she taught me not just cooking skills but life lessons too. She always said the very best recipes are the ones shared with love and an open heart.
 Pin it
Closing Thoughts
These cherry pie bars aren't just a treat—they're a way to create happy moments with people you care about. They show how amazing flavors and textures can come from simple techniques and quality ingredients. Beginners and pros alike can make these with great results! From summer picnics to cozy winter nights by the fire, these versatile bars fit any occasion. They deliver that true homemade goodness everyone loves. So embrace how easy they are to make, enjoy each step of baking them, and share them with your favorite people. You'll create sweet memories with every bite.
Frequently Asked Questions
- → Can I swap canned filling for fresh cherries?
- Sure, you'll need about 4 cups of fresh pitted cherries cooked with sugar and cornstarch until they thicken up. That said, the canned stuff gives more reliable results.
- → What's the best way to keep these bars fresh?
- Pop them in a sealed container at room temp for up to 3 days, or keep them in your fridge for about a week.
- → Can I make these ahead and freeze them?
- Absolutely! Wrap them tightly and they'll keep frozen for up to 3 months. Just let them thaw in your fridge overnight before serving.
- → Why can't I use cold ingredients?
- Ingredients at room temp, especially the eggs and butter, mix together way better and make a smoother dough that gives you the best texture.
- → Will they taste good without the almond flavor?
- They'll still taste great if you use all vanilla instead of almond extract, but you'll miss out on that classic cherry-almond combo that makes these so special.