
 Pin it
Here's how I make a whole bunch of awesome grilled cheese sandwiches all at once. I used to spend forever at the stove flipping them one at a time but that was such a pain. Once I tried this oven-baked sheet pan trick it changed everything. When I pulled that first batch out they were perfectly crispy and gooey—the kids were amazed I hadn't made them on the stove. Now we do it this way every time soup and sandwiches are on the menu!
Unbeatable Tricks for This Method
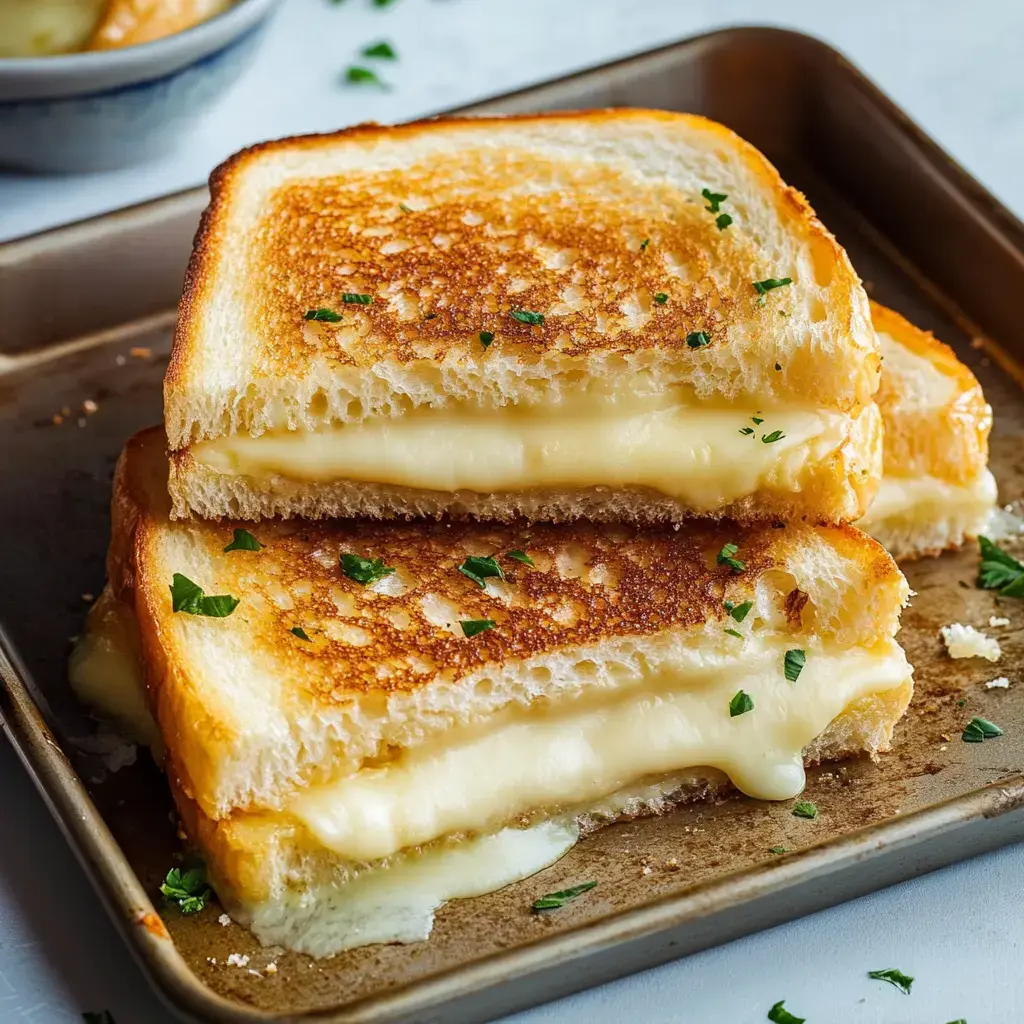
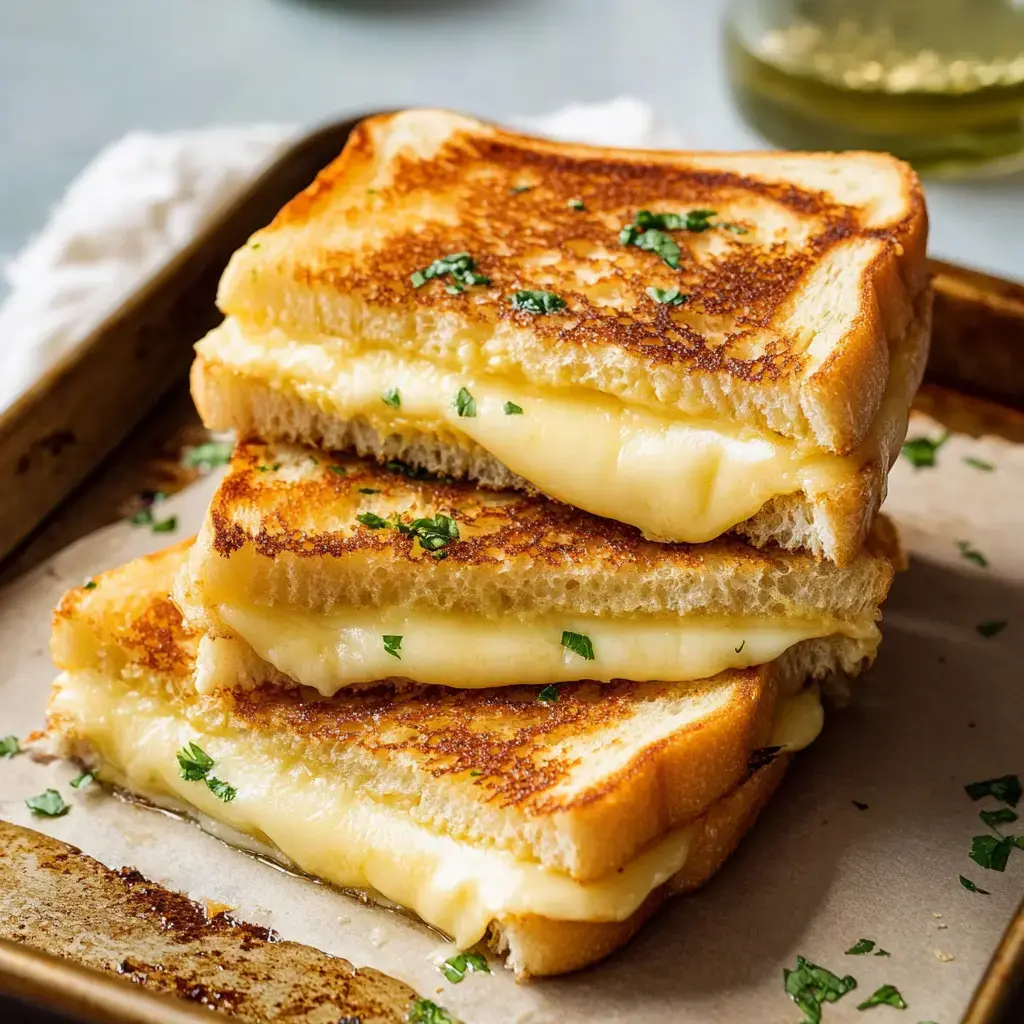
You won't end up with your usual stovetop sandwich here. The outside gets a crunchy layer from that parmesan and the inside is loaded with delicious melted cheese. My daughter's sleepover last weekend? These sandwiches disappeared fast and everyone said they were the best. Even my husband—big stove fan—admits this way wins every time!
Things to Grab
- Main Stuff:
- Thick and sturdy bread—sourdough works great
- Real butter that’s soft enough to spread
- Gruyère for the melty goodness
- Cheddar for sharp flavor freshly shredded
- Parmesan for an epic outer crunch
- Fun Extras:
- Bacon cooked until crisp
- Juicy slices of tomato
- Caramelized onions for sweet flavor
- Anything else that makes it your sandwich
Time to Get Cooking
- Set Up Crew
- Heat your oven and slap some parchment on your biggest baking pan. This keeps cleanup a breeze! While you wait for the oven to get hot let the butter soften so it spreads easily.
- Stacking Your Sandwiches
- Spread butter on your bread then press parmesan onto the outsides—trust me this trick is gold. Put loads of cheese in the middle because the more cheese the better!
- The Best Part
- Slide the sandwiches into the oven. Watching them get toasted and the cheese bubble is the highlight of my day! That flip to check for a golden crust is pure satisfaction.
 Pin it
How to Nail Every Sandwich
If you want to level up your grilled cheese here's what I do—keep your butter at room temp so it smears on super easily. Shred your own cheese since it melts like a dream. Biggest tip—put the tray on the oven's bottom rack for crazy good crispiness on the outside!
Serving Made Simple
Pair these melty sandwiches with a steaming bowl of tomato soup and you can't go wrong. I slice them into triangles and it never gets old watching that cheese stretch. For get-togethers I'll switch up the fillings—some get bacon, others have tomato, so everyone gets their fave. And since they cook together, no waiting!
Easy Prep Ahead
Want to get ahead? Stack your sandwiches and stash them covered in the fridge until it's time to bake. It's awesome for busy schedules or having friends over. If you freeze the unbaked sandwiches just give them extra time in the oven and you're set.
Switch It Up Your Way
Go wild with combos. I throw in pepper jack when I want some heat. My kid swears by adding a fried egg in the middle for breakfast. Sometimes I'll toss in mozzarella and pepperoni for a pizza version—total winner! Tinkering with the fillings is where you find your all-time favorite.
What Makes This Special
This trick totally changed how we do comfort food! Finding a shortcut for an old favorite makes it even more fun—especially when it tastes better. The kids like to get hands-on, helping grate cheese and stack the sandwiches, so it becomes a family thing.
My favorite part? Watching everyone grin when they take that first bite of cheesy goodness. Whether it's after school, a lazy dinner, or a party, these hit the spot. And knowing you can nail grilled cheese better at home than any diner? That's the best feeling!
Frequently Asked Questions
- → Why use the lowest oven rack?
- The bottom shelf gets your bread nice and crispy on both sides, just like a griddle, and keeps it from burning.
- → What's good about mixing cheeses?
- Every cheese has something special: cheddar is sharp, Gruyère melts real smooth, and Parmesan adds crunch and a little nuttiness.
- → Can I pick a different kind of bread?
- Go for it! But thick bread is best. It keeps from getting too crunchy too fast, so your cheese has time to melt. Sourdough or white are solid choices.
- → How come you cool before slicing?
- If you wait a bit, the gooey cheese firms up some. That makes cutting way easier and you won’t burn yourself either.
- → Can I bake more sandwiches at once?
- Yep, pile on as many as your sheet pan can squeeze in. Just don’t let them touch so everything turns out golden.