 Pin it
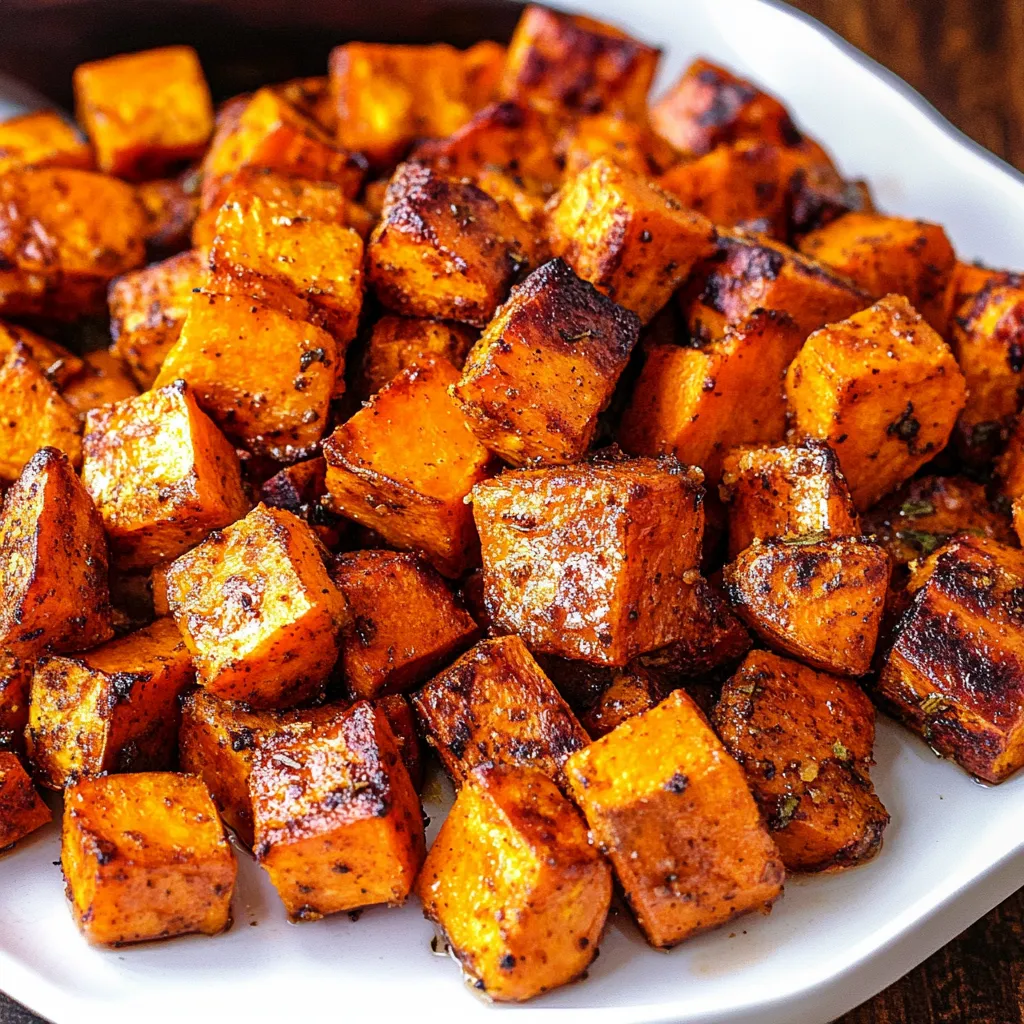
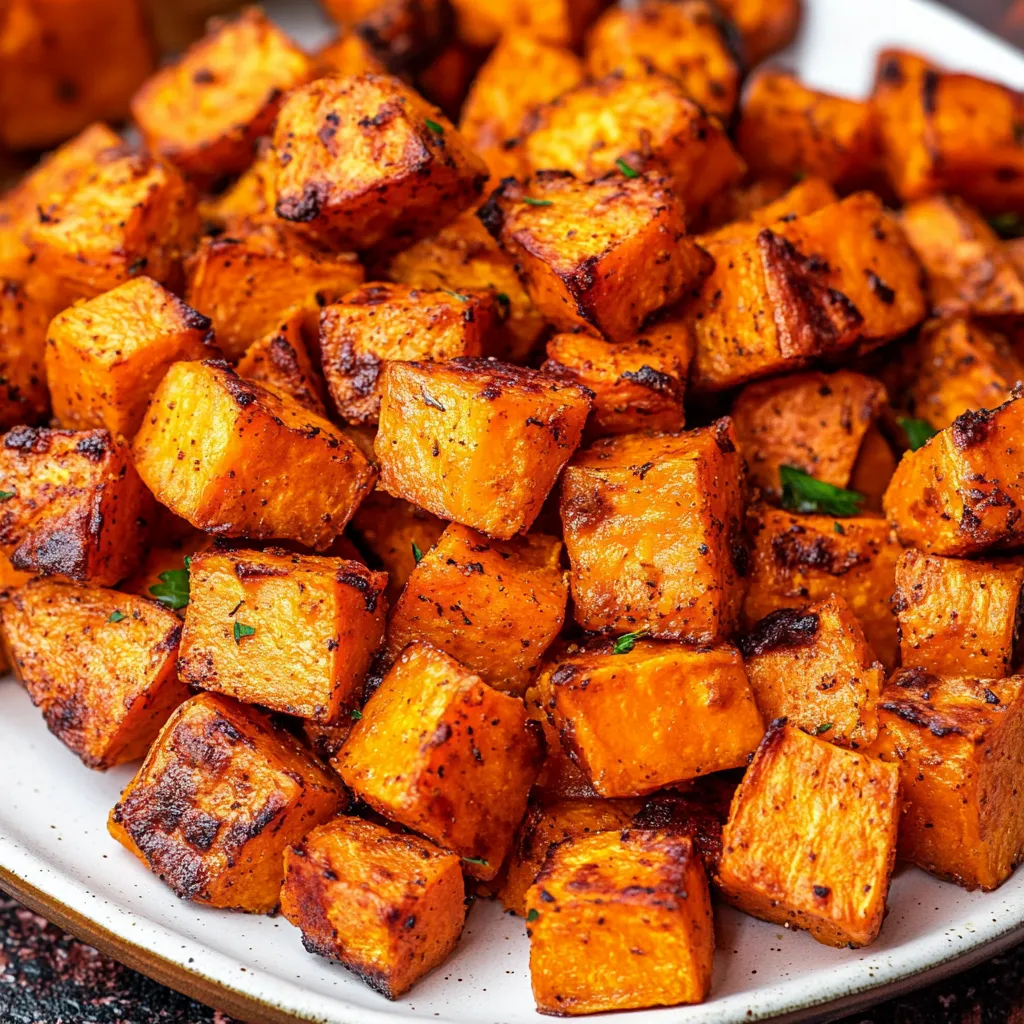
Get ready to devour these melt-in-your-mouth, caramelized sweet potato chunks! They come together in under 15 minutes of prep (just wait for them to cook) using basic pantry spices and won't leave you with ANY dishes to clean! Each cube gets wonderfully crisp around the edges while staying soft and fluffy inside - making them the ultimate side that goes with practically anything you're serving.
I've made these tasty sweet potatoes part of my weekly cooking since I noticed how nicely they work with everything from morning scrambled eggs to nighttime main dishes. The sweet-savory combo creates a side that folks always grab first from their plates.
Key Ingredients and Shopping Advice
- Sweet Potatoes: Go for Orange or Red-Skinned types (sometimes called "yams" at stores)
- Olive Oil: Extra virgin gives better taste, though any cooking oil can work
- Maple Syrup: Stick with real maple, not breakfast syrup, for better browning
- Spices: A winning mix of garlic powder, paprika, chili powder, cinnamon, salt and pepper
- Parchment Paper: Makes cleanup a breeze and stops sticking
Step-by-Step Cooking Guide
- Get Your Oven Hot: Turn it to 425°F. This temperature is crucial for getting that golden outside without mushy insides.
- Ready Your Sweet Potatoes: Take off the skin and chop into ½-inch pieces. Try to make them roughly the same size so they cook evenly, but don't worry if they're not perfect.
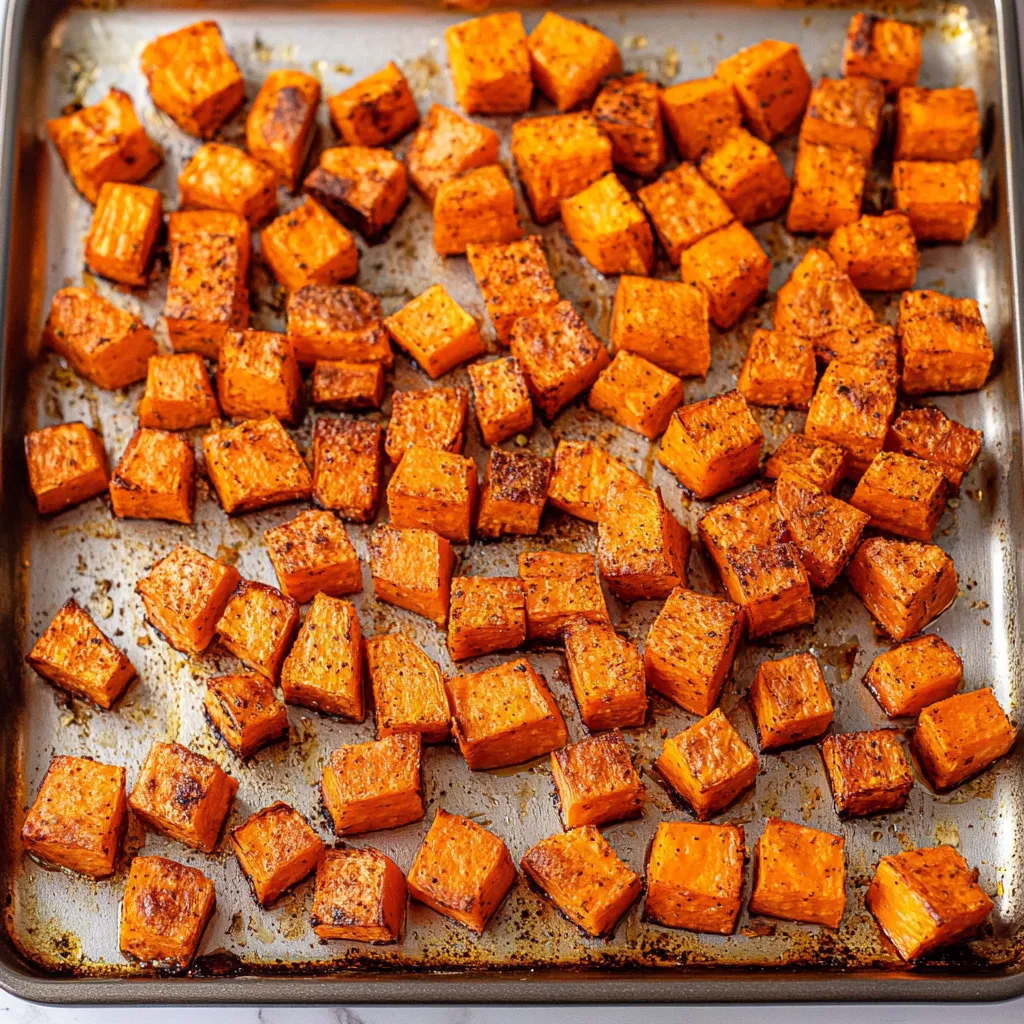
- Season Right on the Tray: Put parchment on a big baking sheet. Dump the cut sweet potatoes on it, pour over olive oil and maple syrup, then add all your spices.
- Mix Everything: Get in there with your hands or grab a spatula to coat all the pieces in the oil and seasonings. This is when things start getting good!
- Spread Them Out: Make sure the potato chunks aren't touching each other on the tray. This step is super important so they roast properly instead of steaming.
- Start Roasting: Put them in your hot oven and let them cook for 15 minutes. Then pull them out and turn them over with a spatula before putting them back in.
- Keep Cooking: Let them go another 10-20 minutes until the edges turn golden brown and you can easily poke the centers with a fork.
- Let Them Sit: Give them about 5 minutes on the tray after taking them out. This quick break helps the outside get even crispier.
- Time to Eat: Put them in a dish and enjoy while warm, or cool them down completely if you're prepping meals ahead.
 Pin it
I figured out these tricks the hard way, especially after stuffing too many potatoes on one pan during my first tries and ending up with soggy instead of crispy results. Now I always make sure there's plenty of space between each piece.
Amazing Health Benefits
These sweet potatoes aren't just tasty – they're super good for you too. They're loaded with beta-carotene, which your body turns into vitamin A, helping your eyesight, immune system, and skin stay healthy. Each serving gives you plenty of fiber to keep your digestion running smoothly. The natural sugars in sweet potatoes don't spike your blood sugar like white potatoes can, so they'll keep your energy steady all day long instead of making you crash later.
Perfect For Any Time of Year
You can get sweet potatoes no matter the season, but they're really special in fall and winter dishes. During autumn, I like throwing in some pumpkin pie spice to match other fall foods. In colder months, a little cayenne pepper adds warmth that feels great on chilly nights. When spring comes around, I switch to fresh herbs like rosemary or thyme for lighter flavor. Summer is great for serving them cold in salads with avocado and lime dressing. They work so well year-round that I always keep some on hand.
Even Children Love Them
These roasted sweet potato chunks have won over many kids in my family who usually turn up their noses at veggies. The natural sweetness plus that touch of maple syrup makes them really appealing to younger taste buds. I've noticed that calling them "orange fries" or "nature's candy" gets kids more willing to try them at dinner. For really picky eaters, try making fun shapes on their plates with the cubes or give them a yogurt dip to make the experience more fun.
 Pin it
Perfect For Busy Schedules
You can't beat how handy this recipe is. For my weekly meal planning, I often cook twice as much on Sunday afternoons. After they cool down, I split them into containers for quick options throughout the week. They keep their texture surprisingly well, though they aren't quite as crispy after storing. To bring back stored sweet potatoes to their former glory, lay them out on a baking sheet and warm at 375°F for 5-7 minutes. This quick trick brings back much of that fresh-roasted texture.
Wrapping Up
These sweet potato chunks have become something I just can't do without in my regular cooking. I love how they work with everything - they're just as good next to grilled chicken as they are mixed into morning potato hash, tossed in a green salad, or stuffed in a taco. Their bright color, amazing crispy-meets-soft texture, and satisfying flavor make them something you'll want to put on your table any night of the week.
Frequently Asked Questions
- → Can I skip the maple syrup?
- Sure thing, it's totally optional and they taste great without it too.
- → How do I keep the leftovers?
- Pop them in a sealed container in the fridge for up to 5 days. Warm them in the oven for the crispiest results.
- → Can I try other flavors?
- You bet! Go for Italian herbs, curry mix, or just plain salt and pepper.
- → My potatoes aren't getting crispy, why?
- Make sure they're spread out with space between each piece and your oven is actually hot enough at 425°F.
- → Can I get them ready earlier?
- You can peel and cut the sweet potatoes up to 3 days early, just keep them in water in the fridge.
