
 Pin it
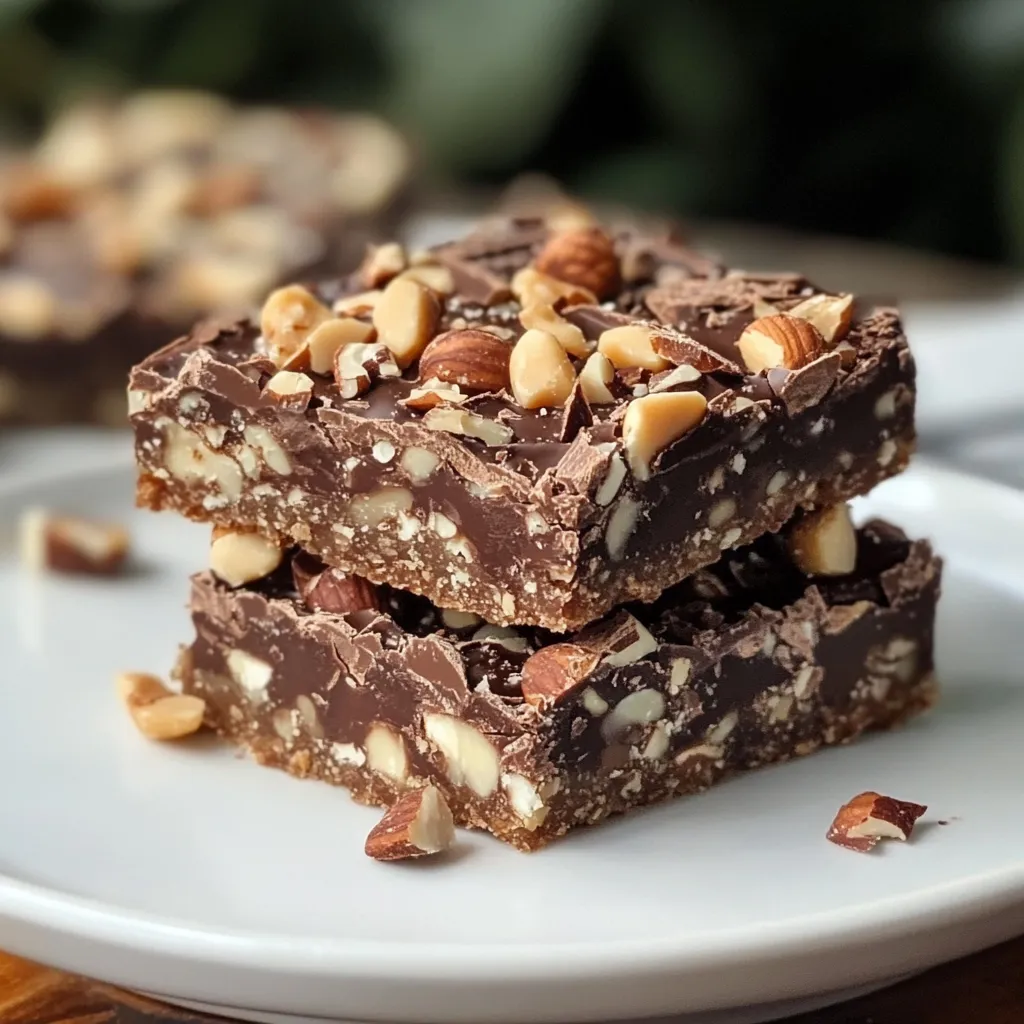
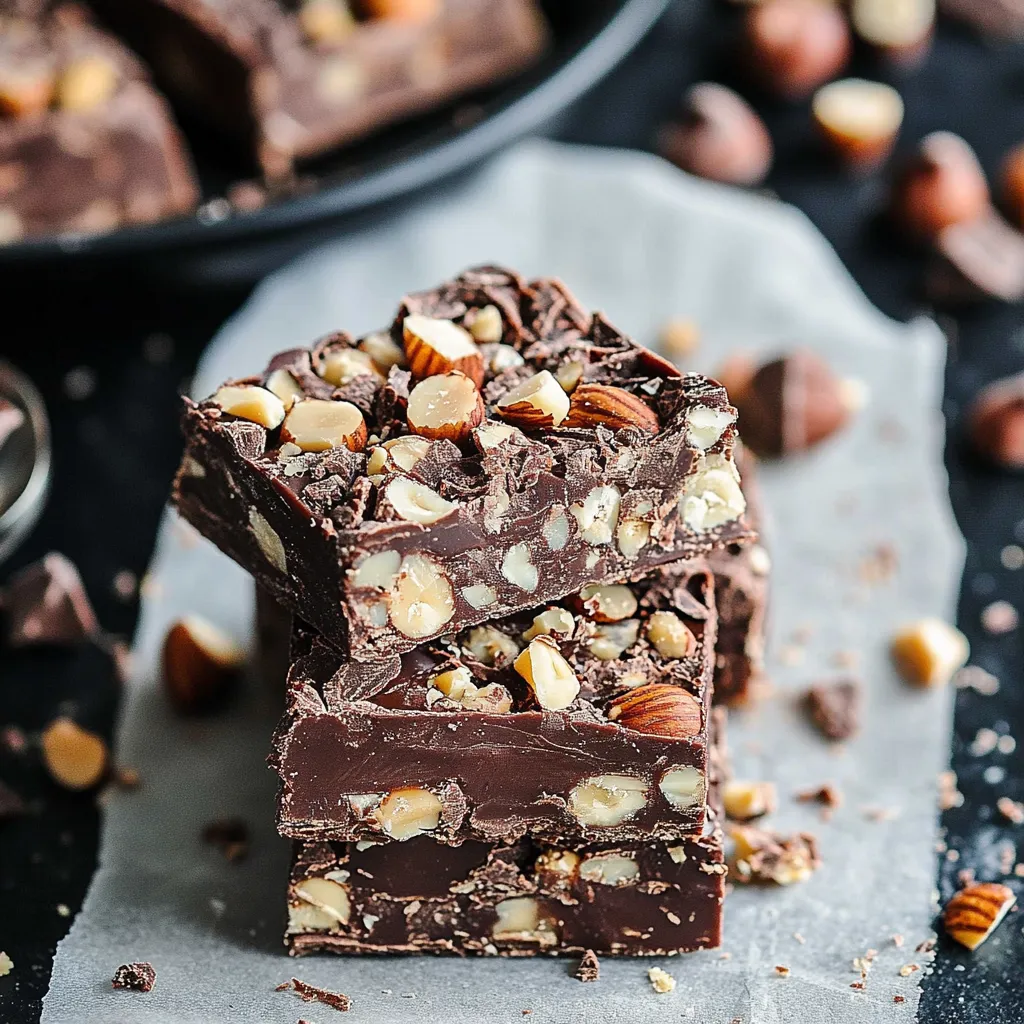
Mix the magic of old-school cookie bars with the fancy mix of chocolate and hazelnut, and what do you get? These knockout Chocolate Hazelnut Dream Bars! They're built on a tasty hazelnut flour bottom, filled with creamy Nutella, and topped with a mix of chocolate bits, coconut flakes, and crunchy hazelnuts. I've made these so many times now, and they've become my go-to treat—proving you can make gluten-free goodies that taste absolutely amazing.
Key Components and Smart Shopping Advice
- Hazelnut Flour: Look for freshly ground for the best results
- Nutella: Let it sit out a bit so it spreads more easily
- Condensed Milk: Stick with full-fat for a creamier result
- Dark Chocolate: Get good quality chips or just break up a chocolate bar
- Coconut: Go for unsweetened to balance the sweet stuff
- Hazelnuts: Toast them first to bring out their nutty taste
- Butter: Pick unsalted and melt it slowly without burning
Step-by-Step Cooking Guide
- Getting Ready:
- First things first, warm up your oven and fix up your baking pan. Make sure the parchment hangs over the sides for easy grabbing later. A quick spray stops stuff from sticking. Put your rack in the middle of the oven so everything cooks the same.
- Making The Bottom:
- Mix your hazelnut flour with melted butter until it looks like wet sand. Push it down firmly into your pan – the bottom of a measuring cup works great for this. This first bake is super important for getting that nice crispy base.
- Creating The Filling:
- Stir the Nutella and condensed milk together until they're totally smooth. Take your time with this – good mixing means better flavor throughout. Pour this yummy mixture over your baked crust, making sure it reaches all the corners.
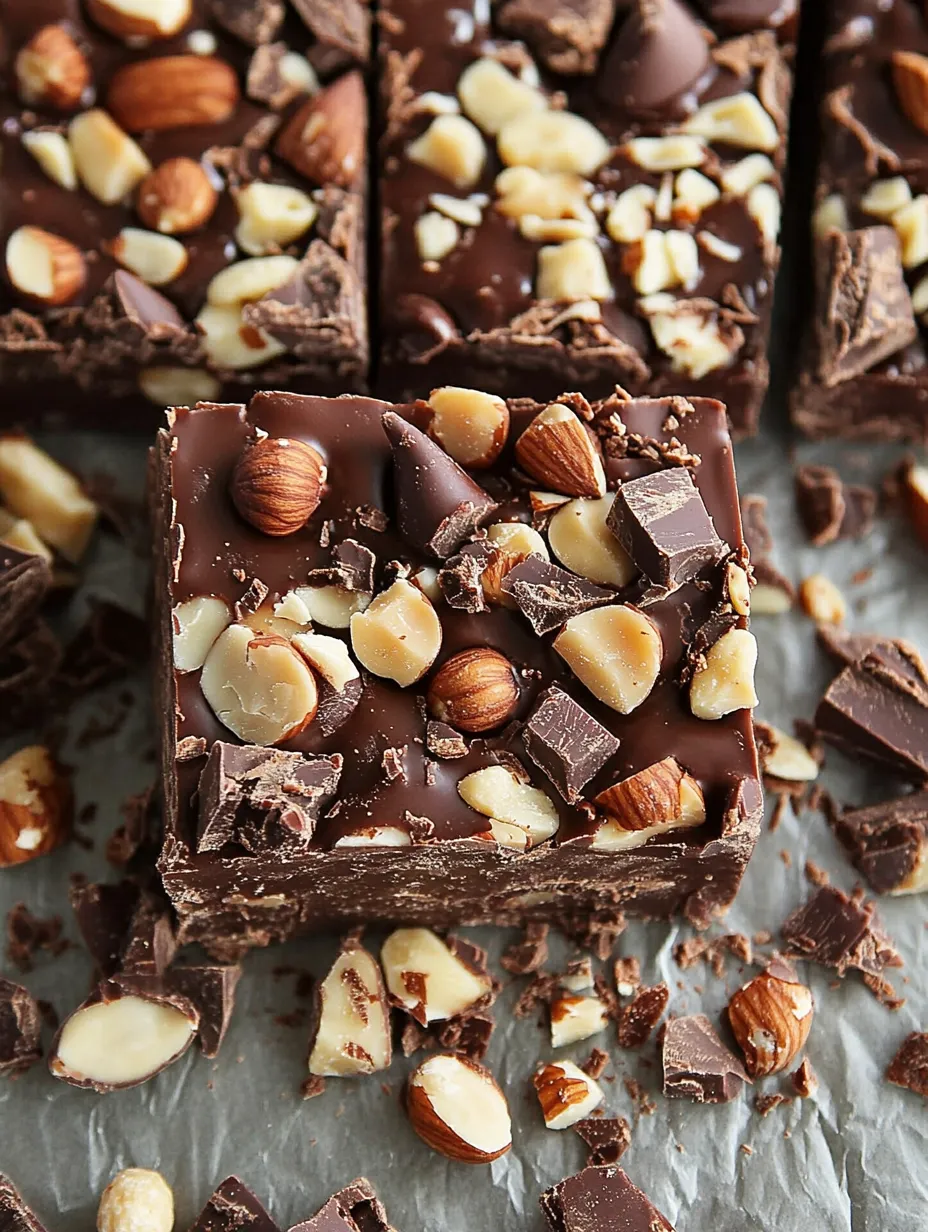
- Adding The Toppings:
- Sprinkle on your extras in order – chocolate chips first, then coconut, and hazelnuts last. Press everything down gently but firmly; this helps the condensed milk grab all the goodies as it bakes.
- Baking It Up:
- Cook in your heated oven until you see the edges turning brown and the coconut getting golden. Don't leave it in too long – they'll keep setting up as they cool down.
 Pin it
Stunning Serving Ideas
These treats look as good as they taste, making them perfect for gifts. When setting them out for guests, try arranging them in different directions to create a cool pattern. Dust some cocoa and powdered sugar over the top using a paper doily as a stencil for a fancy look. If you're giving them as gifts, wrap each bar in parchment paper and pack them in small pretty boxes lined with gold or silver paper. Add a note with serving tips and storage info. For holiday parties, make these bars the star of your dessert table, surrounded by fresh berries, chocolate-covered hazelnuts, and maybe a few coffee beans for decoration. The rich colors and different textures make for a display that's sure to impress everyone.
 Pin it
Tasty Alternatives and Fun Changes
I've tried tons of different versions while perfecting this recipe. Feel free to swap in other nuts like macadamias or pecans for something different. Sprinkle some sea salt on top to cut through the sweetness. Sometimes I like to drizzle extra melted dark chocolate over the cooled bars to make them even more indulgent. Try using a mix of semi-sweet and milk chocolate chips for a more interesting chocolate flavor.
Getting The Timing Just Right
Success comes down to knowing your oven well. Watch for the edges to turn slightly golden and the coconut to get a bit brown. Don't leave them in too long or they'll get dry – remember they'll firm up more as they cool. Let them get to room temperature before you put them in the fridge if you want them chilled.
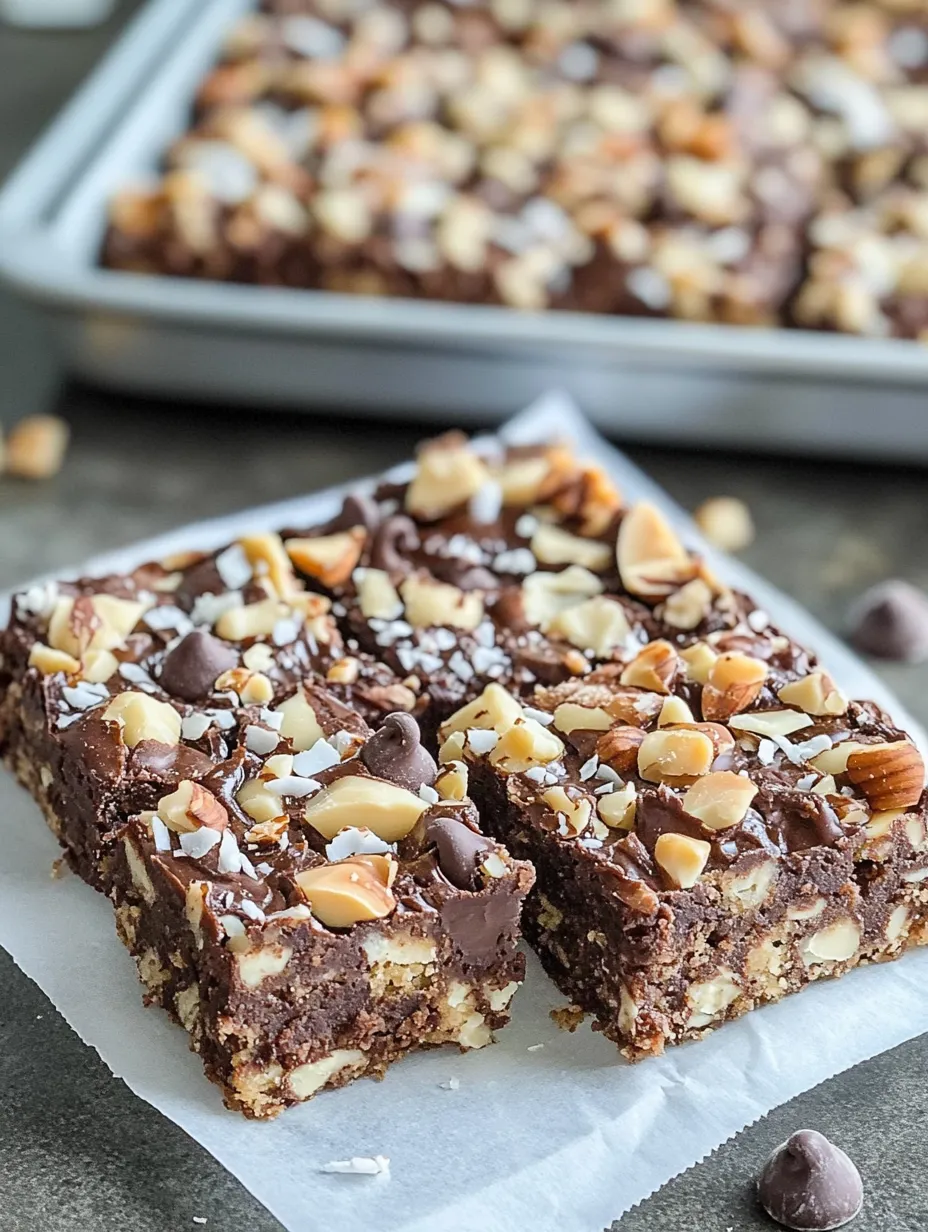
Ways To Serve And Enjoy
Cut them into big squares and lay them out on a pretty plate. Add some fresh berries around them for a pop of color. For fancy dinner parties, dust them lightly with cocoa powder or serve with a scoop of coffee ice cream on the side. These make wonderful homemade gifts when wrapped in parchment paper and tied with a cute ribbon.
 Pin it
Frequently Asked Questions
- → Can I make a smaller batch?
- Sure, just use an 8x8 dish instead of 9x13.
- → Does this contain gluten?
- Nope, it's gluten-free when you use 100% hazelnut flour.
- → What's the best way to keep these fresh?
- Just wrap them up and keep at room temp.
- → Can I swap in different nuts?
- You can, but hazelnuts work best with the nutty chocolate spread.
- → Why should I press the toppings down?
- It makes everything stick together so they won't fall apart.