 Pin it
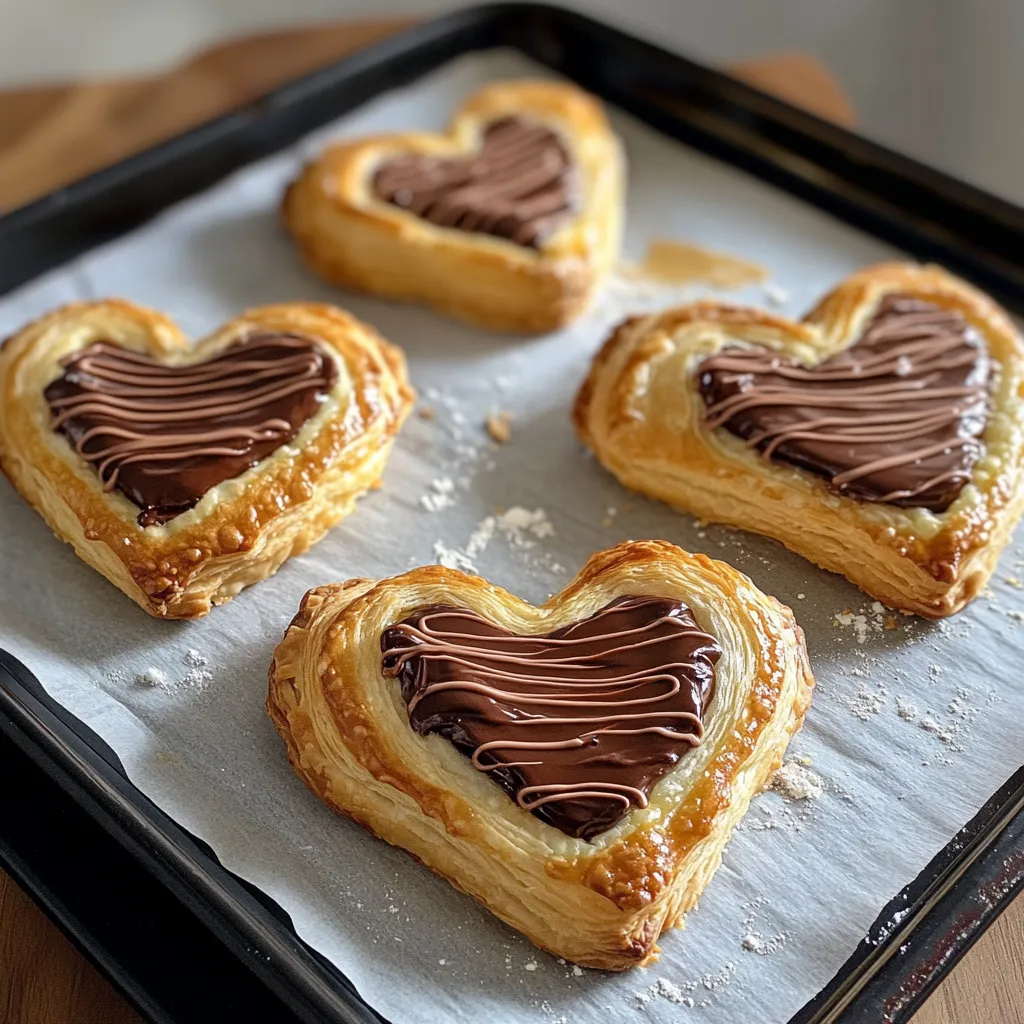
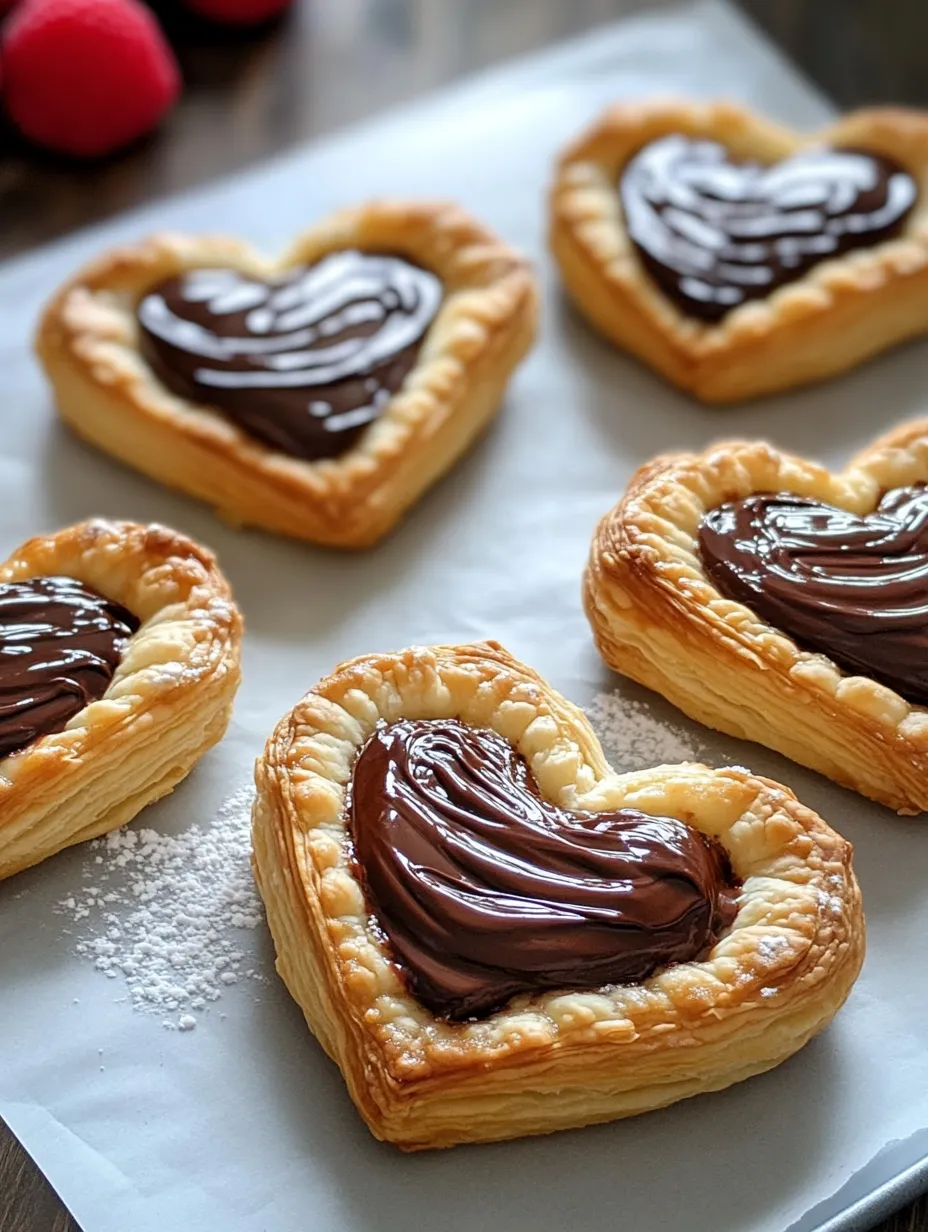
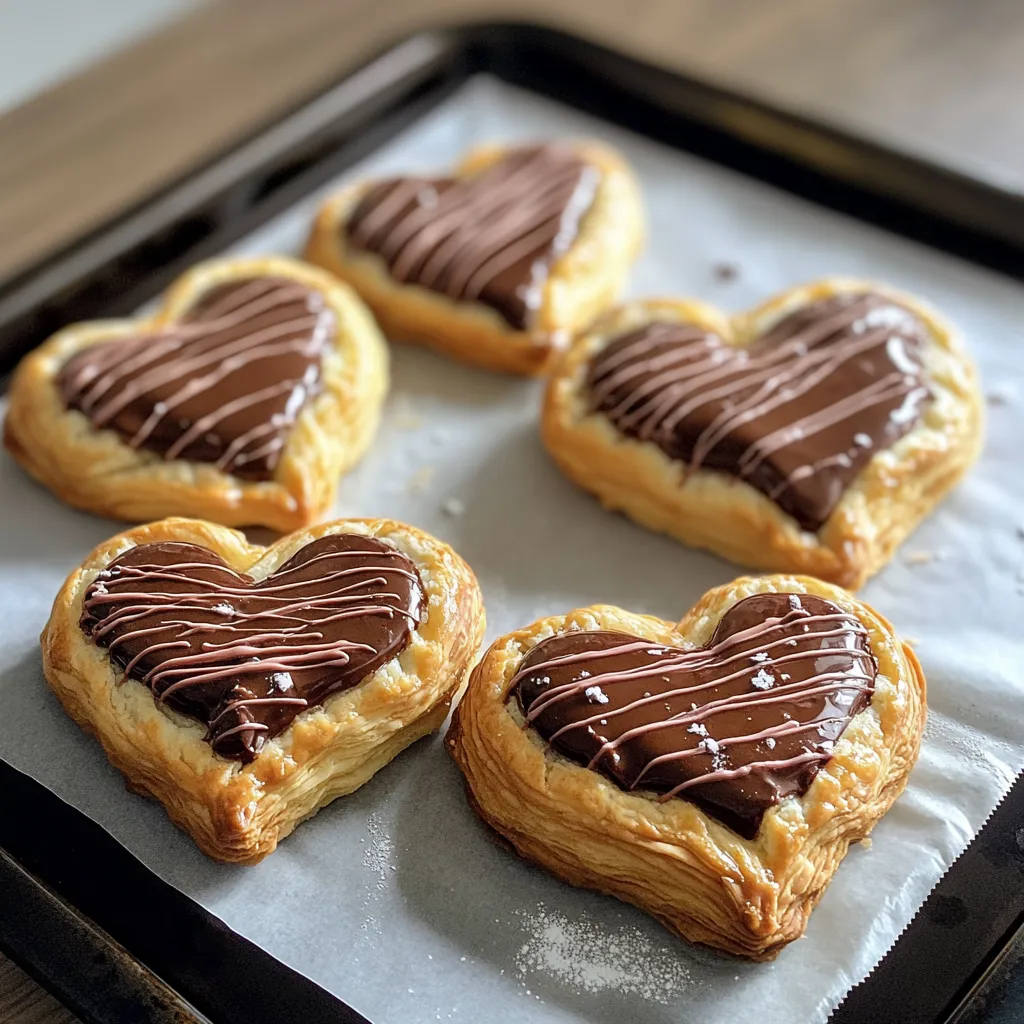
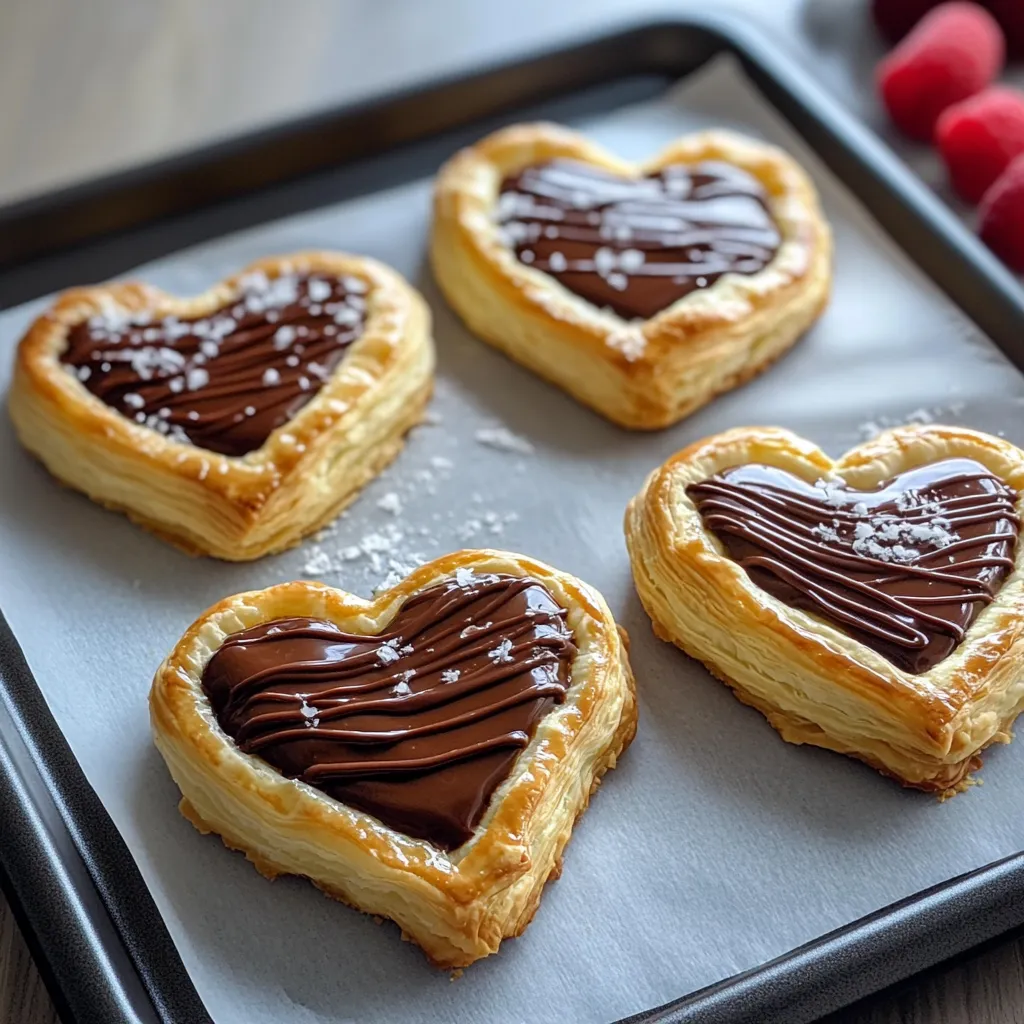
Buttery, flaky pastry wrapped around smooth chocolate hazelnut spread and shaped into cute hearts - that's what these Nutella Puff Pastry Hearts are all about. They're super yummy for Valentine's Day, anniversaries, or just when you want something extra nice. I once made them for a quiet night in and the amazing smell of golden pastry and warm chocolate filled my home, making for an unforgettable evening.
I surprised my sweetheart with these treats and coffee last Valentine's morning. The smile that spread across his face at seeing homemade goodies was priceless, and now he asks for them whenever we're celebrating something special.
Key Ingredients and Shopping Advice
- Puff Pastry: Grab it from the freezer section; let it thaw as directed
- Nutella: Let it sit out a bit so it's easier to spread
- Egg: Creates that beautiful golden shine when baked
- Powdered Sugar: You can skip it, but a light dusting looks really fancy
- Fresh Berries: They're optional but cut through the sweetness really well
Step-by-Step Baking Guide
- Get Everything Ready: Turn your oven to 375°F. Put parchment on your baking sheet. Roll out your thawed (but still cool) puff pastry on a lightly floured counter.
- Make Your Hearts: Use a heart cookie cutter or just a knife to cut an even number of hearts. Don't dawdle - cold pastry makes the flakiest treats.
- Cool Your Cut Shapes: Put your heart shapes on the baking sheet and stick them in the fridge for 10 minutes. This keeps them from losing their shape when baking.
- Time for Nutella: Take the pastry out of the fridge. Spread about a tablespoon of Nutella in the middle of half your hearts, leaving about half an inch empty around the edges so you can seal them.
- Put Hearts Together: Place the plain hearts on top of the Nutella-covered ones, lining up the edges. Press the edges together with your fingers to start sealing them.
- Make Sure They're Sealed: Press a fork all around the edges to make a pretty pattern and make sure no Nutella can escape during baking.
- Make Egg Wash: Mix the egg with a tablespoon of water until it's smooth. Brush a thin layer over each pastry heart.
- Bake Them Up: Put them in the hot oven for 12-15 minutes until they're puffy and golden. Keep an eye on them after 10 minutes as they can burn quickly.
- Let Them Rest: Take them out and let them cool on the baking sheet for 5 minutes, then move them to a wire rack for another 5-10 minutes.
- Add Final Touches: Sprinkle with powdered sugar if you want. Serve while they're still a bit warm with some berries or whipped cream if you like.
 Pin it
I first saw these treats at a tiny bakery in Paris and just had to figure out how to make them myself. The baker told me his secret was "taking your time with the pastry" - rushing just won't work.
Sweet Family Stories
These chocolate hazelnut hearts have turned into our go-to treat for celebrating big moments in my family over the years. I can still picture my little girl on her tenth birthday, her tiny fingers carefully pressing the edges of each heart. Now she's away at college and calls home whenever she wants the instructions to wow her friends or make someone's birthday extra special. It's amazing how a simple sweet treat can run through our family story, keeping us connected even when we're apart.
 Pin it
Changing With The Seasons
The classic Nutella filling is fantastic, but these flexible pastries work great with different add-ins throughout the year. During summer, I sometimes toss in fresh strawberry slices with the Nutella for a juicy surprise in each bite. When fall rolls around, I add thin apple slices with a bit of cinnamon mixed into the chocolate spread. In wintertime, I've tried adding crushed candy canes or a small layer of marshmallow fluff for holiday versions. The pastry works as a blank canvas for whatever's fresh and in season.
Why Puffy Pastry Works So Well
Learning about how puff pastry actually works has made my heart treats so much better. The magic happens because of all those tiny layers of dough and butter that create steam when they hit the hot oven, pushing everything apart. That's why keeping everything cold until baking matters so much - warm butter just soaks into the dough instead of making those crispy layers. I've found that letting the finished hearts chill for 15 minutes before baking makes them rise even higher and creates a texture that breaks apart in your mouth with that perfect crunch.
 Pin it
Closing Thoughts
Making these Nutella hearts always reminds me why baking is so fun - turning basic stuff into something that makes people happy. They've become my signature treat that everyone asks for at family get-togethers, and I even give them to neighbors during holidays. What makes them really special isn't just how good they taste, but how they bring people together through shared moments of happiness. Whether you bake all the time or you're just starting out, these pastries give you that perfect mix of wow-factor results without too much work - definitely worth adding to your favorite recipes.
Frequently Asked Questions
- → Can I prepare these beforehand?
- They're best eaten the same day, but you can put them together and keep them in the fridge for up to 24 hours before baking.
- → How should I keep any extras?
- Pop them in a sealed container at room temp for up to 2 days, though they're tastiest when fresh.
- → Could I use different fillings?
- Definitely, swap in any chocolate spread, fruit preserves, or other creamy fillings instead of hazelnut spread.
- → Why should I cool the pastry?
- Cooling helps the hearts keep their shape while baking and makes the pastry extra flaky.
- → Is freezing an option?
- You can freeze the uncooked prepared hearts for up to 1 month and bake them straight from the freezer.
