
 Pin it
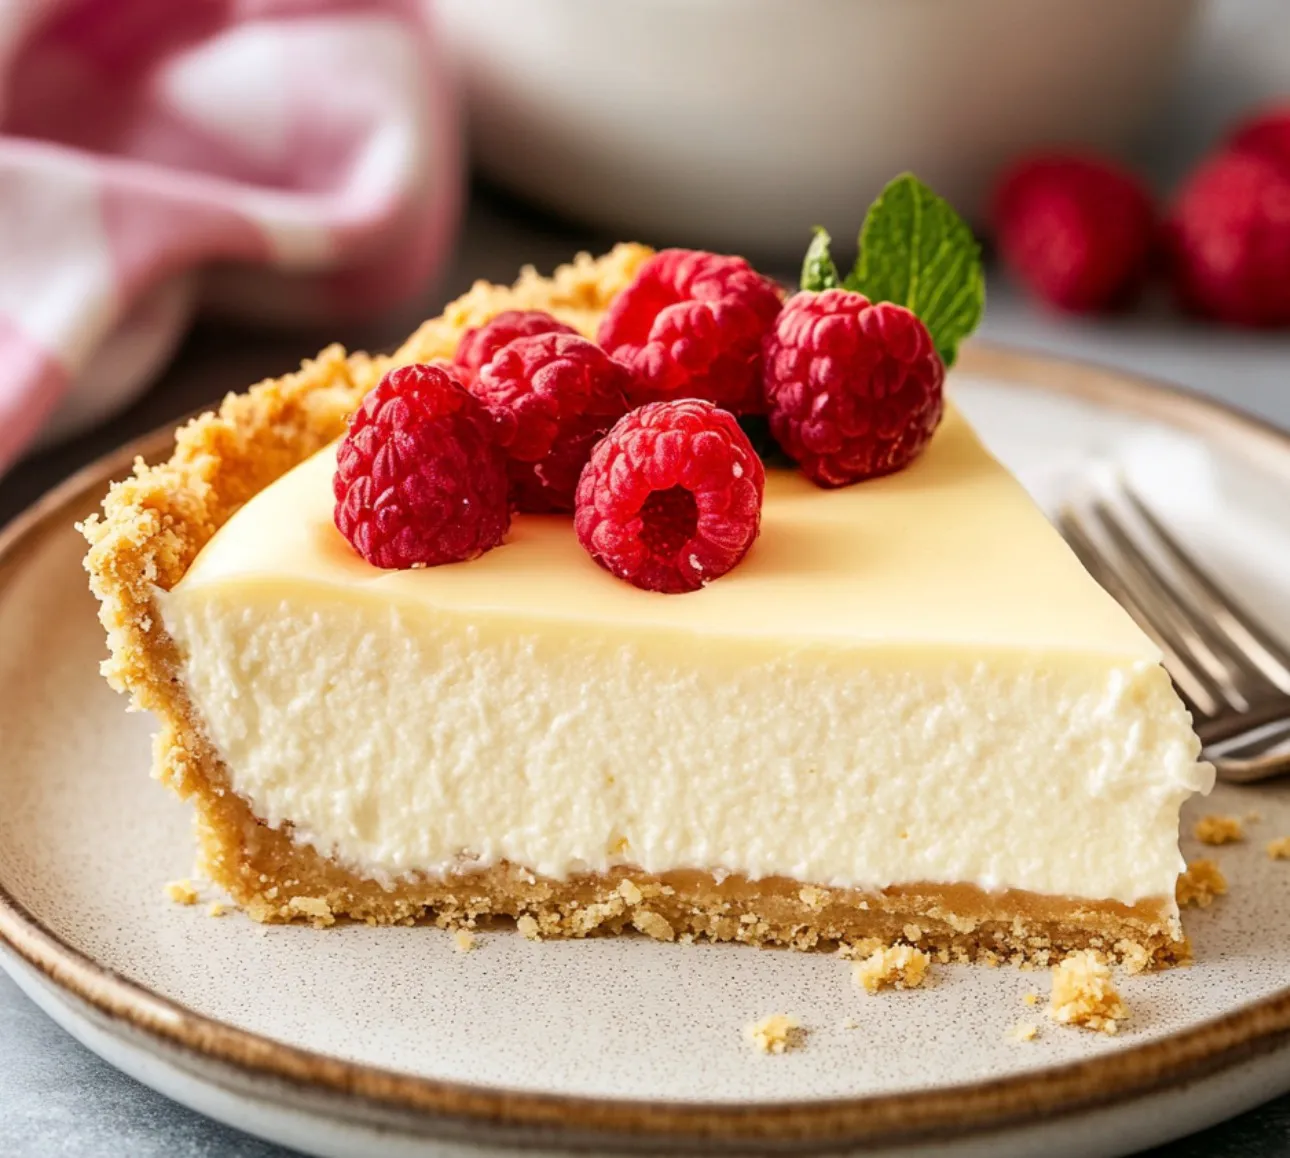
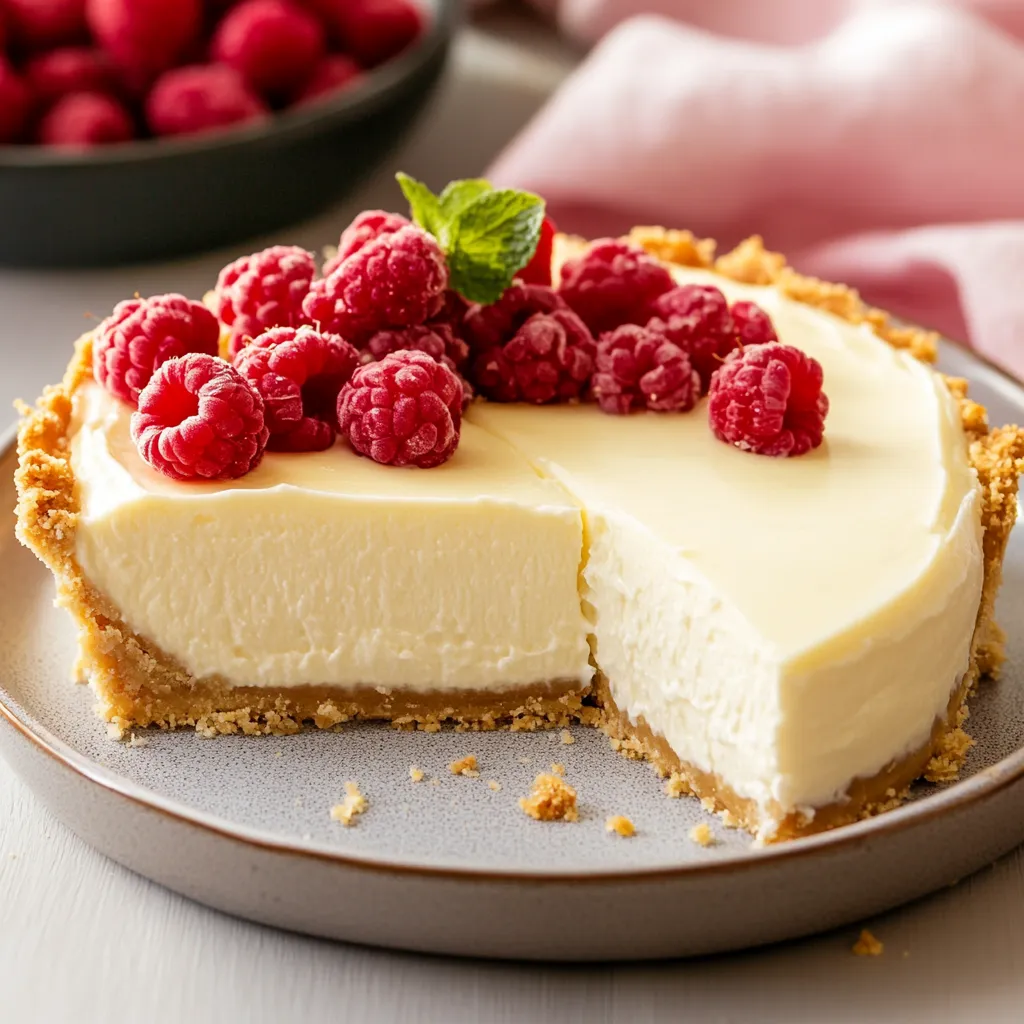
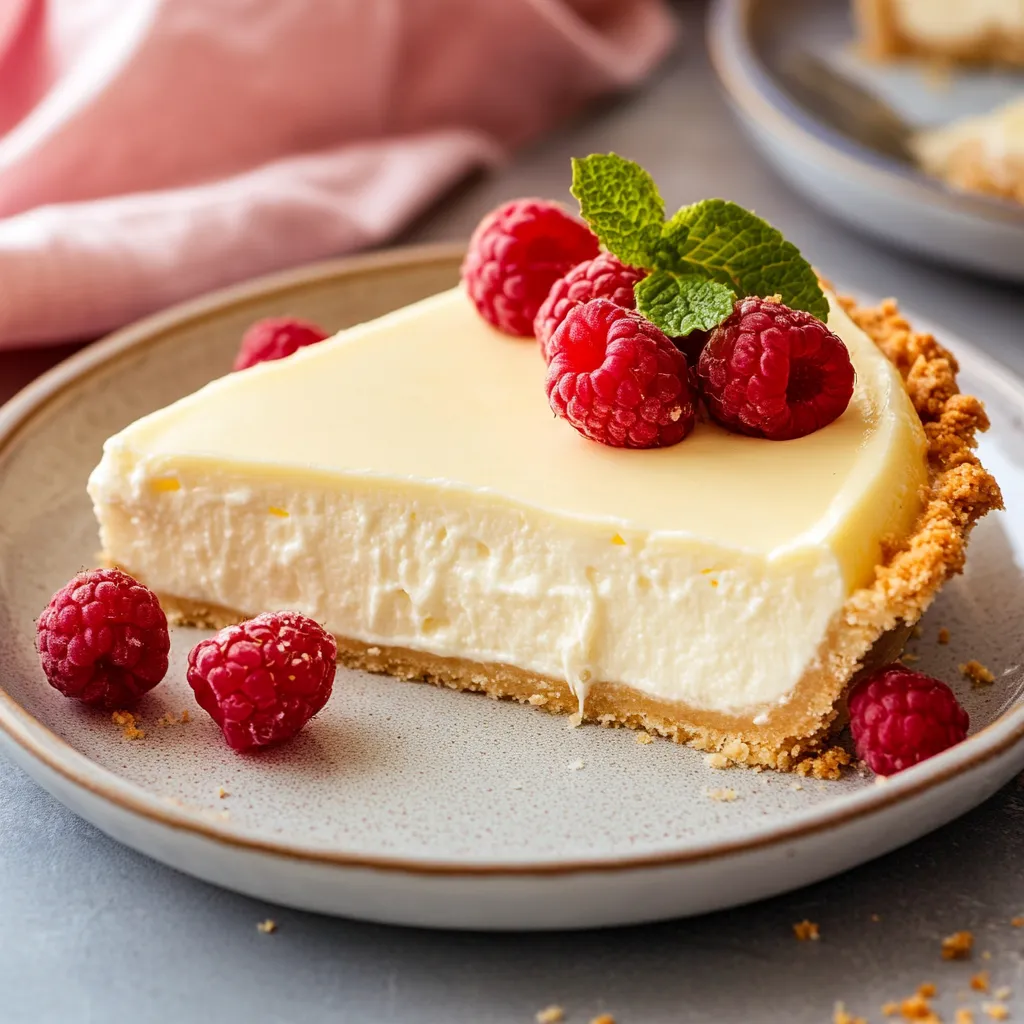
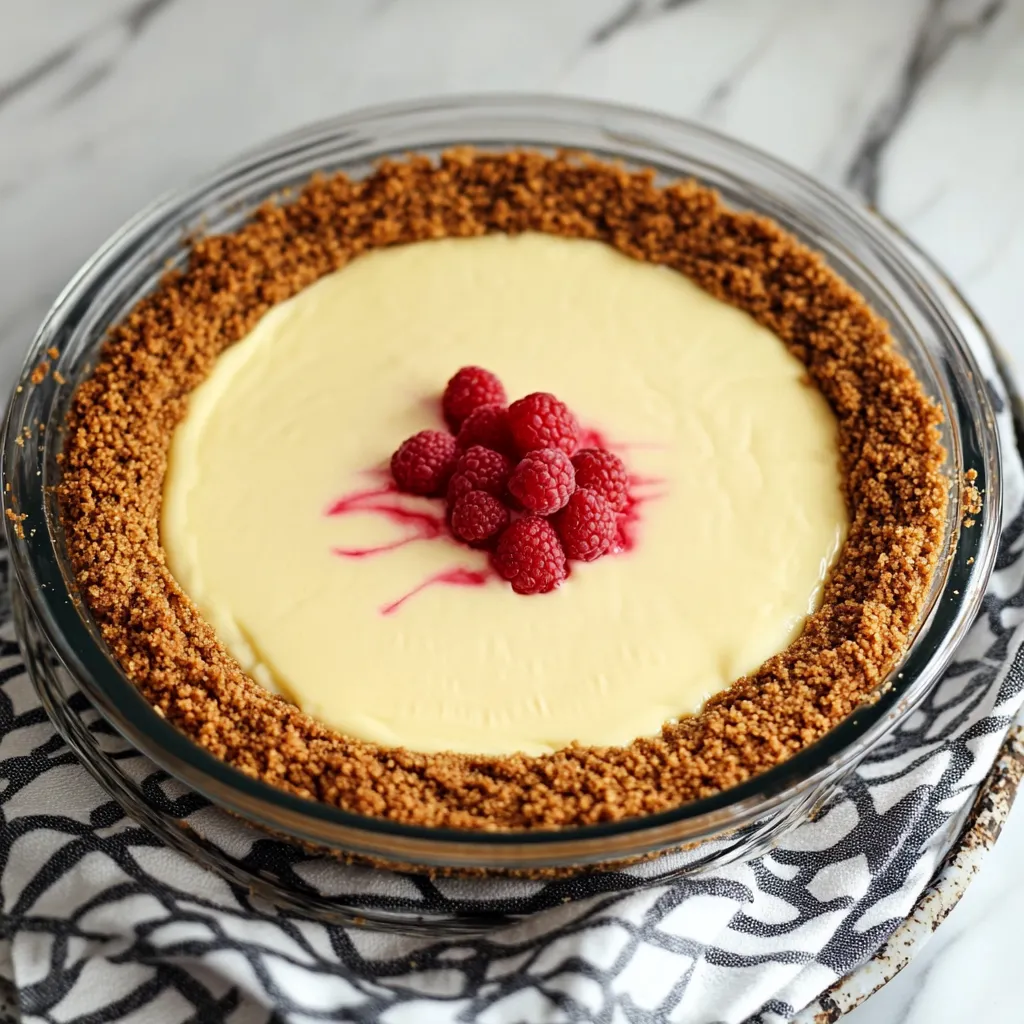
A bite of sheer indulgence doesn't have to be complex. This Cream Cheese Pie brings all the velvety richness of classic cheesecake but in a more straightforward, easy-to-make way. Every bite combines that ideal mix of crunchy graham base and smooth-as-silk filling that makes cheesecake so tempting, yet it's put together with little effort and big payoff.
Just the other day, I made this for a small get-together, and nobody could tell it wasn't a fancy traditional cheesecake. What's my trick? Taking care when mixing the filling components while keeping everything super simple.
Key Components and Shopping Advice
- Cream Cheese - Always go for full-fat blocks, not light or tub versions. Let them sit out at room temperature for a full hour
- Sour Cream - Full-fat gives that perfect zip and smooth feel. Don't swap this out if you want amazing results
- Graham Crackers - New crackers crush better. I've noticed that breaking them by hand first then finishing in a blender makes the best texture
- Eggs - Eggs at room temp mix in much better and help create a smoother filling
After trying this recipe tons of times, I've figured out that waiting for ingredients to warm up isn't just a suggestion - it's how you get that perfectly smooth filling without any bumps.
Step-by-Step Guide
- Making Your Base
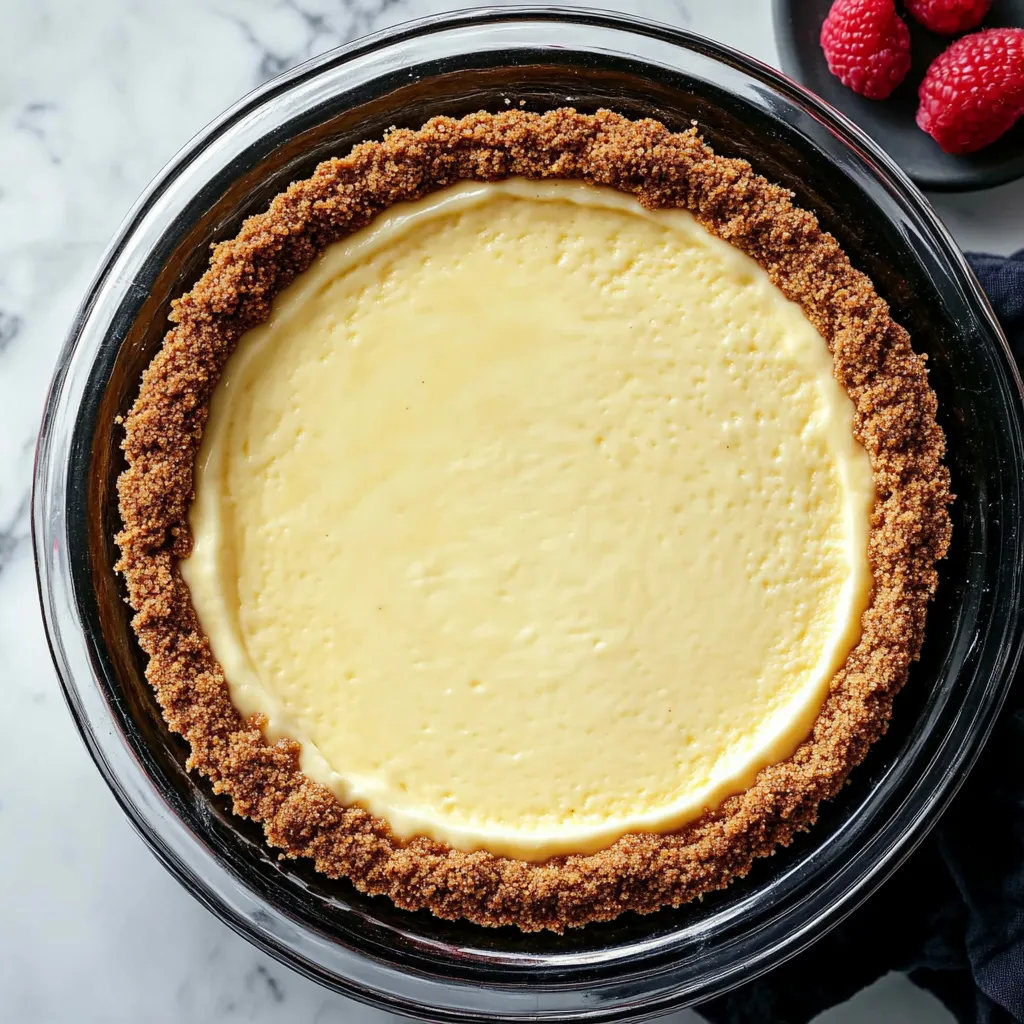
- 1. First, warm your oven to 350°F. Mix your graham crumbs, sugar, and melted butter until it looks like damp sand. When squeezed, the mix should stick together but still break apart easily between your fingers.
- Getting It Just Right
- 2. Put your crust mix into a 9-inch pie dish. Start pressing from the middle and work outward, using steady but soft pressure. Continue up the sides, keeping thickness even throughout. A measuring cup helps smooth and pack it down - this is your foundation.
- Creating the Filling
- 3. Whip your softened cream cheese until it's totally smooth - watch for lumps! Add sugar bit by bit, letting it fully mix in each time. This patience pays off with that silky texture we want.
- Adding Depth
- 4. Stir in sour cream, vanilla, and a tiny splash of lemon juice. The lemon won't stand out - it just makes other flavors pop. Mix until just combined; too much mixing now can cause cracks later.
- Finishing Up
- 5. Put your eggs in last, mixing only until they blend into the batter. Beating eggs too much is what usually ruins cheesecakes, even simple ones like this.
 Pin it
Lately, I found that putting the pie on a cooling rack close to (but not directly under) a ceiling fan makes the perfect gentle cooling spot.
Understanding the Perfect Jiggle
Figuring out the right amount of wobble takes some time. The middle should wiggle like set pudding, not slosh like liquid. It's kind of like the difference between shaking thick yogurt versus milk in a bowl.
 Pin it
Fantastic Finishing Touches
While this pie tastes amazing plain, toppings can dress it up for any event. Fresh berries soaked in a bit of sugar make it look fancy, while homemade caramel adds a rich warmth.
Keeping It Fresh
Keep your cheesecake pie in the fridge, but don't serve it ice cold. Taking it out twenty minutes before eating lets all the flavors really come alive.
Pro Cooking Tricks
- Cover your pie dish with foil before baking to keep the crust edges from getting too dark
- Use a spoon's back to make a small dip around the edge of your crust to stop filling from running over
- Keep that oven door shut during baking - check through the window instead
I first made this recipe when friends dropped by unexpectedly. Now it's my go-to when I want something impressive that won't stress me out.
 Pin it
Changing With The Seasons
This cheesecake pie really shows off how flexible it can be throughout the year. During summer, I mix fresh lemon zest into the filling and add sugar-soaked berries on top. When fall comes around, I go for a maple-pumpkin version with cozy spices and sugar-coated pecans. Winter calls for white chocolate and smashed candy canes, while spring gets fancy with flower-scented sugar and actual flower petals. Each time of year brings new ways to switch things up, though the basic pie stays wonderfully reliable no matter when you make it.
Making It Look Amazing
How you serve this pie can turn it from humble dessert to fancy treat. Sprinkling powdered sugar through a paper doily leaves a pretty pattern that's perfect for special times. For casual hangouts, I squeeze whipped cream swirls around the edges and pile fresh fruit in the middle. Sometimes, I drizzle different sauces in a web design for drama. These quick tricks make the pie look impressive without losing its homemade charm.
 Pin it
Closing Thoughts
This Cream Cheese Pie shows that often the easiest approach gives the most satisfying results. Whether you're new to baking or just busy, this pie delivers all the luxury of traditional cheesecake in a much easier form. There's nothing better than watching someone take their first taste, seeing their face light up at the creamy texture and perfect mix of flavors. That moment makes all your careful work worth it.
Frequently Asked Questions
- → Can I make this ahead of time?
- Absolutely, up to 2 days before or pop in freezer for 3 months
- → Why need room temp ingredients?
- It helps everything blend smoothly without any lumps
- → Can I switch up the toppings?
- For sure, try some melted chocolate, caramel sauce, or different fruits
- → Don't have graham crackers?
- No worries, digestive cookies work just fine
- → Why cover with foil?
- It stops the top from getting too brown