
 Pin it
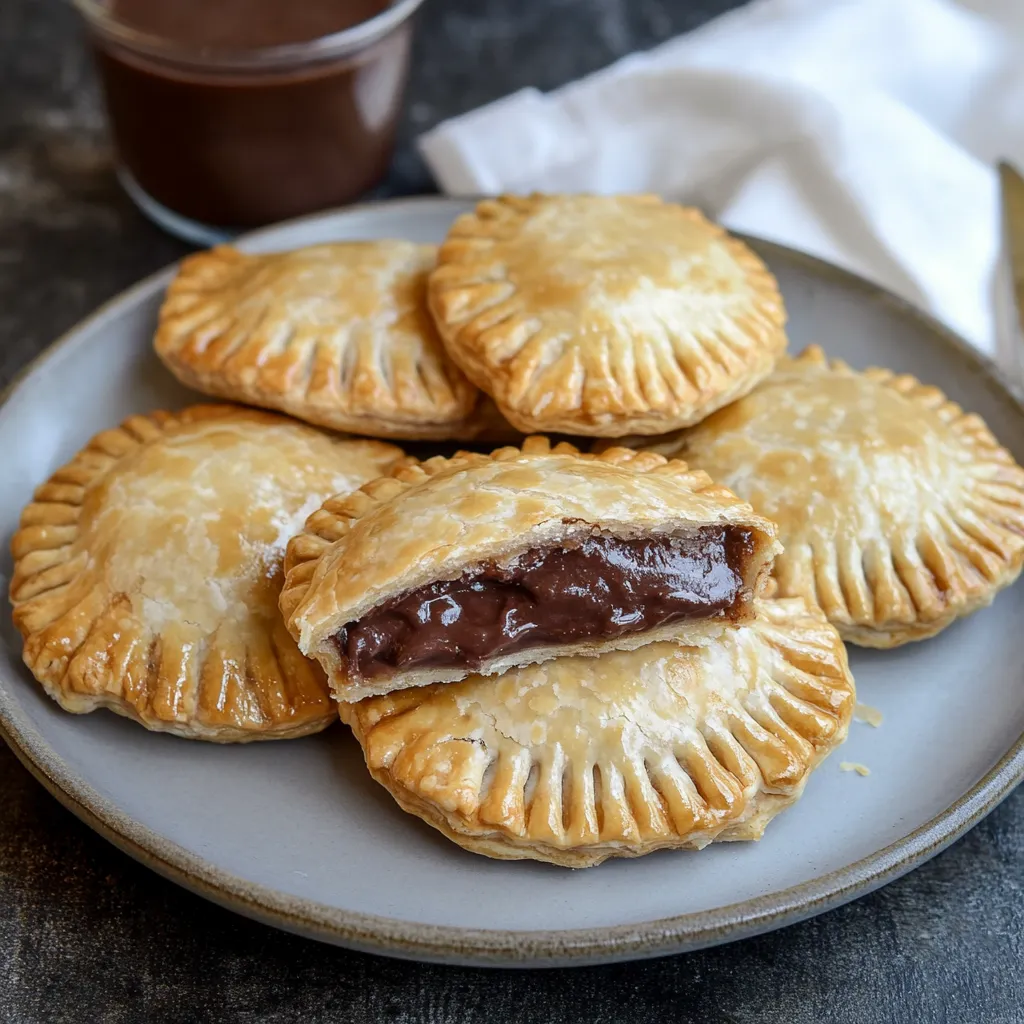
These Nutella Hand Pies blend old-world Italian baking with modern sweetness. They've got a flaky, buttery shell wrapped around gooey, melted Nutella inside - making a treat that feels both homey and fancy. Growing up in Italy taught me to value simple, quality stuff, and these little pies totally show that off. They prove sometimes the yummiest desserts just mix familiar flavors in fun new ways.
Getting Hand Pies Just Right: The magic of amazing Nutella Hand Pies comes down to the little things. You need top-notch ingredients, a feel for pastry-making, and knowing exactly when they're done baking. It's not just about making something tasty - it should look beautiful and be fun to make too.
Key Ingredients and What They Do
- Cold, Cubed Butter: This makes your pastry flaky. The colder your butter stays, the more steam it makes while baking, giving you those awesome layers.
- All-Purpose Flour: Gives your dough its backbone. Don't mix it too much or you'll end up with tough pastry.
- Room Temperature Nutella: Easier to scoop when it's not cold. Freezing little portions beforehand stops it from leaking during baking.
- Cold Eggs: Add richness to your dough and help create that lovely golden-brown finish when brushed on top.
- Sugar (Granulated and Powdered): The granulated sweetens your dough while the powdered gives a pretty finish on your baked pies.
- Salt: Brings out all the flavors and balances the sweetness in your other ingredients.
Step-by-Step Baking Guide
- 1. Crafting the Perfect Dough (15 minutes):
- Mix your flour, granulated sugar, and salt in a bowl. Pulse in the cold butter chunks until everything looks like coarse crumbs. Add the cold eggs and pulse just until the dough starts coming together. Don't overdo it.
- 2. The Chill Factor (30 minutes):
- Wrap your dough tightly in plastic and stick it in the fridge. While it's cooling, spoon out some Nutella portions onto a parchment-lined tray and freeze them solid.
- 3. Assembly Line (20 minutes):
- Roll out your chilled dough on a lightly floured surface. Cut out circles with a cookie cutter, put a frozen Nutella ball in the middle of each, and top with another dough circle. Press the edges with a fork to seal everything in.
- 4. Baking to Perfection (20-25 minutes):
- Heat your oven to 350°F (180°C). Brush each pie with egg wash and poke little holes in the tops to let steam escape. Bake until they turn a beautiful golden-brown.
- 5. The Final Flourish (10 minutes):
- Let your pies cool a bit before sprinkling them with powdered sugar to make them look pretty and add extra sweetness.
 Pin it
Insider Tricks from an Italian Kitchen
- Keep everything nice and cold while you're working.
- Touch the dough as little as possible for the best texture.
- Make sure your Nutella chunks are completely frozen before you use them.
- Press those edges down good and tight so nothing leaks out.
- Don't forget to cut little vent holes in the top of each pie.
- Let them cool a bit after baking so you don't burn your mouth.
 Pin it
Keeping and Prepping Ahead
You can leave baked pies out for up to 2 days, keep them in the fridge for 5 days to stay fresh longer, or freeze them for up to 3 months. You can even freeze them before baking and cook them straight from frozen for a quick treat.Fun Twists and Changes
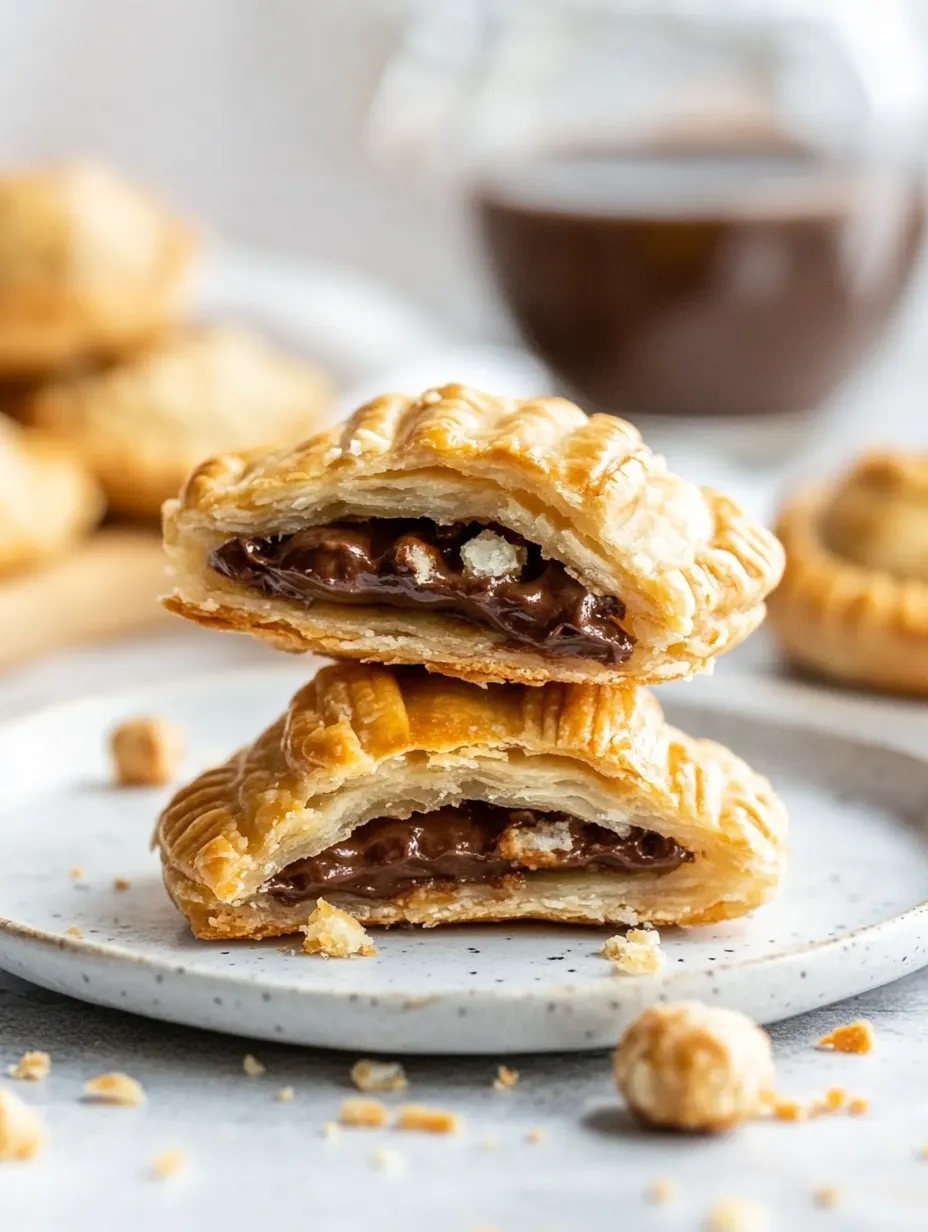
Get creative with what goes inside! Try adding some chopped hazelnuts for crunch, spreading a bit of your favorite jam with the Nutella, or mixing a dash of cinnamon into the chocolate filling for extra warmth.Ways to Serve for Any Event
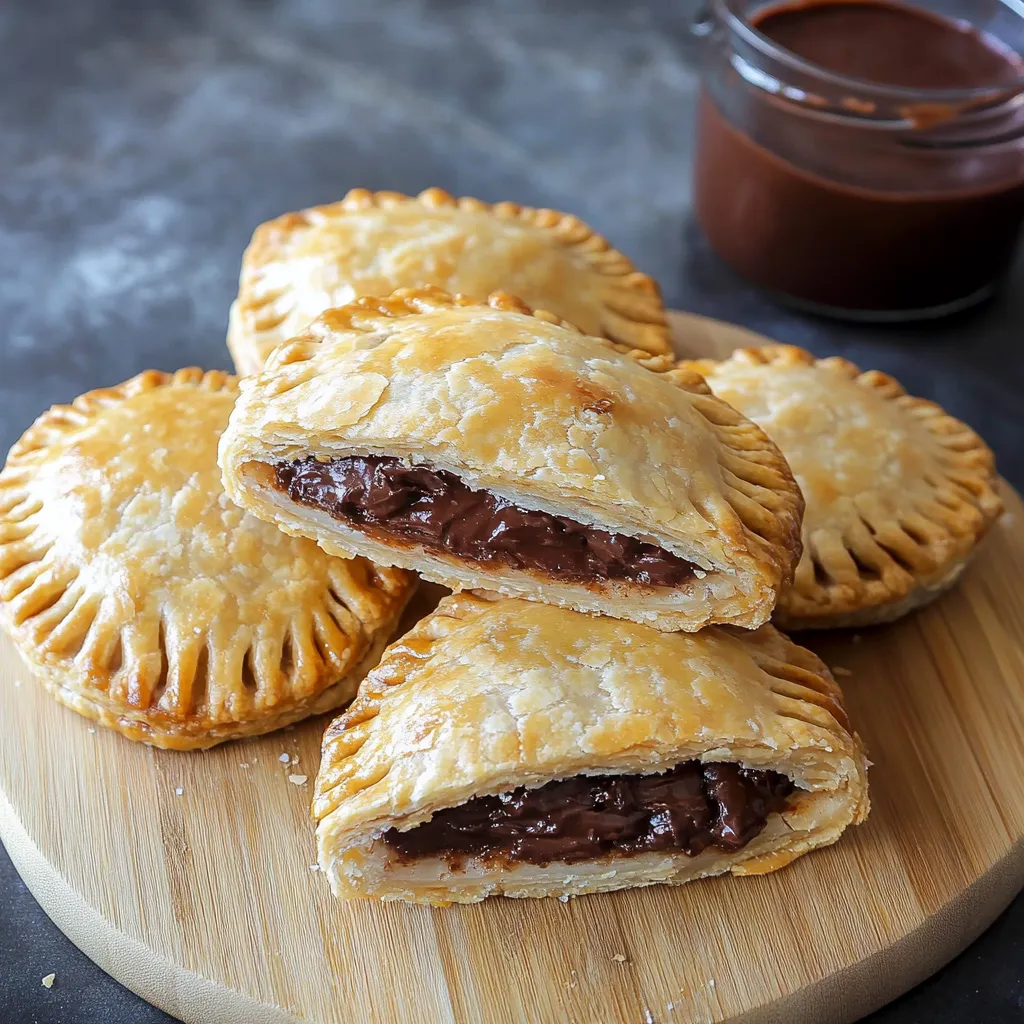
Enjoy these tasty hand pies warm with just a sprinkle of powdered sugar on top. They're also amazing with a scoop of good vanilla ice cream or a drizzle of chocolate sauce for something extra special.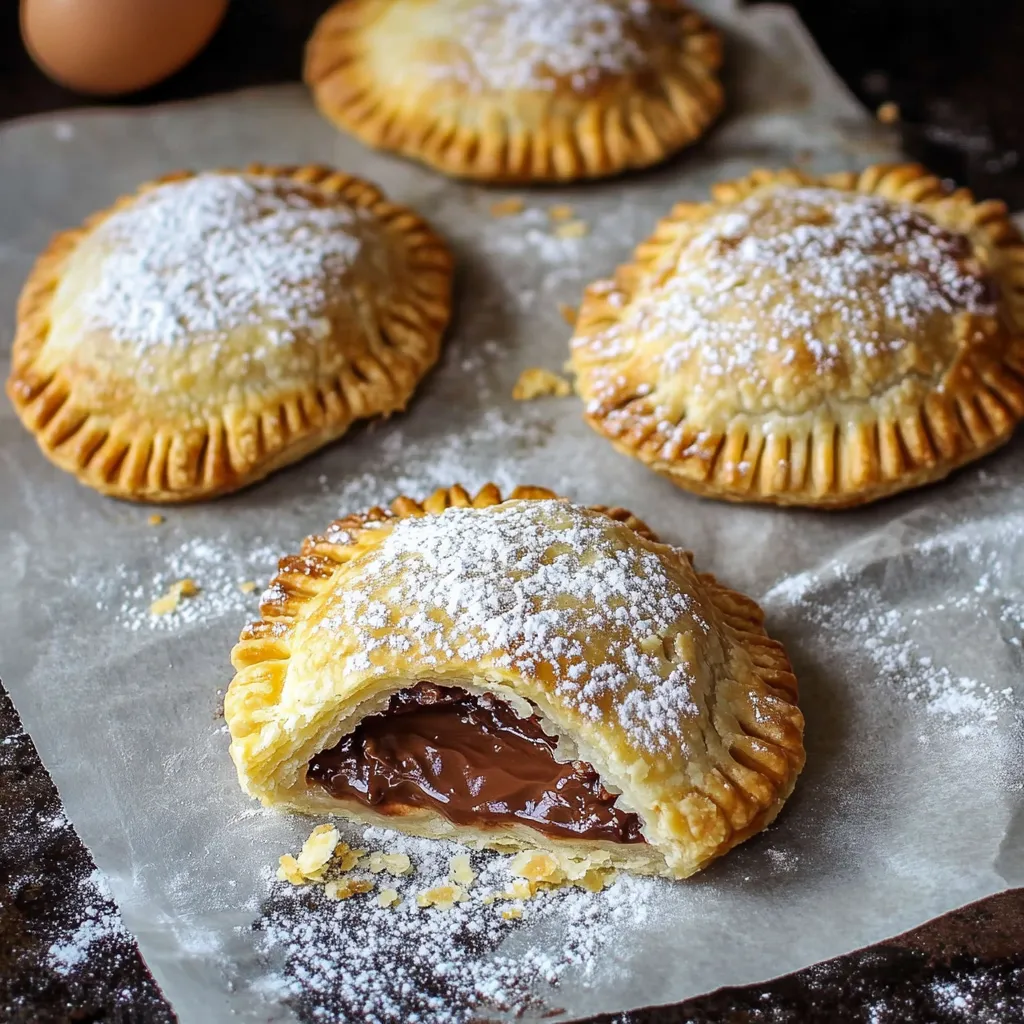 Pin it
Wrapping Up with Chef's Notes
Nutella Hand Pies work great for parties or just treating yourself. They remind us that simple ingredients, handled with care and love, can turn into something really amazing. Grab one and enjoy!Frequently Asked Questions
- → Can I make these without a food processor?
- For sure! You can mix the dough by hand or with a stand mixer running slowly. Just mix everything until you get a nice soft dough.
- → Why freeze the Nutella first?
- Frozen Nutella is much easier to work with and won't run out while you're making or baking the pies.
- → Can I make these ahead?
- You bet! They'll keep unbaked or baked in the freezer for 3 months, or you can keep the dough in your fridge for 2-3 days.
- → How do I store leftover hand pies?
- Leave them out for 1-2 days, put them in the fridge for 4-5 days, or freeze them for up to 3 months.
- → Can I use other fillings?
- Sure thing, swap Nutella for any thick spread or jam that won't drip out during baking.