 Pin it
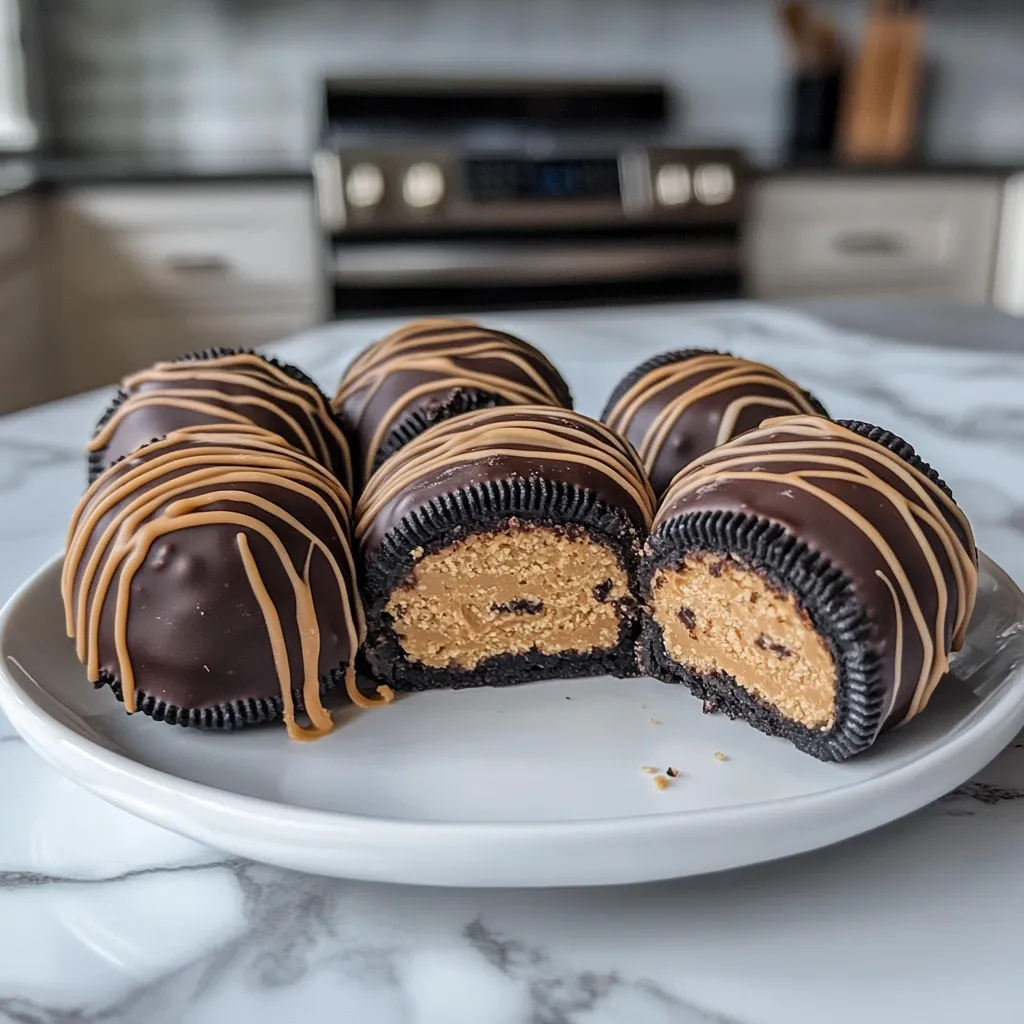
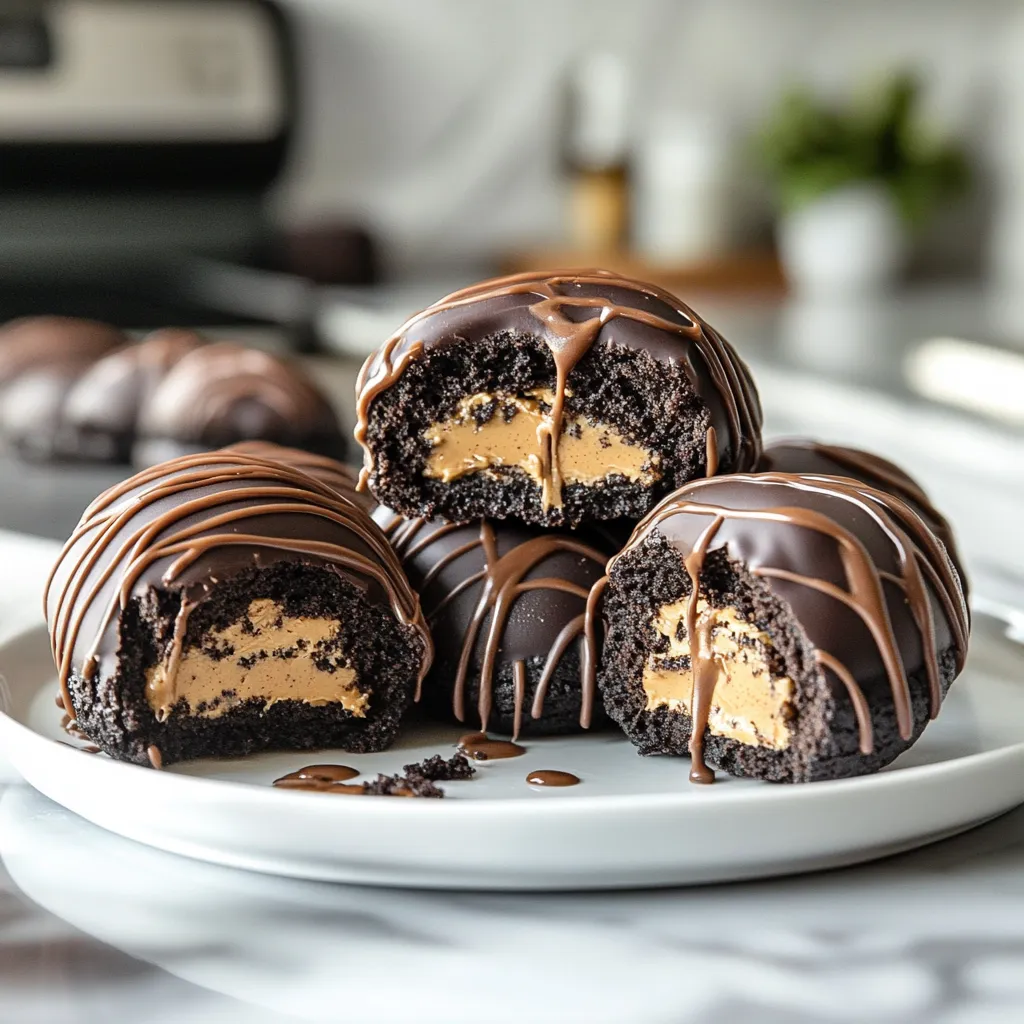
These 3-Ingredient Peanut Butter Oreo Cookie Balls make a fantastic no-fuss sweet treat when you're craving something delicious without any complicated steps. By blending the bold taste of Oreos with smooth peanut butter and wrapping it all in chocolate, these tiny treats come together quickly and vanish from the plate even quicker. I stumbled on this idea while scrambling for a quick dessert when friends dropped by unexpectedly, and now it's my trusty backup plan whenever I need sweets in a pinch.
A few days ago, I took these to our block party and returned home with nothing but an empty dish and several neighbors begging me to tell them how I made them. There's something about that combo of crushed Oreos and peanut butter that creates a texture folks just can't stop eating.
Key Components and Smart Selection Advice
- Oreo Cookies - Original works wonders; don't remove the filling as it helps everything stick together
- Peanut Butter - Regular creamy brands work better than natural ones that might separate
- Chocolate for Coating - Try candy melts or chips in your choice of milk, dark, or white varieties
The real trick happens when you mix those simple smashed cookies with peanut butter and end up with a moldable mixture that's just right for shaping into tasty little bites of goodness.
Step-by-Step Preparation Guide
- Step 1: Break Down the Oreos
- Drop Oreos (filling and all) into your food processor and blitz until you get fine crumbs. If you don't have a processor, pop them in a ziplock bag and smash with a rolling pin until powdery.
- Step 2: Mix in Peanut Butter
- Dump your Oreo crumbs into a bowl and add peanut butter. Try using about ½ cup peanut butter for every 20 Oreos you've crushed.
- Step 3: Blend Everything
- With a wooden spoon or your hands, mix the crumbs and peanut butter until you've got a paste that sticks together when you squeeze it.
- Step 4: Roll Your Mixture
- Take about a tablespoon of the mix and roll it between your hands to create a ball. Set each one on a tray lined with parchment paper.
- Step 5: Cool Them Down
- Stick your tray in the fridge for at least 30 minutes (or the freezer for 15-20 minutes if you're rushed). This cooling step makes sure they won't fall apart when you dip them.
- Step 6: Get Your Chocolate Ready
- While you wait, melt your chocolate in a microwave-safe dish. Heat it in short 20-second bursts, stirring each time, until it's completely smooth.
- Step 7: Coat in Chocolate
- Use a fork to dunk each cold ball into the melted chocolate. Tap the fork against the bowl a few times to get rid of extra chocolate.
- Step 8: Finish with Extras
- While the chocolate's still wet, you can sprinkle on some extra bits like crushed Oreos, nuts, or colorful sprinkles if you want.
- Step 9: Let Them Harden
- Put the chocolate-covered balls back on your parchment paper and stick them in the fridge until the chocolate shell gets firm, usually 15-20 minutes.
- Step 10: Enjoy Now or Later
- Eat them right away or keep them in a sealed container in your fridge for up to a week.
 Pin it
I found out how important that cooling step is when my first batch turned into a sloppy mess in the warm chocolate. Now I always give them extra time to chill for smooth, easy dipping.
Crowd-Pleasing Treats
These little bites have become what everyone expects me to bring to get-togethers, from casual TV nights to fancy holiday parties. They look like you spent ages making them, but they're so simple even kitchen beginners can nail them. Their small size makes them perfect for dessert platters, and they're rich enough that one or two will satisfy your sweet tooth. I've noticed both kids and grown-ups grab for them, making them a rare treat that pleases everybody at the table.
 Pin it
Adaptable Favorite
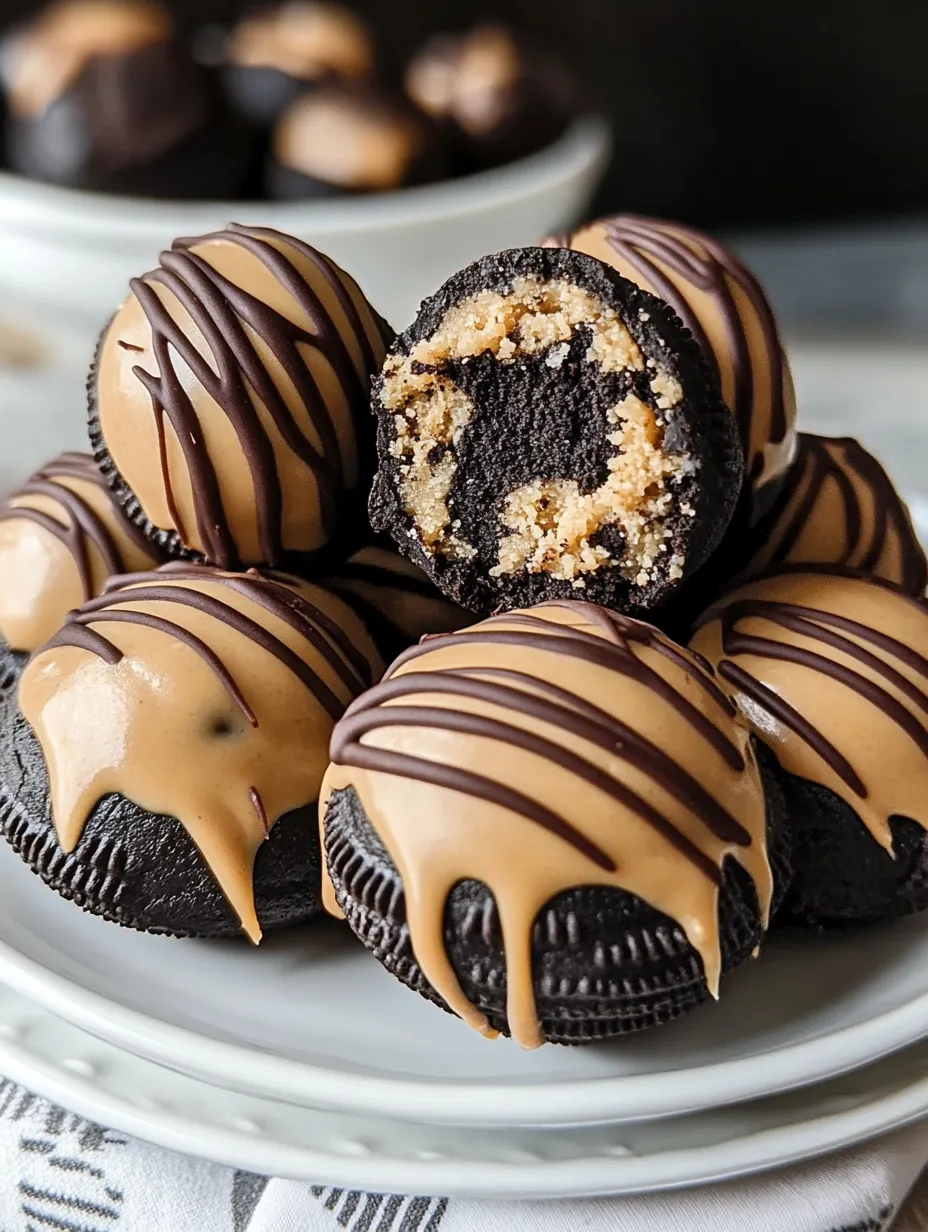
The best thing about these cookie balls is how easy they are to change up. While the classic version tastes amazing, I've tried tons of different takes. You can swap in golden Oreos with white chocolate coating for a lighter look, or try mint Oreos with dark chocolate for a cool twist. You can also replace the peanut butter with cookie spread, Nutella, or almond butter if someone has allergies. Each version still just needs three ingredients but gives you a completely different taste experience.
Prep-Ahead Wonder
As someone who often hosts friends, I love desserts I can make before everyone arrives, and these cookie balls really shine here. You can make them up to a week ahead and keep them in your fridge, or freeze them for up to two months before a big event. I usually make twice as many as I need, enjoying some right away and saving the rest for unexpected visitors or when I just want something sweet. The chocolate outer layer actually helps keep the inside fresh until you're ready to serve them.
Pro Pointers
- Try a small ice cream scoop for same-sized portions
- Wash your hands with cold water when they get sticky during rolling
- Add a bit of coconut oil to your melting chocolate for a smoother, glossier finish
- Shape the balls twice if you want them perfectly round
- Take them out of the fridge about 10 minutes before serving for the best flavor
I've gotten better at making these over time, especially after finding out that slightly damp hands make rolling so much easier and give the balls a smoother finish.
These 3-Ingredient Peanut Butter Oreo Cookie Balls show that you don't need fancy recipes or hours in the kitchen to make something that wows everyone. This simple mix of everyday ingredients turns into something that tastes way better than you'd expect from so little effort.
 Pin it
Whether you need a quick dessert when company shows up without warning, a make-ahead treat during busy holiday times, or just want to fix a chocolate-peanut butter craving, this recipe always turns out great and makes everyone happy.
Closing Suggestions
- Put them in mini cupcake papers for a fancier look at parties
- Try adding a zigzag of different colored chocolate on top for extra eye appeal
- Make tiny ones using half a tablespoon of mixture for lighter snacking
- Always mention the peanut butter when serving at gatherings because of allergies
- Pack them in small boxes lined with parchment paper for a thoughtful homemade gift
Frequently Asked Questions
- → Why avoid natural peanut butter?
- Standard peanut butter keeps its form better than natural kinds.
- → Can I use different Oreo flavors?
- Sure, though original ones work finest to showcase the peanut butter taste.
- → How should I melt chocolate?
- Go with brief microwave bursts, making sure to stir after each one.
- → Can I make these ahead?
- Absolutely, they'll stay good in the fridge for up to seven days.
- → Do I remove Oreo filling?
- Nope, the filling should stay in as it helps everything stick together.
