 Pin it
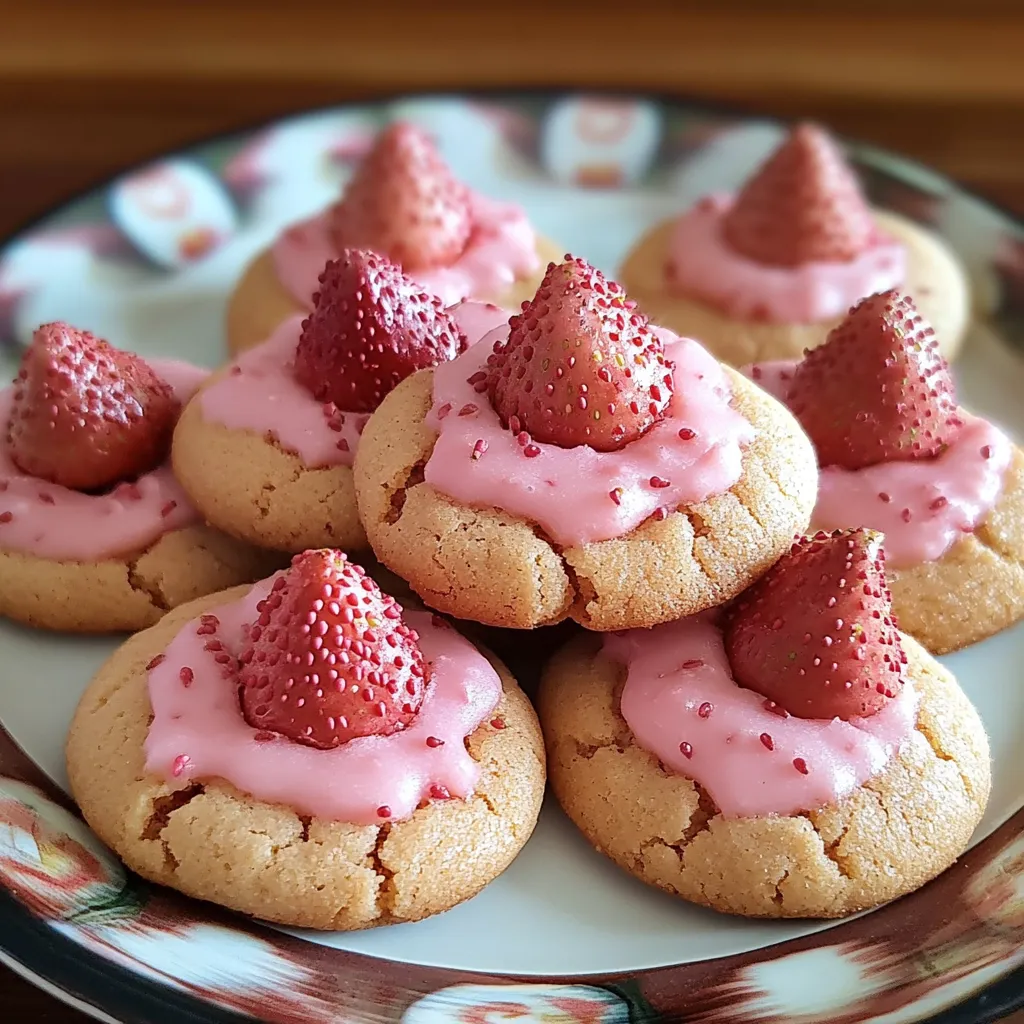
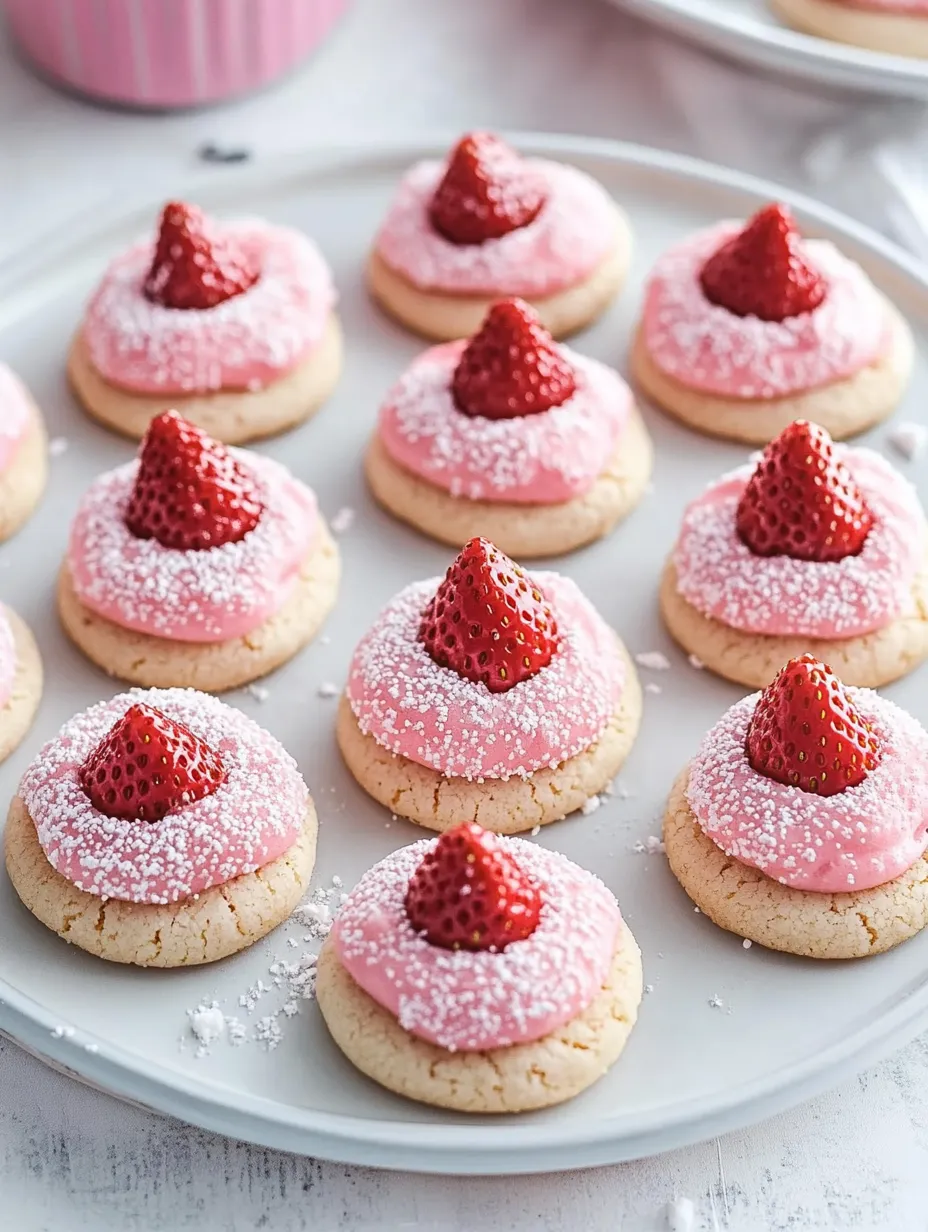
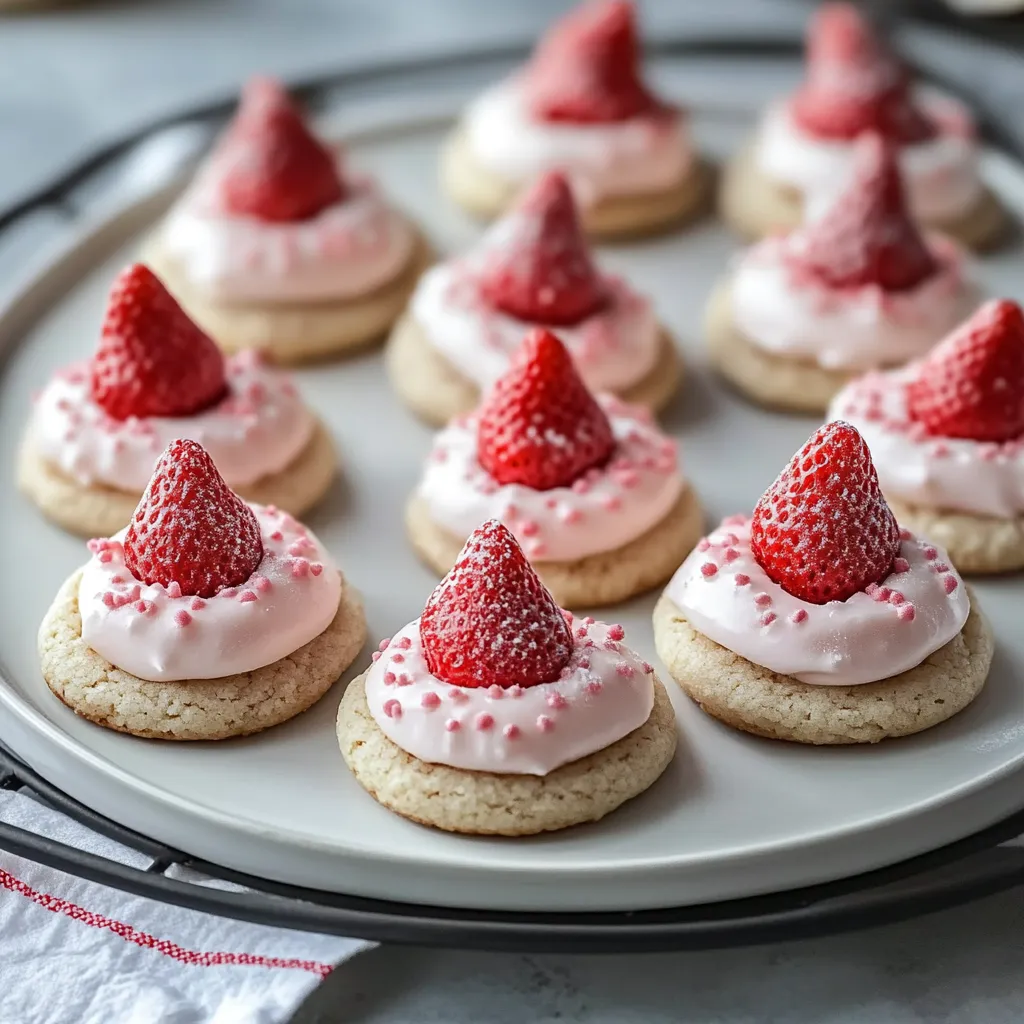
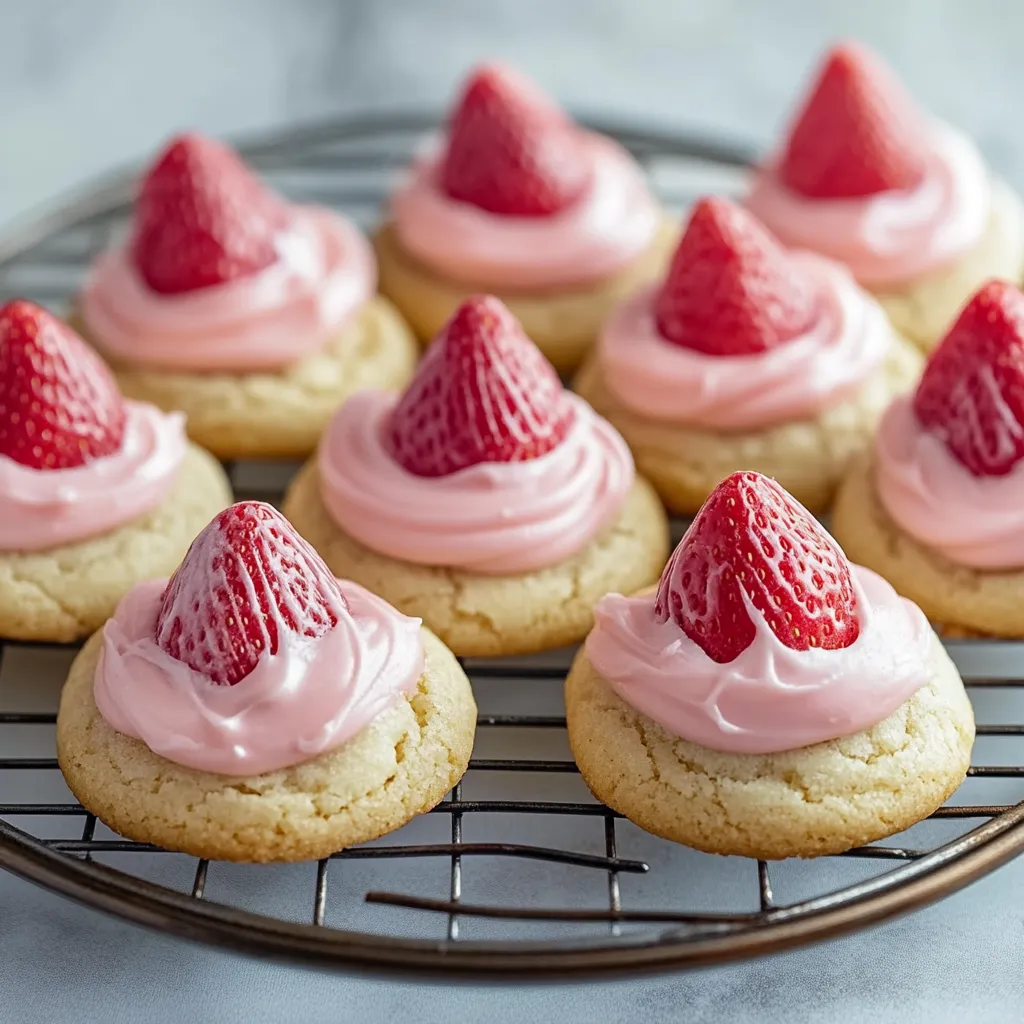
Few treats light up my kitchen like these Strawberry Kiss Cookies. The magic happens when buttery shortbread meets sweet strawberry and smooth chocolate—creating a cookie that feels both familiar and fancy. Their gentle pink color adds fun, while the chocolate kiss nestled in the center makes every bite perfectly balanced.
Just last weekend, I showed my niece how to make these cookies. Seeing her get excited as she pushed chocolate kisses into the warm cookies reminded me why this recipe has become such a special part of my baking collection.
Key Ingredients and Smart Selection Advice
- Butter: Go for good quality unsalted butter, softened at room temp. Fancy European butter with extra fat makes cookies that practically melt away. I let mine sit out exactly an hour before starting
- Strawberry Gelatin: Skip the sugar-free kind; regular gelatin gives both taste and structure. After opening, keep the leftover powder in a sealed container if you're making multiple batches
- Flour: Plain all-purpose works great, but measure it right. I always spoon it into the cup then level it off for best results
- Chocolate Kisses: Store them in the fridge until you need them. Cool kisses keep their shape better when stuck into warm cookies
Getting ready properly sets the stage for amazing Strawberry Kiss Cookies. When ingredients are at room temperature and your workspace is tidy, everything flows smoothly. The dough comes together fast once you begin, so having everything lined up makes baking more fun and less stressful.
 Pin it
Creating Dreamy Cookie Dough
First, beat your butter until it's super light and fluffy—usually takes about 3-4 minutes with your mixer. Don't cut corners here; properly whipped butter is what makes these cookies so tender. Add sugar bit by bit, letting each addition mix in fully. When ready, your mixture should look almost white and feel airy to the touch.
 Pin it
Working With Flour
Mix in dry ingredients slowly on low speed. Stop the moment the flour disappears—mixing too much makes tough cookies. Your dough should feel soft but not sticky, and stay together when you roll it into balls.
Forming Beautiful Cookies
Take dough about a tablespoon at a time and roll into perfect little balls. This gives you the prettiest finished cookies. When making the dent in the middle, gently twist your thumb as you press down—this stops cracks and makes the perfect spot for your chocolate kiss.
Baking Know-How
Keep a close eye on your cookies while they bake. They're done when the edges have set but the middles still look a bit soft. This way, you'll get that melt-in-your-mouth texture everyone loves. Let them cool on the baking sheet for exactly 5 minutes before adding the chocolates.
Adding The Chocolate Kiss
Push chocolate kisses into the centers when cookies are warm but not super hot. The leftover warmth will secure the chocolate without turning it into a puddle. If your kitchen runs warm, cool the kisses in the fridge briefly before using.
Year-Round Variations
These cookies can change with the seasons. Try strawberry kisses in spring. Summer calls for white chocolate ones. Fall is perfect for caramel-filled kisses, and winter is great for dark chocolate or minty varieties.
Keeping Them Fresh
Place cookies between sheets of wax paper in a sealed container. They'll stay good at room temperature for 5 days, though at my house they never stick around that long. When giving as gifts, pack them in see-through boxes with ribbons—their pretty pink color makes them naturally decorative.
Further Thoughts and Insights
Making perfect Strawberry Kiss Cookies means finding that sweet spot between following steps and trusting your instincts. Everything builds on what came before—from well-beaten butter to that final sprinkle of powdered sugar. Over years of making these treats, I've learned success isn't just about following directions but noticing little clues of perfection—how the dough feels, when your oven's really ready, and the right moment to add those chocolate kisses.
My Cookie Journey
I first made these during baking days with my grandma, who taught me that great cookies come from taking your time and noticing details. What started as basic thumbprint cookies grew into this signature treat that everyone asks for at parties. Each batch I make carries memories of laughing in the kitchen, sharing stories, and the happiness that comes from baking something wonderful to share.
Where These Cookies Come From
Thumbprint cookies started as Swedish raspberry caves, but this American twist shows how we love mixing old methods with new ideas. Adding strawberry flavor and chocolate kisses is pure mid-century American creativity, when home bakers started playing with convenient new products to make unique treats. These cookies show how home baking has grown—respecting old techniques while welcoming new ingredients and flavors.
Gift-Giving Tips
These cookies make wonderful presents, but how you package them matters. Stack them carefully in pretty tins lined with parchment, alternating directions to protect those chocolate kisses. For holiday gifts, I've found that shiny boxes with clear tops show off their festive look while keeping them fresh during travel.
Holiday and Celebration Ideas
Each holiday offers chances to get creative. For Valentine's Day, try making heart-shaped dents instead of round ones. Easter works great with pastel white chocolate kisses. At Christmas, try adding red and green sugar sprinkles before the powdered sugar coating.
Fixing Common Problems
If your cookies spread too much while baking, cool the dough balls for 15 minutes before making dents and baking them. If edges crack when making thumbprints, let the dough warm up slightly first. These small fixes make big differences in how they look.
 Pin it
Weather and Room Temperature Effects
Your kitchen's temperature really affects these cookies. On hot days, keep dough cool between batches and work quickly when adding kisses. In cold weather, you might need slightly shorter baking times since butter sets faster in cooler rooms.
Planning Ahead Options
You can make the dough up to 2 days ahead and keep it in the fridge. Just let it warm up a bit before shaping. You can also freeze shaped, unbaked cookies for up to a month—just add an extra minute to baking time when cooking from frozen.
Baking With Kids
These cookies are great for baking with children. The simple but fun steps—rolling balls, making thumbprints, adding kisses—naturally teach kitchen skills while creating sweet memories. Kids stay interested because they can see the cookies change with each step of the process.
Frequently Asked Questions
- → Can I swap strawberry gelatin for a different flavor?
- Sure! Try raspberry, cherry, or another flavor to mix things up.
- → Can I prep the dough ahead of time?
- Absolutely! Keep it in the fridge, then bring it to room temp for shaping and baking.
- → Do I have to use chocolate kisses?
- Nope, other chocolates or a dollop of ganache work great too!
- → What’s the best way to store them?
- In an airtight container at room temp for up to 5 days. The chocolate might soften a bit, but they’ll still taste good.
- → Can I freeze them?
- Yes, freeze them (without the candy) for up to 3 months. Add the chocolate when serving.
