
 Pin it
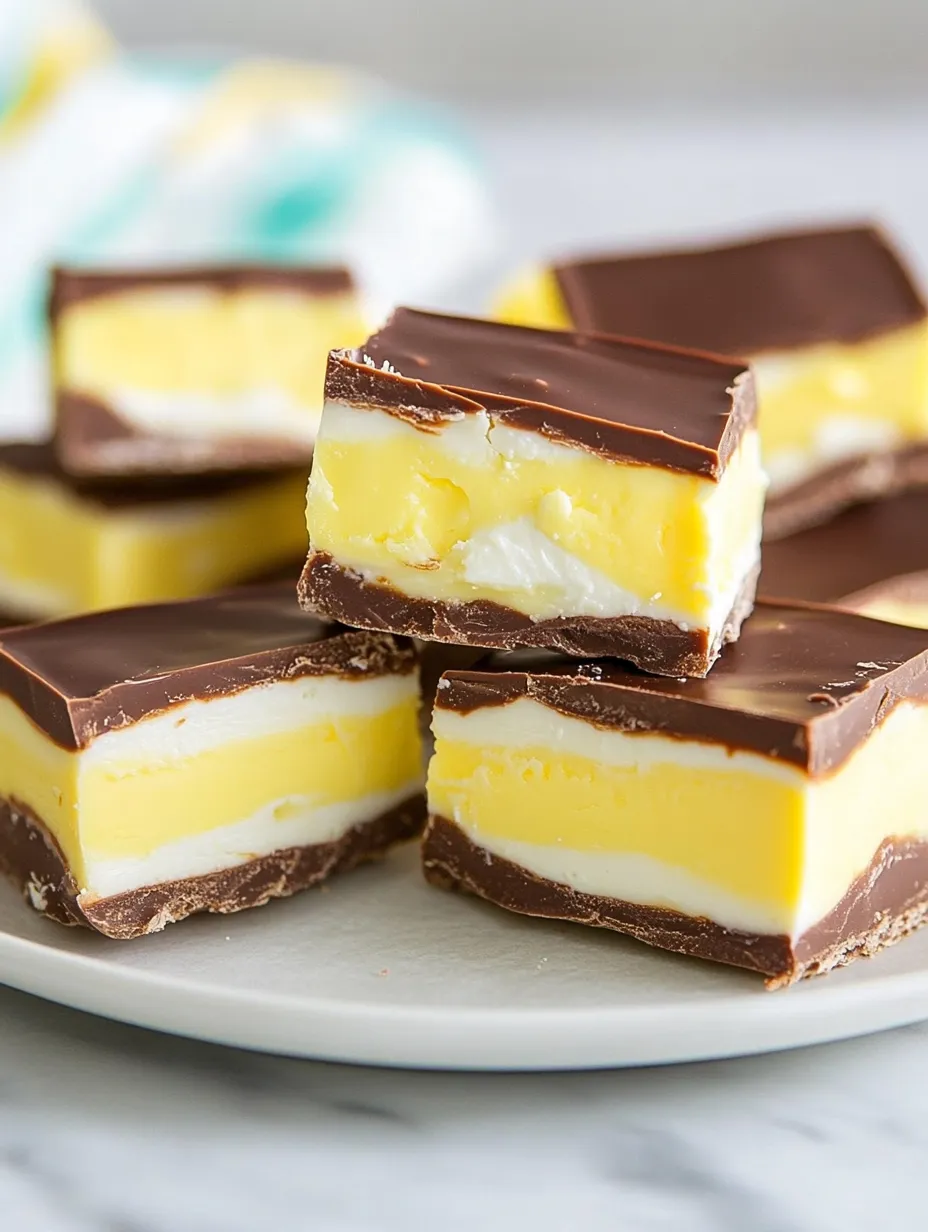
This layered Cadbury Egg Fudge brings all the magic of those Easter favorites to your table as a rich, indulgent treat. The smooth sweet center nestled between luxurious chocolate layers gives you that familiar Cadbury flavor without any fussy chocolate work. I stumbled upon this idea while hunting for an easier way to enjoy those classic tastes when hosting friends during springtime celebrations.
When I brought these squares to our family Easter get-together last year, my usually picky niece not only grabbed seconds but also pestered me for the how-to. The magic happens when you nail that perfect balance of rich chocolate and signature sweet filling.
Key Components and Shopping Guidance
- Corn Syrup: Go with light corn syrup to nail that genuine Cadbury center consistency
- Milk Chocolate: Try Ghirardelli wafers for the creamiest results and top-notch taste
- Powdered Sugar: Gives the filling its dreamy, velvety smoothness
- Yellow Food Coloring: Pick gel versions for bright color without using too much
- Vanilla Extract: Stick with real vanilla for the tastiest outcome
Step-by-Step Preparation Guide
- Mix Up White Filling: Whip butter and corn syrup till they're totally smooth. Toss in vanilla, powdered sugar, a tiny bit of salt, and milk, blending until it's creamy with zero lumps. You want it thick but still spreadable.
- Whip Up Yellow Center: Set aside roughly 2/3 of your white filling in another bowl. Add yellow food coloring to what's left and mix completely. This makes that classic "yolk" look just like real Cadbury eggs.
- Get Chocolate Ready: Put milk chocolate in a bowl safe for microwaving. Heat for 20-30 seconds at a time, stirring between, until it's perfectly melted. Don't go too hot or your chocolate will seize up.
- Pour First Layer: Put parchment in a 9-inch square pan with extra hanging over the sides for easy grabbing later. Pour half your melted chocolate in, spread it flat, and chill quickly (about 5 minutes) till it's partly set.
- Spread White Layer: Gently smooth the white filling over your slightly firm chocolate base. Work slowly to get an even coating without messing up the chocolate underneath.
- Drop in Yellow "Yolk": Spoon yellow filling over the white layer. Use a flat knife to lightly swirl or spread the yellow mix, making a marbled pattern that looks like egg yolk.
- Top with Chocolate: Pour what's left of your melted chocolate over everything. Tip the pan to cover everything evenly or use a flat tool to spread it across the whole surface.
- Let It Firm Up: Stick your fudge in the fridge at least 30 minutes until chocolate turns completely firm. All layers will stick together as they cool.
- Slice Neatly: Take out of fridge. Use the parchment edges to lift fudge from pan. Cut into squares with a knife dipped in hot water and wiped clean after each cut.
- Keep Fresh: Put cut pieces in an airtight container, with parchment between layers if you stack them. Keep in fridge until serving time.
 Pin it
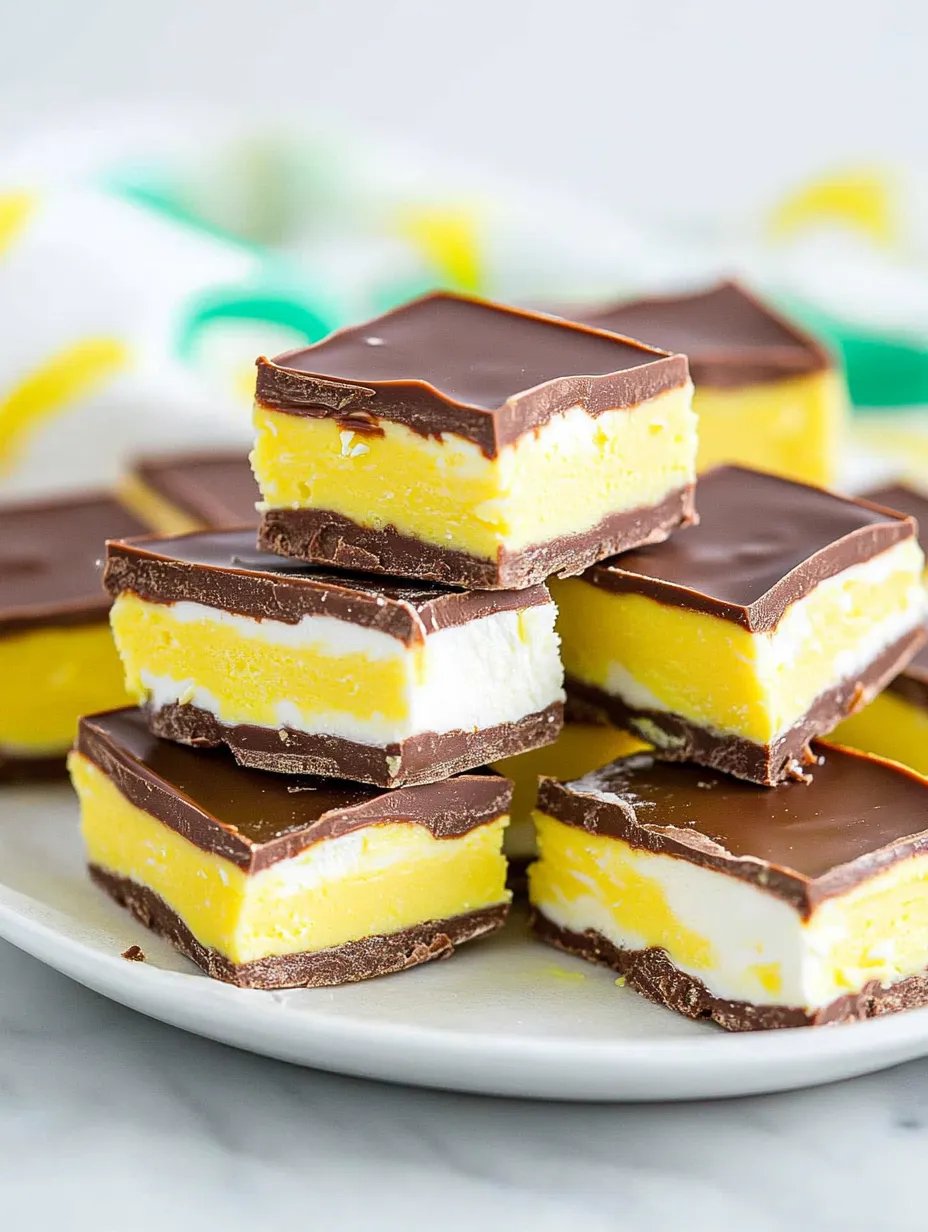
When I first tried making this fudge, I wasn't sure it could really taste like those famous eggs, but my first bite instantly took me back to finding Easter treats in my childhood basket.
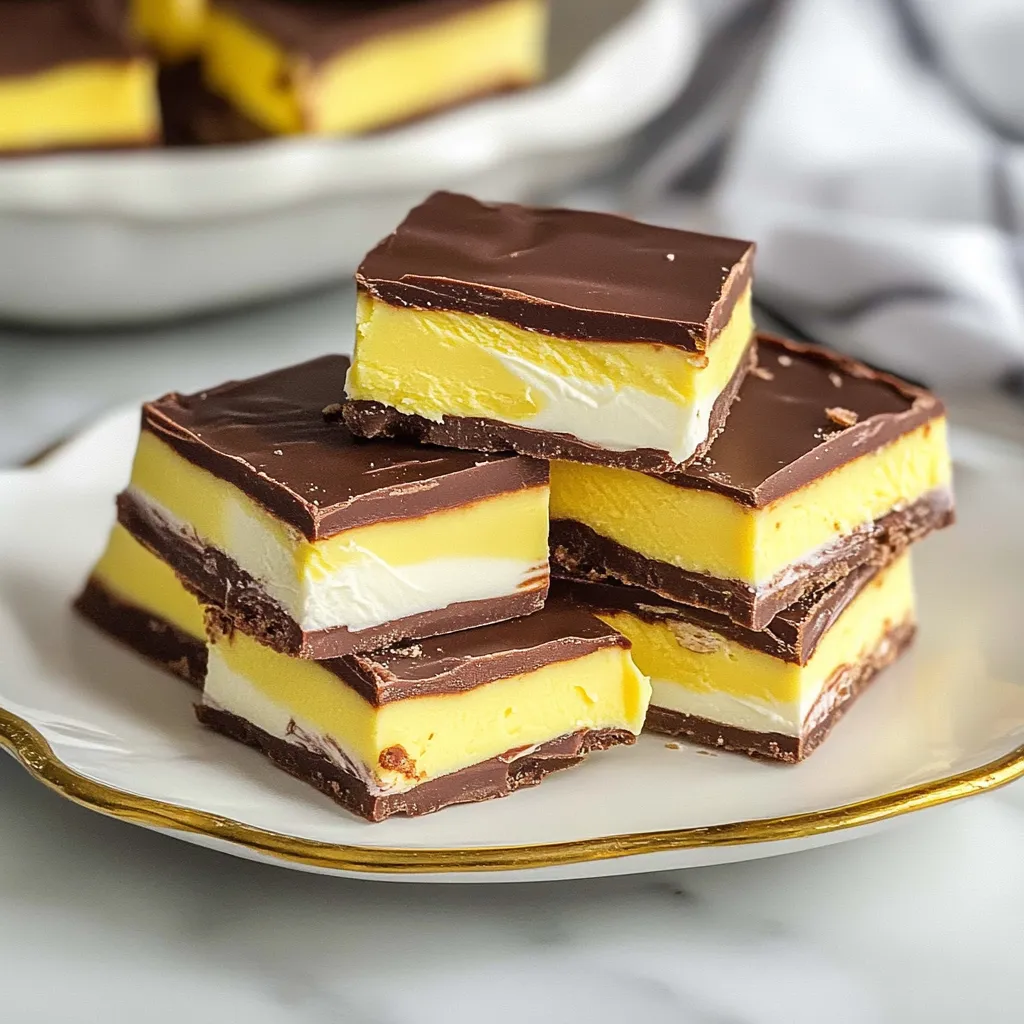
Imaginative Twists
I've played around with this recipe tons over the years, and my family goes crazy for the different versions. My mint chocolate take adds a couple drops of peppermint extract to the white filling for a cool, refreshing change. During Christmas season, I switch to red and green layers instead of yellow and white, then sprinkle crushed candy canes on top for a festive holiday snack. Once you get the hang of the basic method, you can switch things up however you want to match different holidays or whatever flavors you're craving.
 Pin it
Perfect for Giving
These squares make awesome homemade gifts that feel way more personal than store-bought candy. I've packed small pieces in cute Easter tins with bright tissue paper for my kids' teachers and our neighbors. For something extra fancy, try cutting the fudge into egg shapes with cookie cutters and wrapping each one in pastel foil – they look just like store-bought eggs but taste way better. People's faces light up when they realize they're biting into something familiar but made with love.
Fun with Kids
Making this fudge has turned into a yearly tradition with my grandkids each spring. All the different steps work great for helpers of any age – little ones can stir things and drop the yellow "yolks" while older kids can measure stuff and watch the chocolate as it melts. Beyond just making yummy treats, we talk about why eggs show up in Easter celebrations as symbols of new beginnings. These kitchen sessions create memories that last forever while teaching both cooking skills and holiday traditions to little ones.
I figured these shortcuts out the hard way - like when I tried cutting cold fudge with a cold knife and ended up with broken chocolate and jagged edges everywhere.
 Pin it
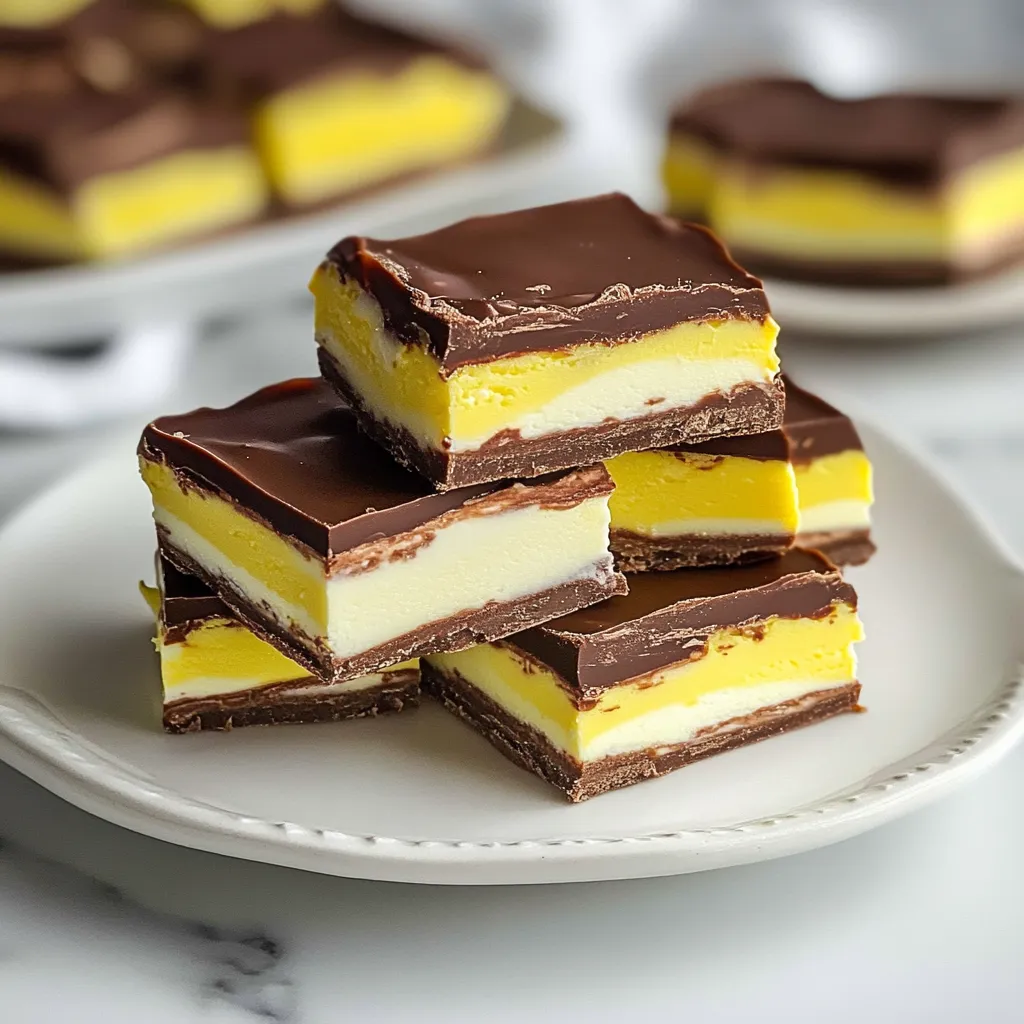
Closing Thoughts
This fudge has become what everyone expects me to bring each Easter, with friends asking for it months in advance. There's something really special about turning a favorite seasonal candy into something homemade that a whole crowd can enjoy. When you slice it, the layers look so pretty, making it just as impressive to see as it is tasty to eat. What's great about this recipe is you can play with it - adjust how much yellow vs. white filling you use for different "egg" looks, or even color the white filling light blue or pink for a fun change. However you make it your own, this fudge brings Cadbury egg joy to your table in a brand new way.
Frequently Asked Questions
- → What's the point of warming the knife?
- A warm knife slices through chocolate smoothly without breaking it.
- → Is the yellow coloring necessary?
- No, it's just for looks and doesn't change the flavor at all.
- → Which chocolate do you recommend?
- Milk chocolate gives the most authentic flavor, though semi-sweet is fine too.
- → What's the best way to keep this fudge fresh?
- Store it in an airtight container in your fridge.
- → Can I make this ahead and freeze it?
- Sure, just wrap it properly and it'll last in the freezer for up to 3 months.