
 Pin it
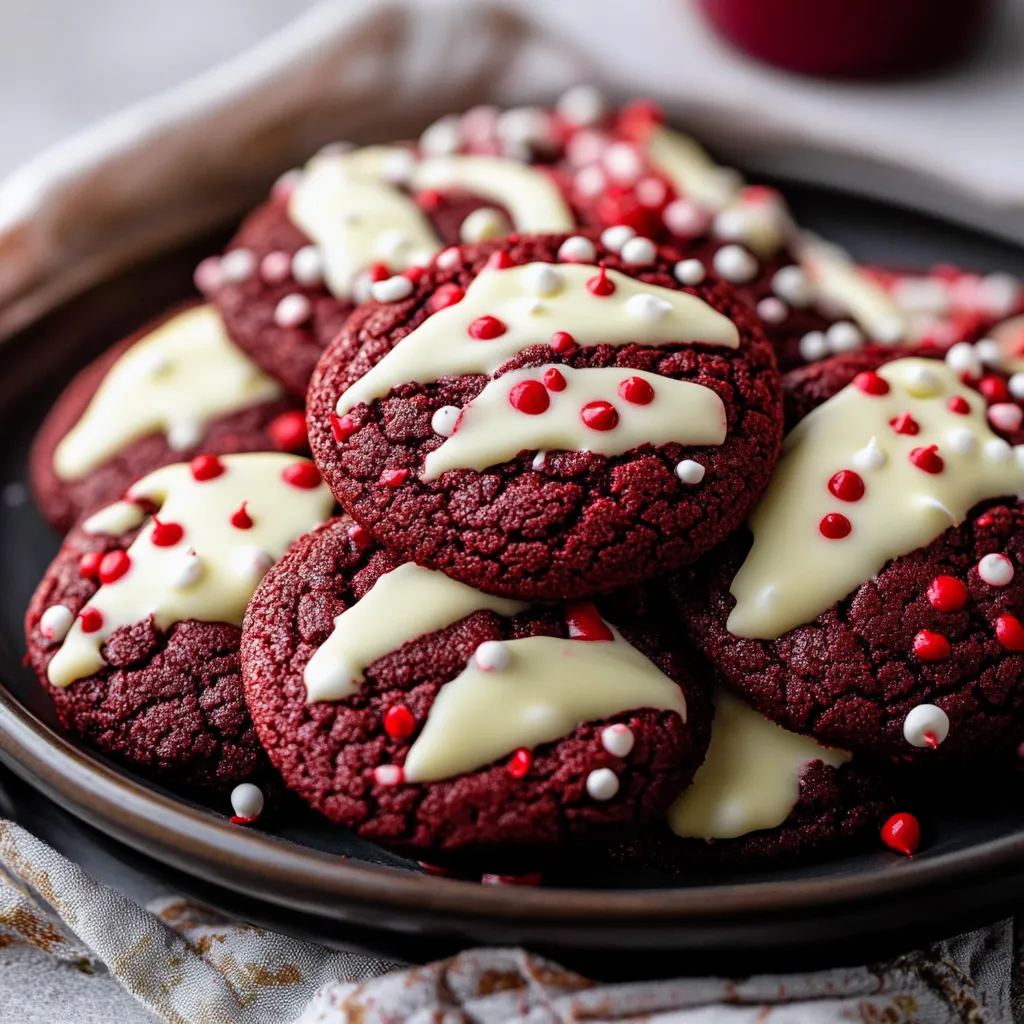
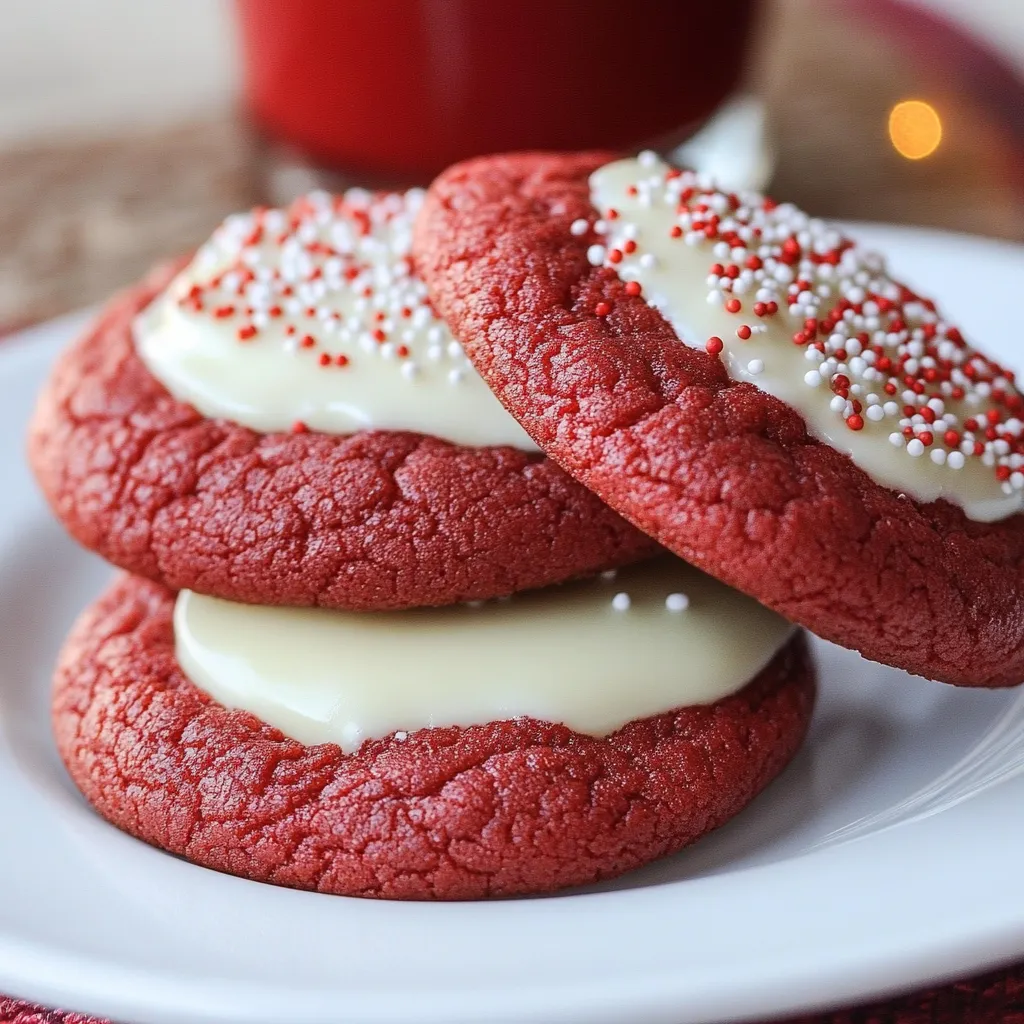
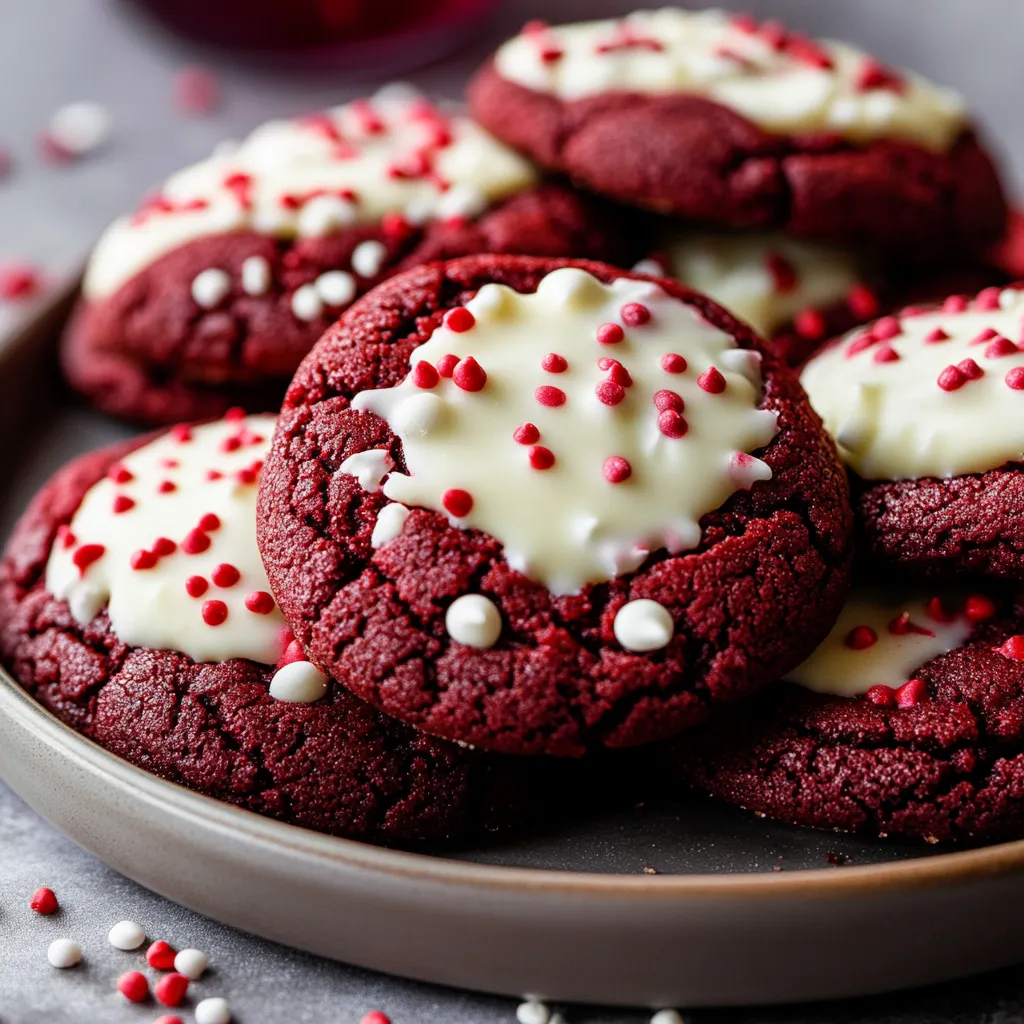
Imagine a sweet treat that mixes creamy vanilla with rich cocoa, all wrapped in a bright red package – that's what makes these White Chocolate Dipped Red Velvet Cookies so amazing. Every mouthful brings that classic red velvet taste we can't get enough of, while a generous coating of white chocolate adds a fancy touch that turns them from simple cookies into something magical. The mix of soft, chewy middles and firm white chocolate outside creates a mouthfeel you won't be able to resist.
During our family gathering last Christmas, these cookies stole the show. Their bright color and fancy white chocolate coating got everyone begging for my secret recipe. What makes them work? Taking the time to cool the dough properly and using high-quality white chocolate for the dipping step.
Key Ingredients and Shopping Advice
- White Chocolate - Stick to pure baking bars like Baker's or Ghirardelli. Regular chips have additives that stop them from melting smoothly
- Cocoa Powder - Pick unsweetened natural cocoa for that true red velvet taste
- Food Coloring - Go with gel colors for the brightest look without messing up the texture. I always grab Americolor Super Red
- Brown Sugar - Either light or dark works fine, but dark makes them moister with deeper flavor
After making tons of batches, I've figured out that using ingredients at room temp isn't just nice – it's absolutely needed for getting that real red velvet feel.
Step-by-Step Process
- Getting Started Right
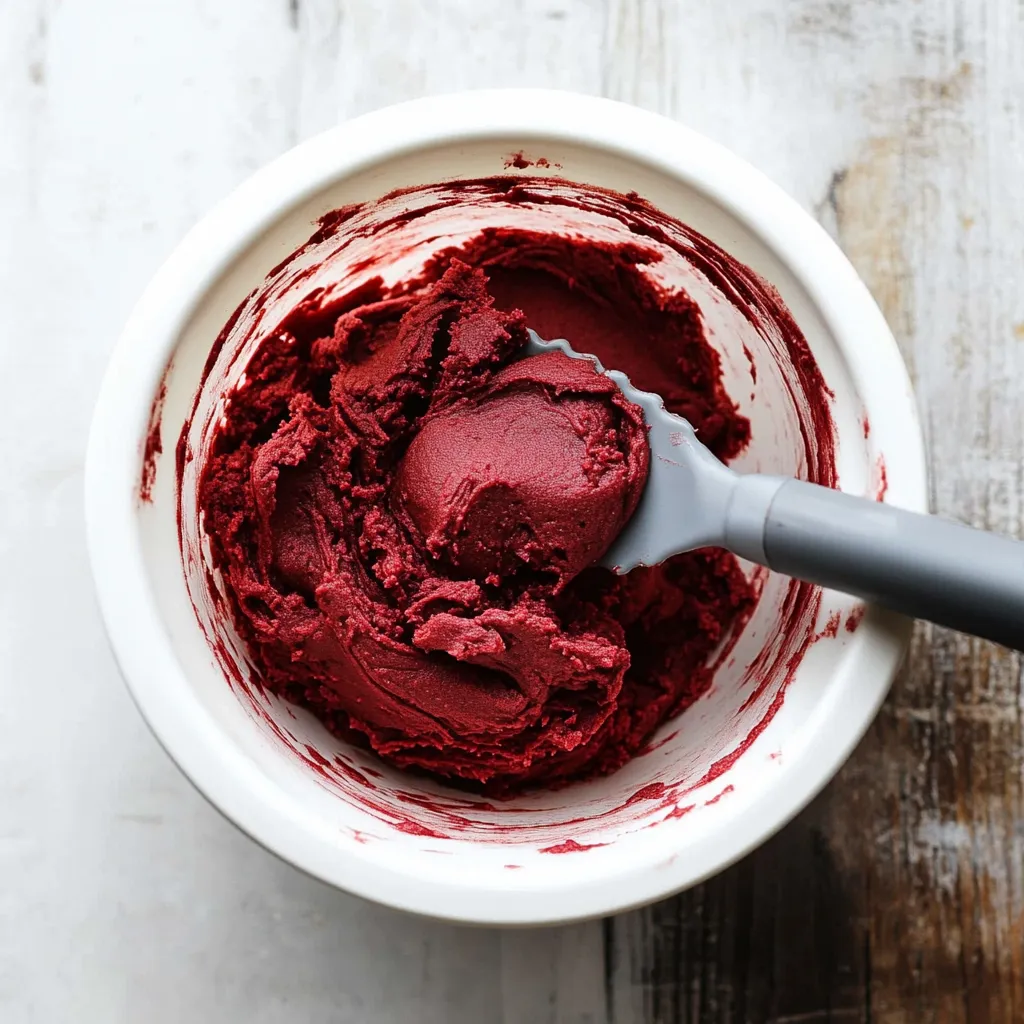
- 1. Start by mixing your dry stuff together. This isn't just about combining ingredients – it's about adding air to the flour and cocoa for the right texture. Break up any cocoa clumps with your whisk.
- Mixing Butter and Sugar
- 2. Mix your soft butter and sugars until they look fluffy – about 3-4 minutes. This puts air bubbles in your cookies for better structure. You'll notice the mix gets lighter as you go.
- Adding the Wet Stuff
- 3. Put in your egg, milk, and vanilla. That little bit of buttermilk isn't just for wetness – it adds tanginess and works with the baking soda. Don't overmix or your cookies will get tough.
- Making Them Red
- 4. Here comes the fun part. Add your gel food coloring bit by bit until you get that perfect red velvet look. The color will get a bit deeper when they bake.
- Waiting Period
- 5. Don't try to skip the cooling time! At least two hours lets the flour soak up moisture and firms the butter, so your cookies won't spread too much. The dough should feel cool but still easy to scoop.
 Pin it
I just found out that putting all your dipped cookies on one baking sheet in the fridge helps the chocolate harden with a nice shine.
Stunning Decoration Ideas
Making your cookies look amazing isn't just about the white chocolate dip. Try adding extra drizzles of white chocolate in fun patterns, or play with different kinds of sprinkles. For holiday parties, pick sprinkles that match the season. The way the deep red cookie looks against the bright white chocolate really makes them pop on any plate.
 Pin it
Clever Prep-Ahead Tricks
These cookies work great for planning ahead. You can keep the dough in your fridge up to 3 days, or freeze the rolled dough balls for up to 3 months. The finished cookies freeze well too, even with the white chocolate coating – just put wax paper between layers in an airtight box.
Getting Chocolate Just Right
Working with white chocolate takes some care with temperature. I've learned that melting it at half power in 30-second bursts keeps it from burning and makes it nice and smooth. If your chocolate seems too thick for dipping, add a tiny bit of neutral oil (coconut oil works great) to thin it out. The chocolate should be warm enough to coat easily but not so hot it melts your cookie. A reading of 88-90°F on a candy thermometer is just perfect.
Getting The Perfect Red
Finding that ideal red velvet color takes a bit of skill. The natural cocoa powder can change your final color, so I usually add food coloring in small amounts. Start with half what you think you'll need, then add more until you like the shade. Keep in mind that the color gets a bit deeper during baking. For an extra vibrant red, I sometimes mix in a tiny bit of brown gel food coloring to add some depth.
Keeping Them Fresh
These cookies actually taste better after a day, when the vanilla and cocoa flavors blend together. Keep them in a sealed container at room temp, with wax paper between layers to protect the white chocolate. During summer, stick them in the fridge so the chocolate doesn't get soft. Just remember to let them warm up before eating for the best taste and texture.
Pro Baker Tricks
- Cut white chocolate into tiny pieces so it melts evenly
- Shake off extra chocolate carefully after dipping to avoid puddles
- Put sprinkles on right after dipping each cookie while chocolate is still wet
After years of making these cookies, I've found that taking your time – both with cooling the dough and dipping in chocolate – gives you the prettiest results.
 Pin it
Wrapping Up
These White Chocolate Red Velvet Cookies aren't just tasty – they're like a party in cookie form. Whether you're baking them for Valentine's Day, Christmas, or just because, their bright color and fancy white chocolate coating make them stand out on any dessert table. The perfect mix of vanilla, cocoa, and white chocolate makes a cookie that tastes as good as it looks.
Frequently Asked Questions
- → Is chilling the dough really needed?
- It's a must-do step for the right texture, don't skip it
- → Which white chocolate works best?
- Go for real baking bars like Ghirardelli, not chocolate chips
- → Are there natural food coloring options?
- You can swap in 2 teaspoons of beet powder instead of artificial coloring
- → Can I make these ahead and freeze them?
- Sure thing, freeze them with or without the chocolate for up to 3 months
- → My chocolate isn't melting right, what's wrong?
- If it's too thick, add 1 teaspoon of vegetable oil to thin it out